Assignment 9
Laser Cutting
2D Modelling
Initially the image which has to be cut by using laser cutter is to be modelled. I have used Corel Draw 2019 for this purpose. My aim was to cut MDF sheet of 6 mm thickness and do a press fit. An interference fit, also known as a press fit or friction fit is a fastening between two parts which is achieved by friction after the parts are pushed together, rather than by any other means of fastening. After designing, the image file is saved with '.cdr' extension.
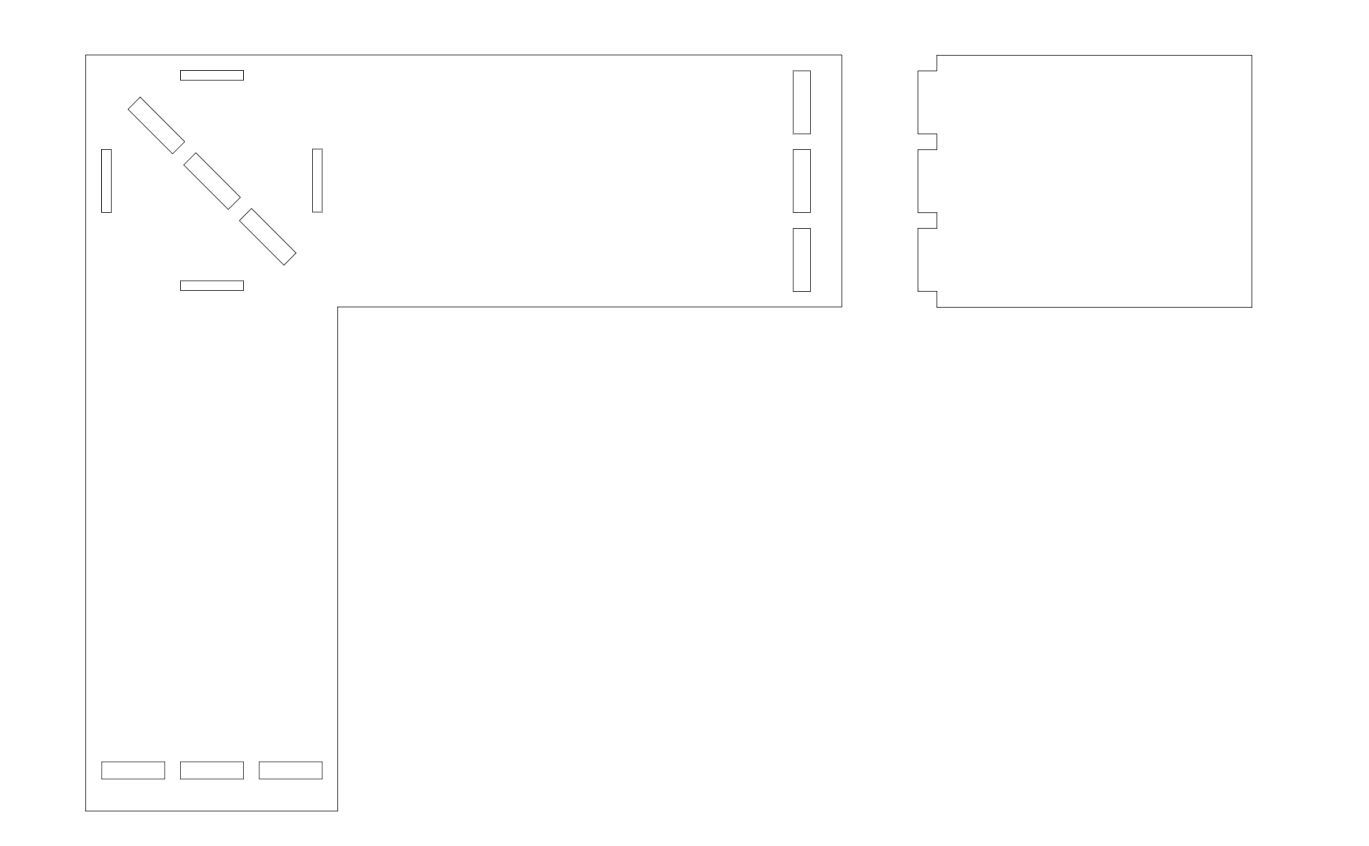
Design file for printing is given below.
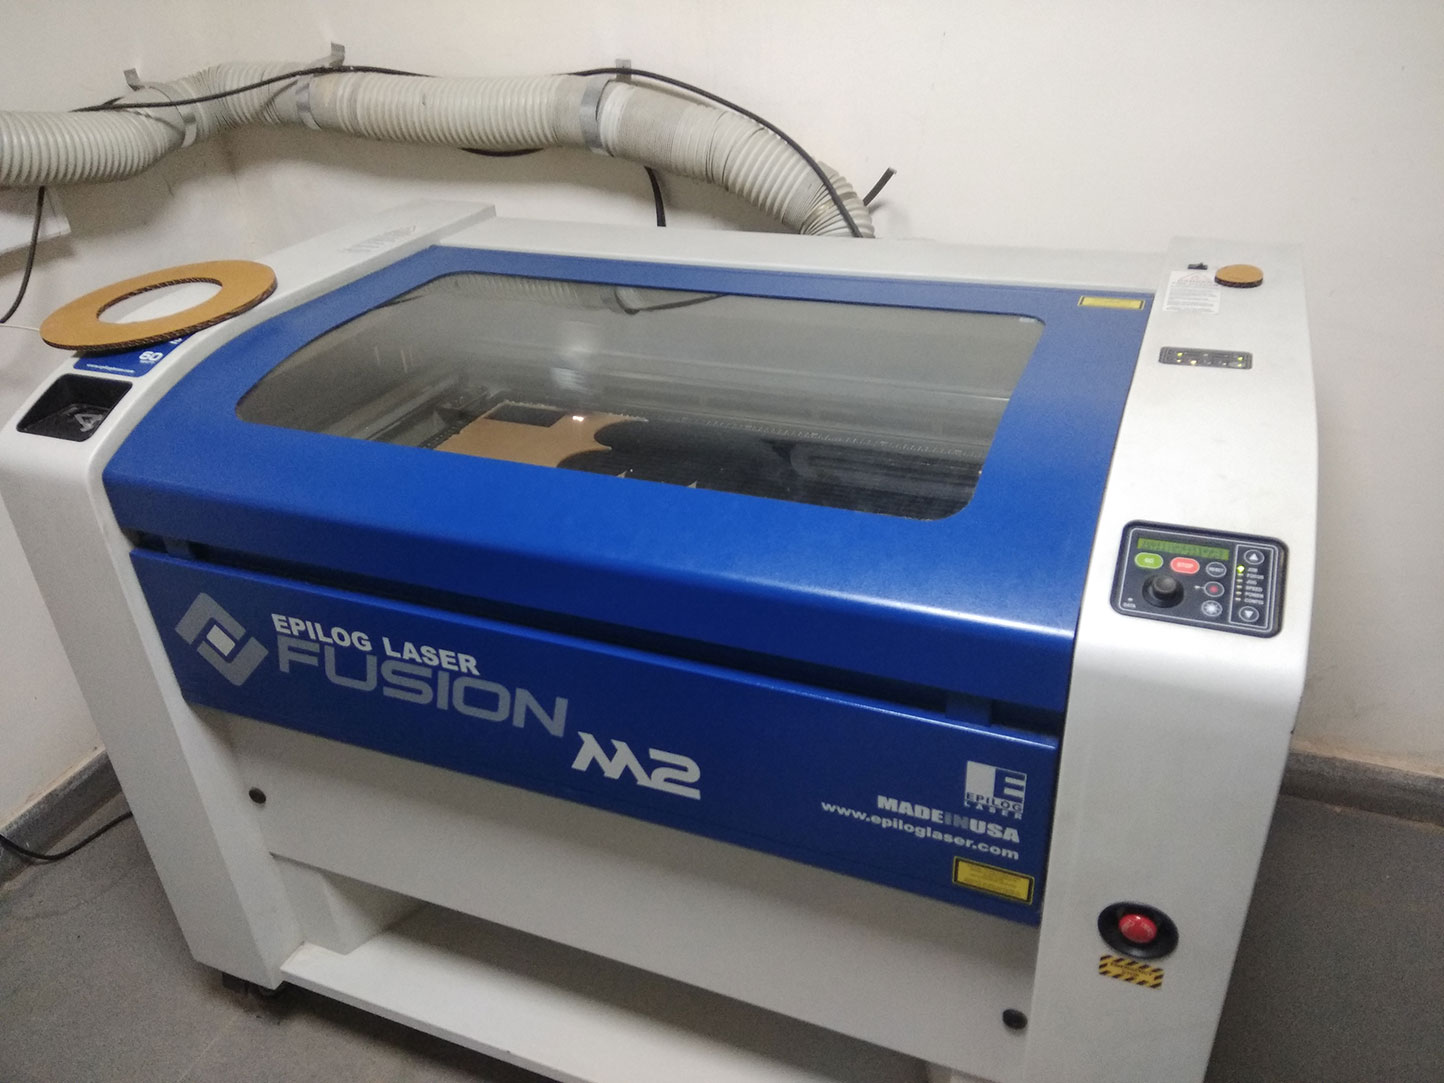
Setting up the printer
The printer used for laser cutting is Epilog Laser Fusion M2. Different materials can be used for printing like cardboard, acrylic etc.
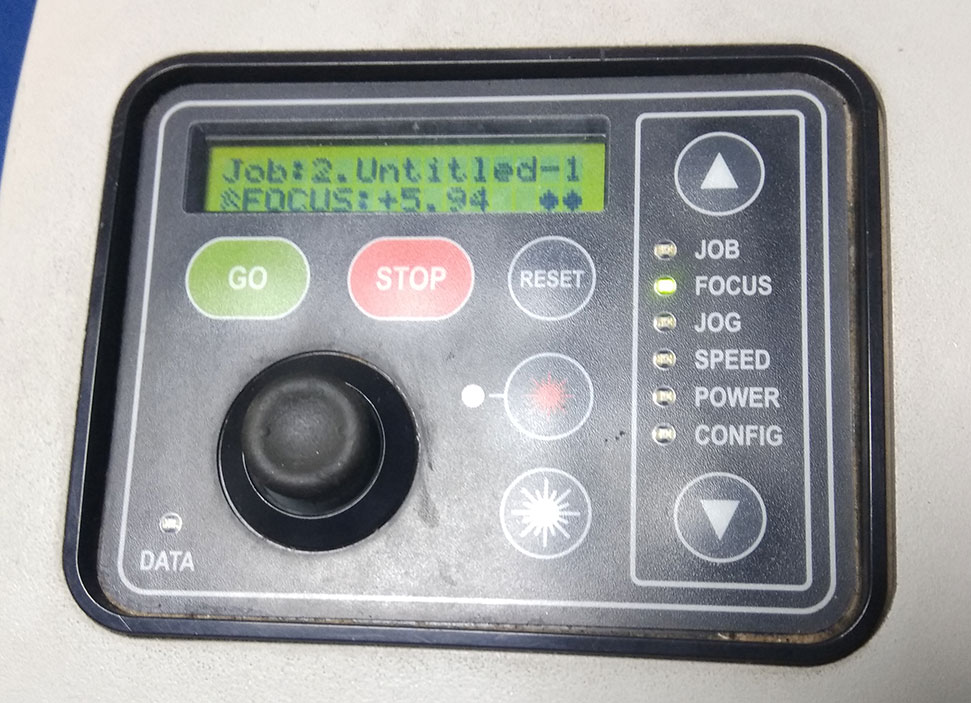
Along with the printer the motor also has to be turned on which helps to avoid flames that generates during the printing process. After turning on the printer, do the 'Jog' setting to move the print head to required position. Then 'Focus' has to be adjusted with the joystick in the control panel to adjust the height between the printhead and the material to be cut.
Control panel on the printer is as shown below.
Printing
Steps to be followed :
1. Open Corel Draw, and set the page reference point as top left corner.
2. Import the file which is to be cut.
3. The part which is to be cut is to be made as 'Hairline' (which is vector graphics) and the remaining part will be considered as raster graphics by the printer. So here the outline is made as 'Hairline' in line settings.
4. Give print command.
5. Verify 'Both combined(vector and raster)' option is checked.
6. Adjust the speed and power settings according to the material selected based on optmization. The speed setting used for 6 mm thick MDF here is '8' and power setting used is '50'.
7. Give the print job.
8. On printer control panel the job will be listed. Click on 'Go' to continue with printing.
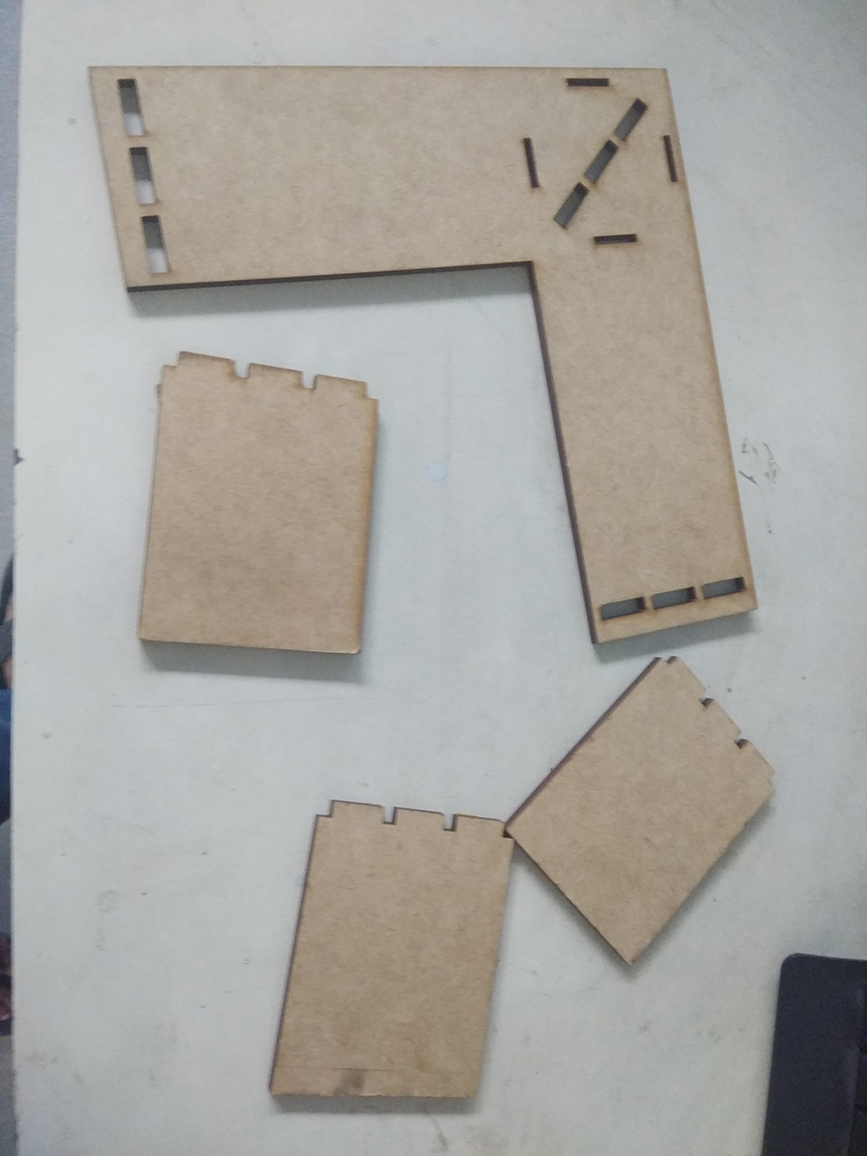
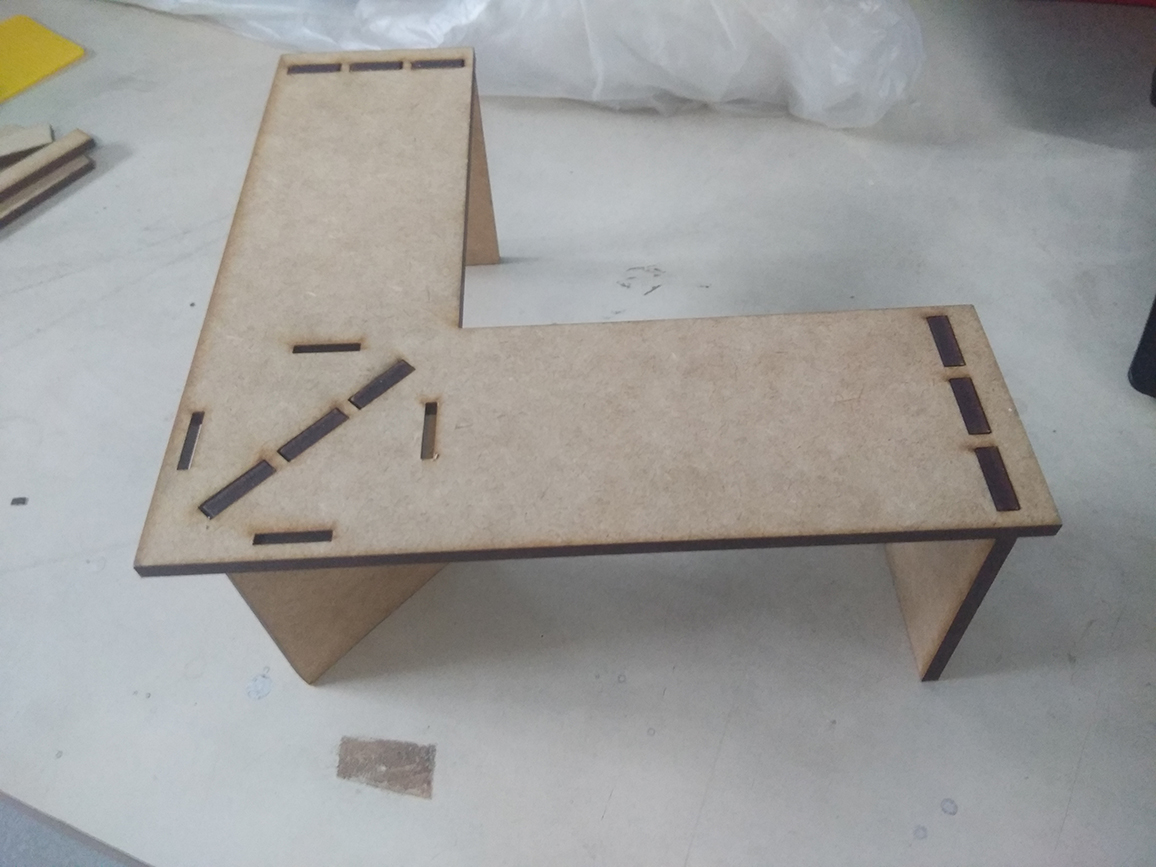
Output
This is the output of laser cutting process.