Assignment 10
Computer controller machine
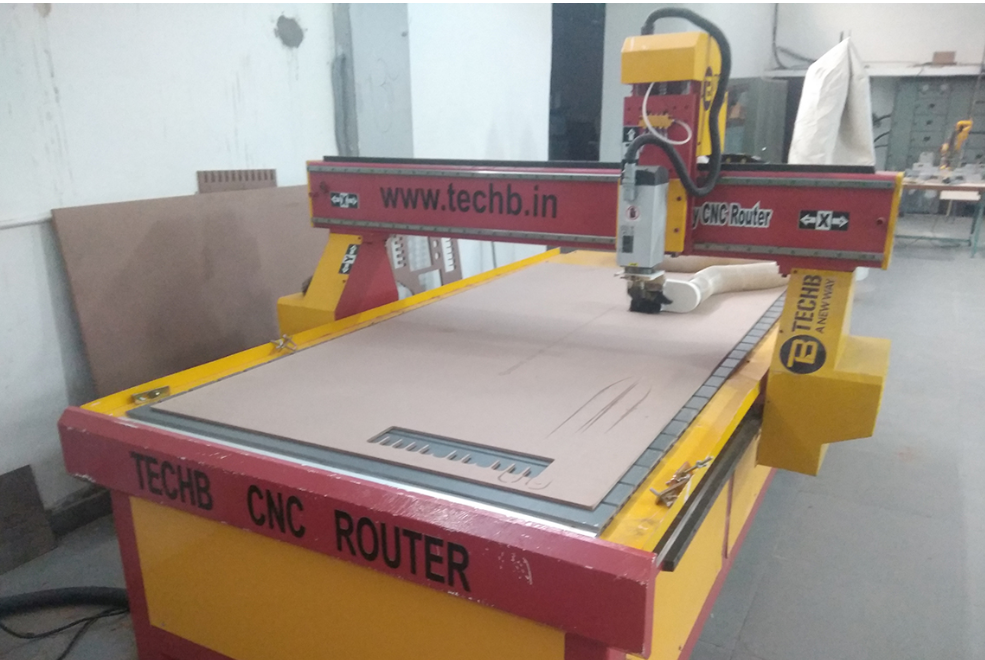
A computer numerical control (CNC) router is a computer-controlled cutting machine related to the hand-held router used for cutting various hard materials, such as wood, composites, aluminium, steel, plastics, glass, and foams. ... Instead of routing by hand, tool paths are controlled via computer numerical control.
The numbers can be considered to be the coordinates of a graph and they control the movement of the cutter. It is a subtractive manufacturing process which typically employs computerized controls and machine tools to remove layers of material from a stock piece—known as the blank or workpiece—and produces a custom-designed part.
Safety tips
| Point | Details |
|---|---|
| An Emergency Stop Button | The emergency stop button is used to shut down the machine instantly. This button is located on the handheld unit, the control panel, and other places on the machine. |
| A Soundproof Casing | The soundproof casing reduces the noise emitted by the operating section of the machine. It also protects the machine operator from the risk of flying tool fragments and any other flying objects. |
| The Curtain Guards | The curtain guards are made out of PVC. These are designed to shield the machine operator from the risk of tool fragments or airborne chips. |
| The Guard Fence | This part marks the maximum working area of the machine. This fence keeps the machine operator away from any moving parts. |
| The Contact Mats | The operator uses this control to stop the CNC machine instantly. When he or she stands on the mat the machine stops instantly. This protects the operator from the moving parts. |
Process:
Step 1: Make a CAD file using any 2D software.
Step 2: Import the CAD File to Vectric Aspire software v8.5.
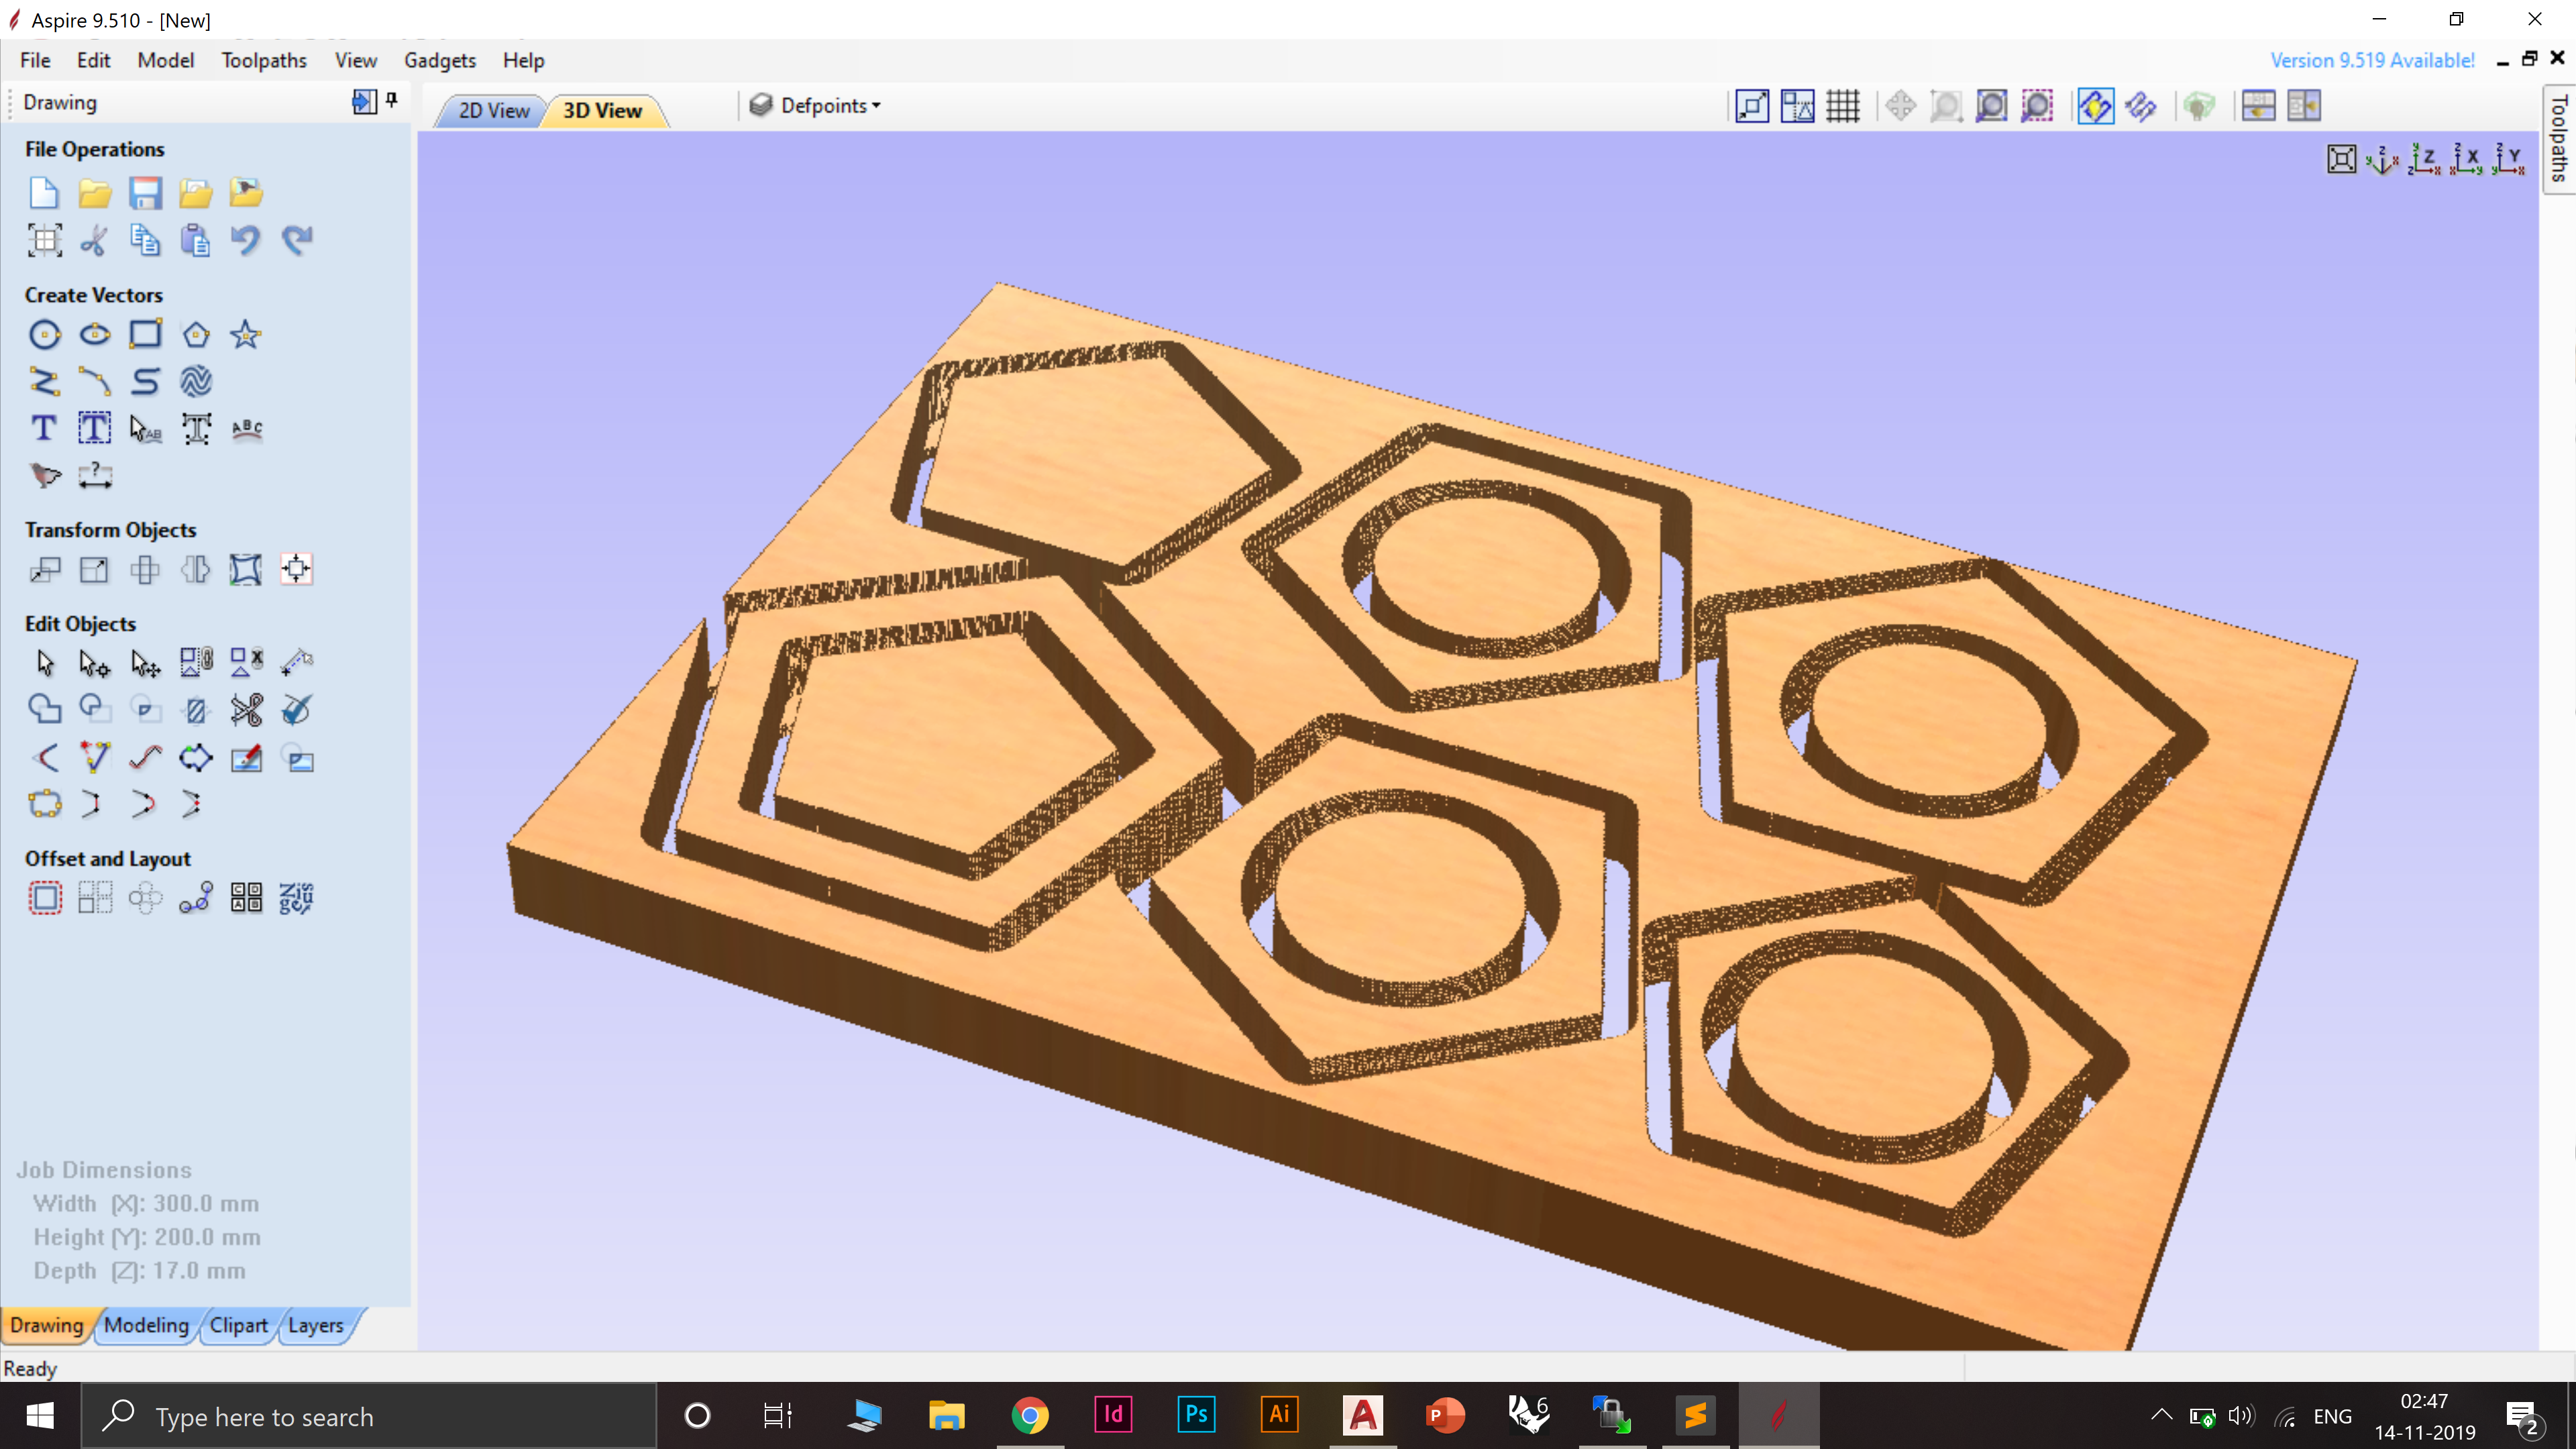
Step 3: Adjust settings and parameters. As per given below
Step 4: Job Size: Defines the size of your drawing that is going to be cut on the material.
Step 5: Material thickness: Thickness of the board you are going to put on the machine.
Step 6: XY Datum Position: Defines the point from which machine is going to cut.
Step 7: Units: Make sure that the units selected are the desired one.
Step 8: Modeling resolution: Set it up as per the finish required.
Step 9: Click "Toolpath" in topmost corner and select 2D profile toolpath option. As per given below
Step 10: Start depth: Set it to zero.
Step 11: Cut depth: Depth of the board for a cut through.
Step 12: Machine Vectors: Select how you want your bit to move while cutting with reference to the drawing.
Step 13: Home position: Set it to 0,0,0.
Step 14: Close and Save Toolpath as "G Code (mm) Tap file".
Step 15:Copy the file to a pendrive and take it to the CNC Machine Control.
Step 16: Set up the CNC Machine.
Step 17:Switch on the power MCB to turn on the CNC Machine.
Step 18:Press the home button on the machine to bring the CNC engraving head to the corner of the machine bed.
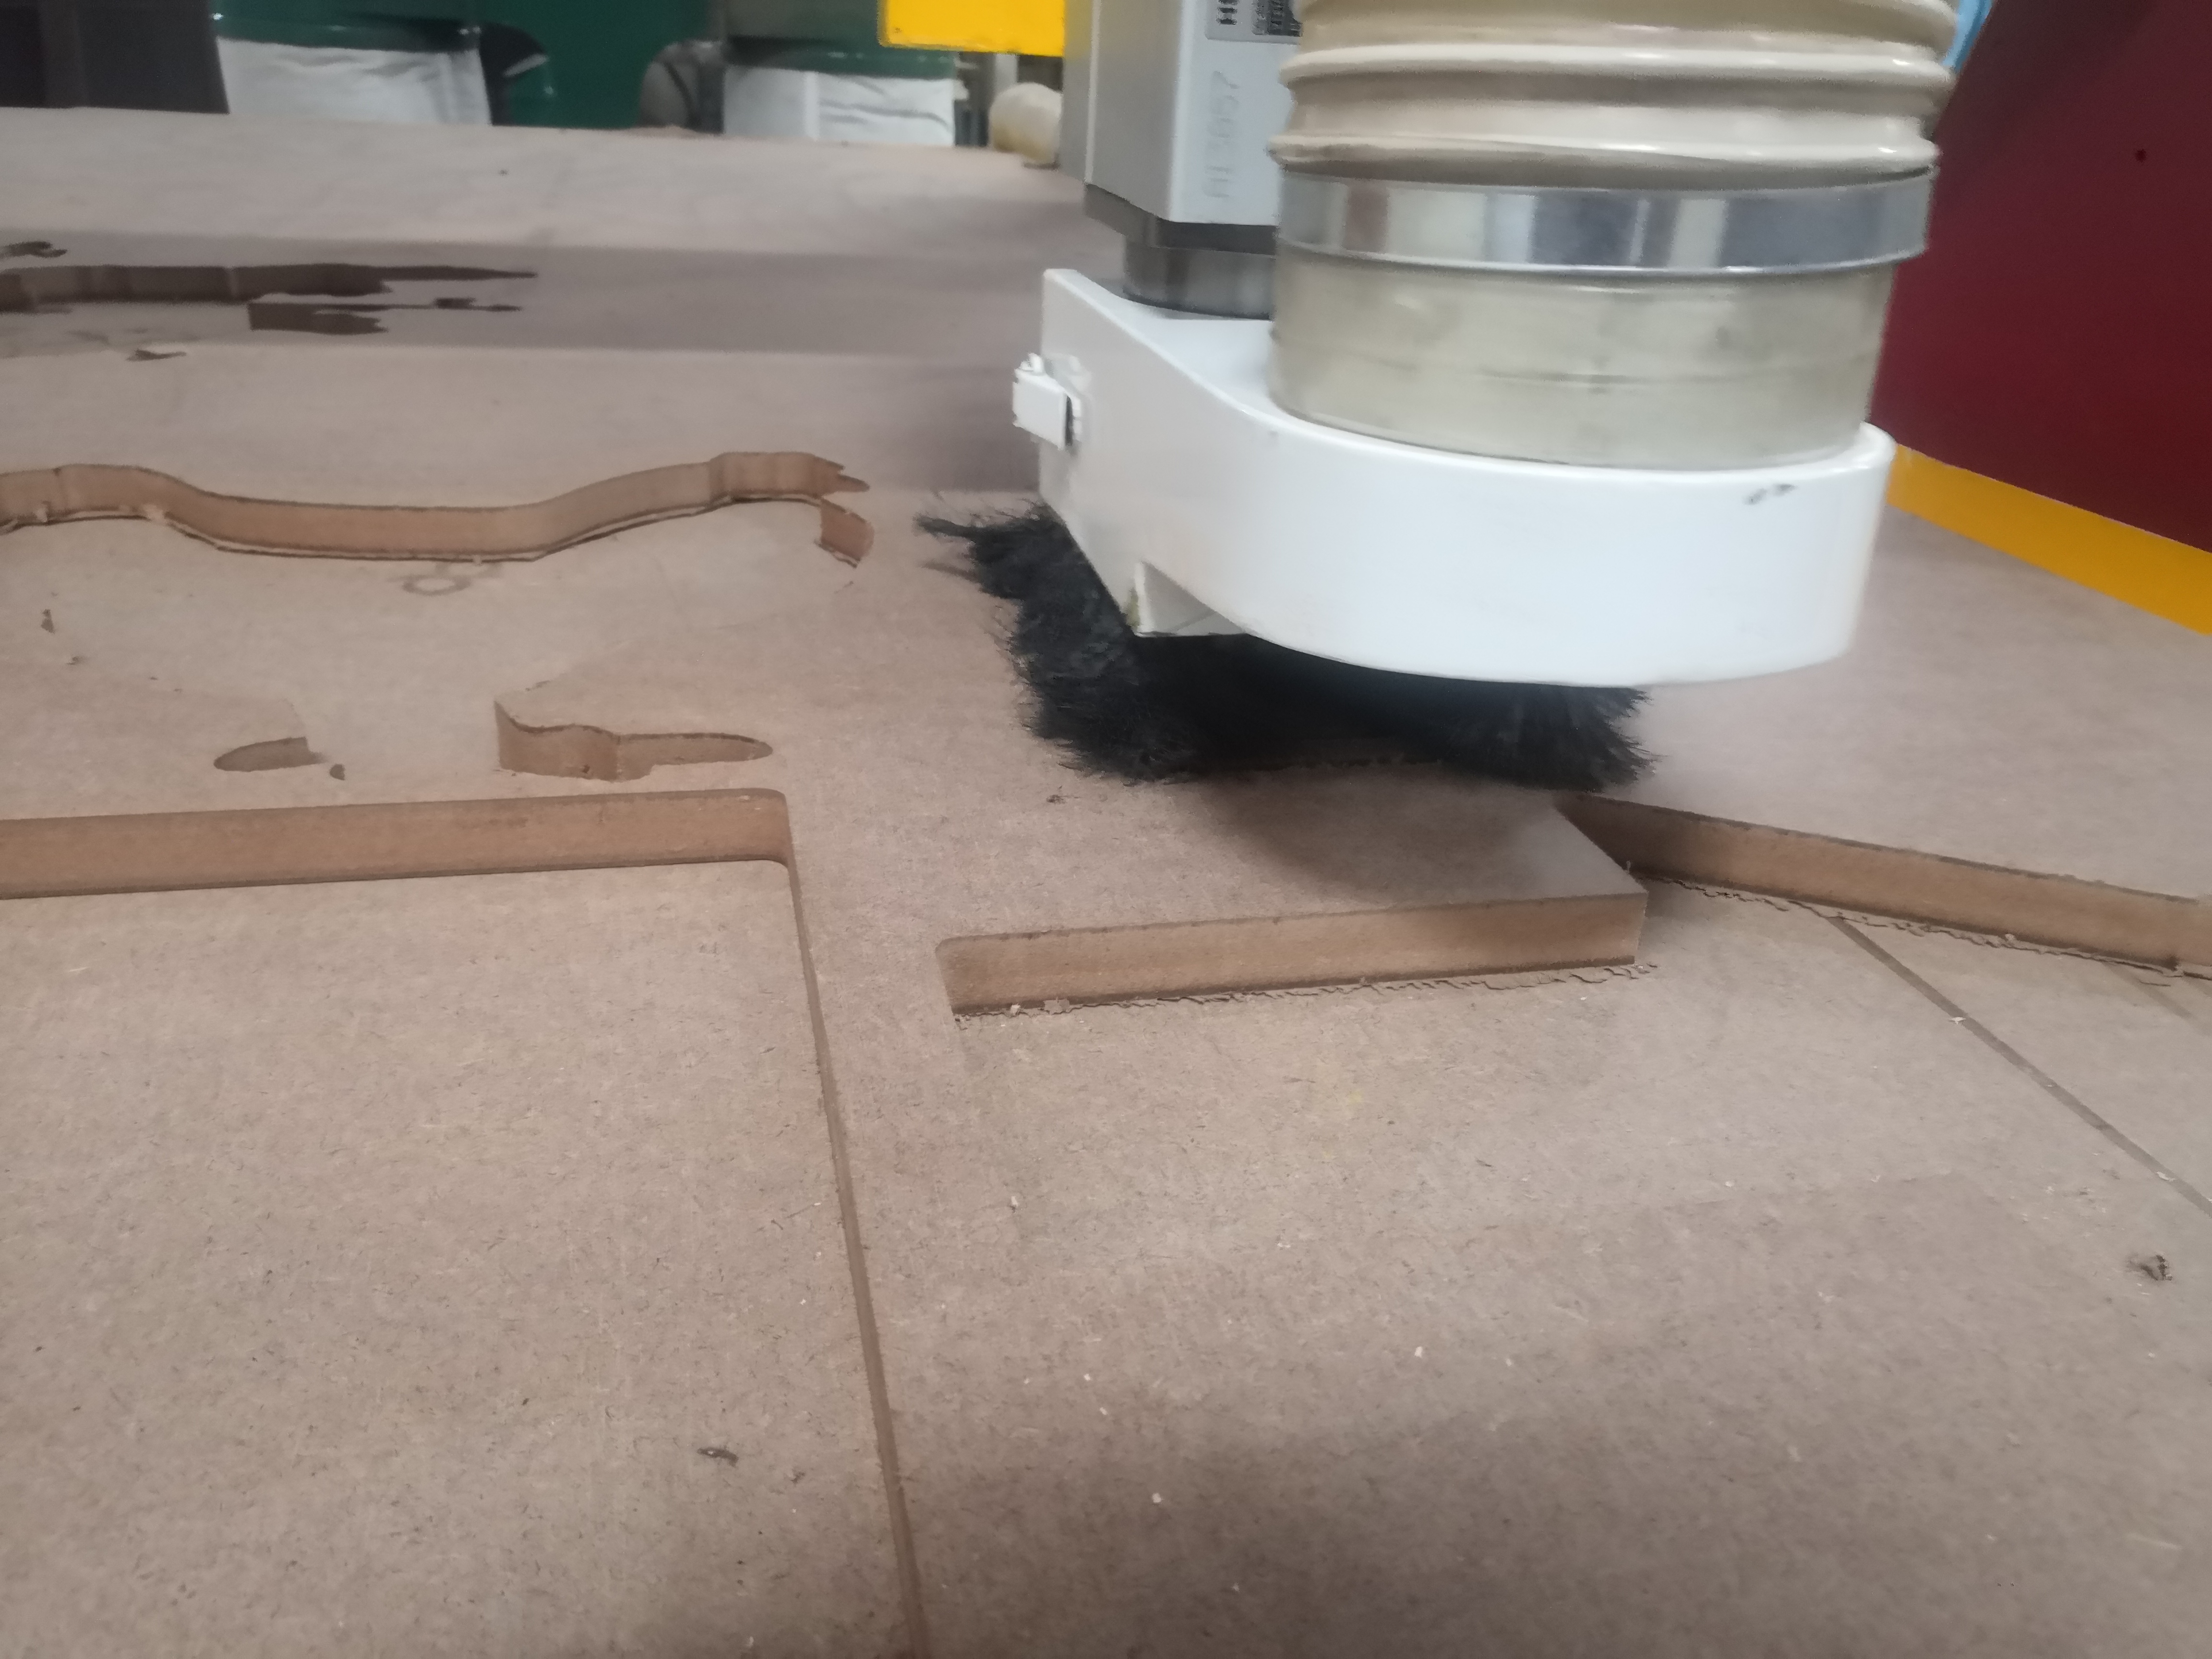
Step 19: Place a >6mm MDF board as the sacrifice board to protect the machine bedPlace the main material board over the sacrifice board.
Step 20: Put the desired drill bit in the machine.
Step 21: Press Run/Pause button. Select the G-Code file accordingly
Step 22: Attach the vaccum pump and turn it on.
Step 23:Run the task.
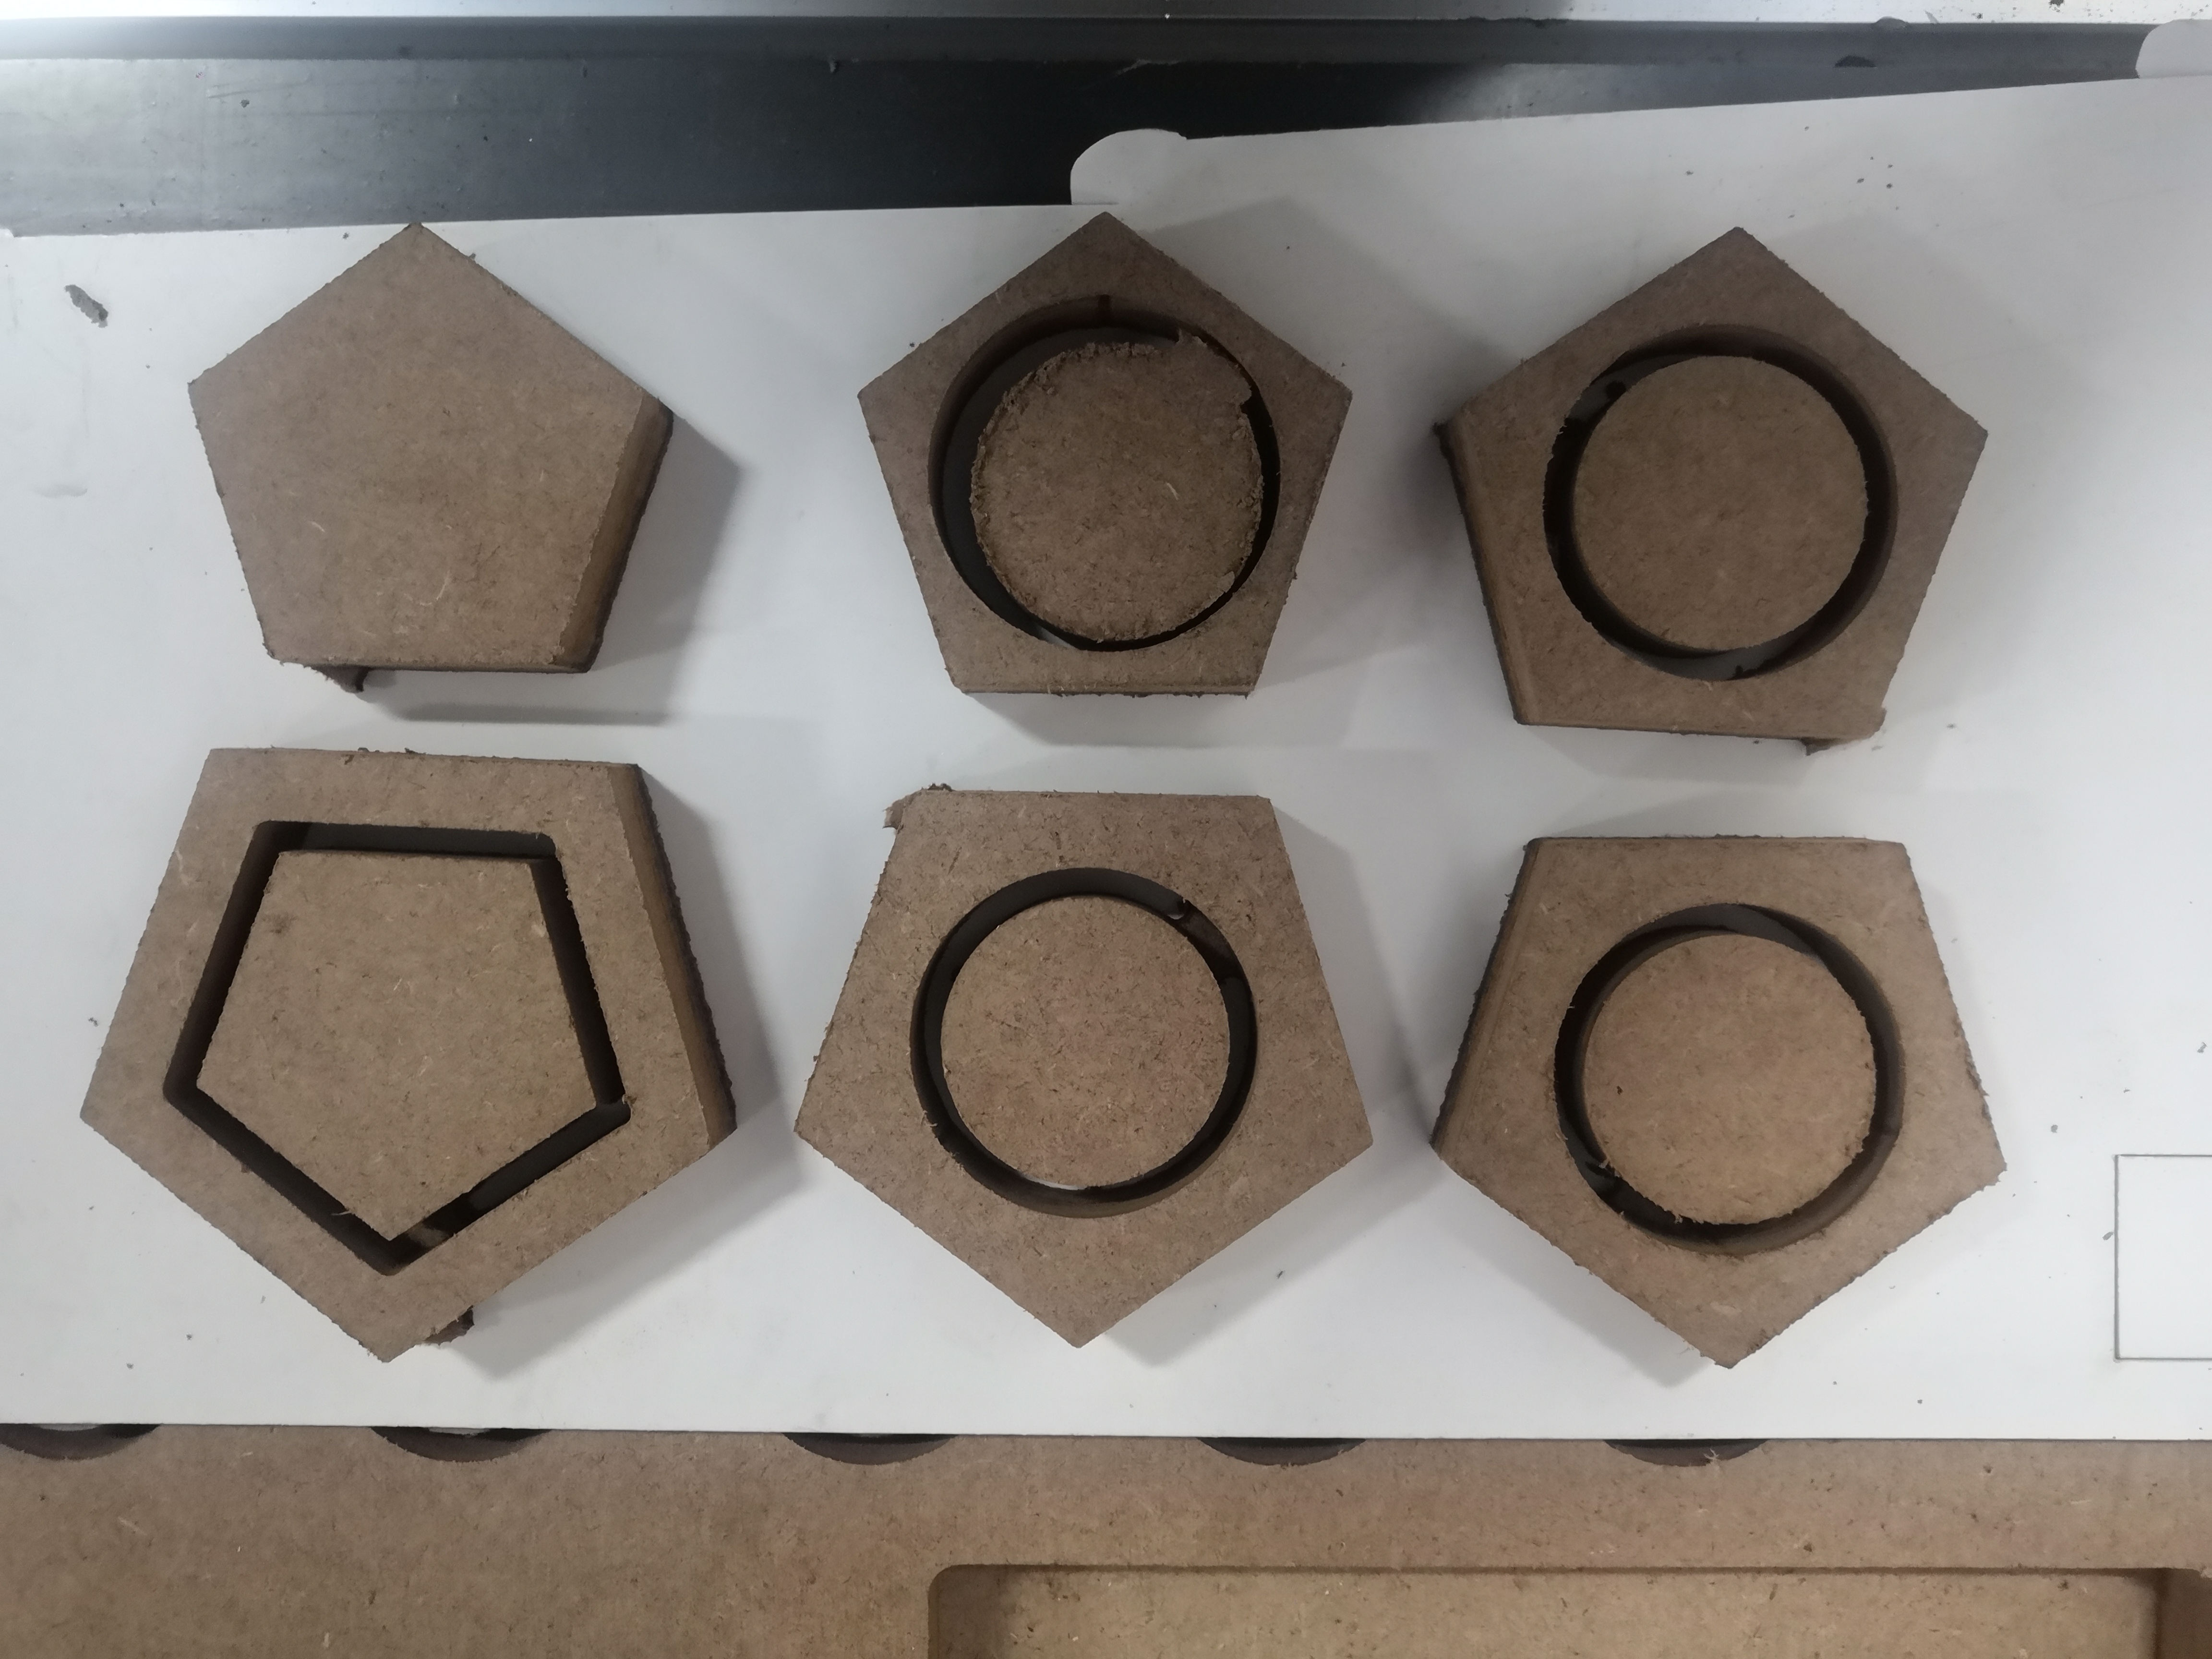
Final Output:
Things to take care of:
Make sure dimension and unit are right
Don't touch machine while operation is going.
Clear the place after use
In case of any emergencies, press the power button immediately to stop the process.
Place the bed perfectly.