Assignment 9
Laser cutting
Introduction
Laser cutting is a technology that uses a laser to cut materials, and is typically used for industrial manufacturing applications, but is also starting to be used by schools, small businesses, and hobbyists. Laser cutting works by directing the output of a high-power laser most commonly through optics.
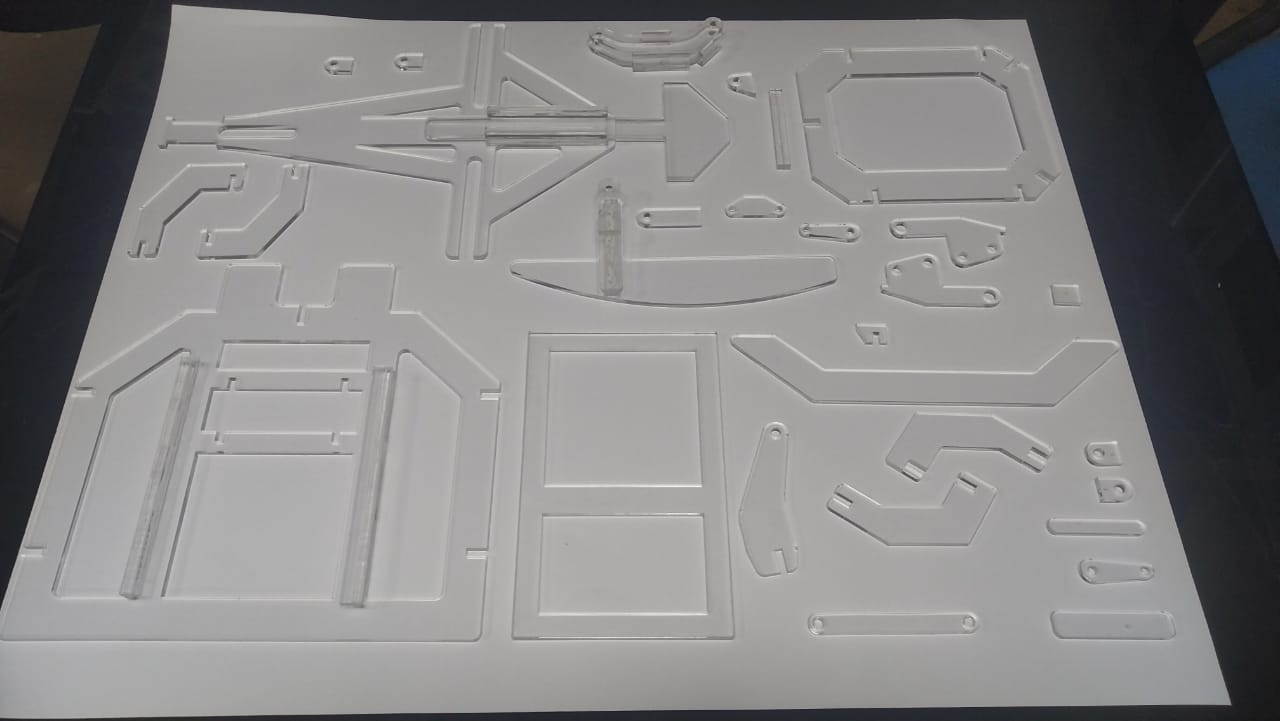
IN this assignment I and Amit worked on laser cutting using the Epilog laser Fusion m2 laser cutter. We learnt how to cut and also how to engrave on an acrylic ,mdf or a cardboard sheet.
The process
Step 1 : inputting the vector into corel draw
From the assembly of the model developed in Solidworks, the sketches of the individual parts are exported as .dwg files which are them opened in Autocad to arange the files. These vector files are then imported into Corel draw and the proportions are set to achieve a 1:1 scale.


Step 2 : Setting up the printer.
Along with the printer the motor also has to be turned on which helps to avoid flames that generates during the printing process. After turning on the printer, do the 'Jog' setting to move the print head to required position. Then 'Focus' has to be adjusted with the joystick in the control panel to adjust the height between the printhead and the material to be cut.

Step 3 : Cutting
Steps to be followed :
1. Open Corel Draw, and set the page reference point as top left corner
2. Import the file which is to be cut.
3. The part which is to be cut is to be made as 'Hairline' (which is vector graphics) and the remaining part will be considered as raster graphics by the printer. So here the outline is made as 'Hairline' in line settings.
4. Give print command.
5. Verify 'Both combined(vector and raster)' option is checked.
6. Adjust the speed and power settings according to the material selected based on optmization. The speed setting used for 6 mm thick MDF here is '8' and power setting used is '50'.
7. Give the print job.
8. On printer control panel the job will be listed. Click on 'Go' to continue with printing.

Assembly
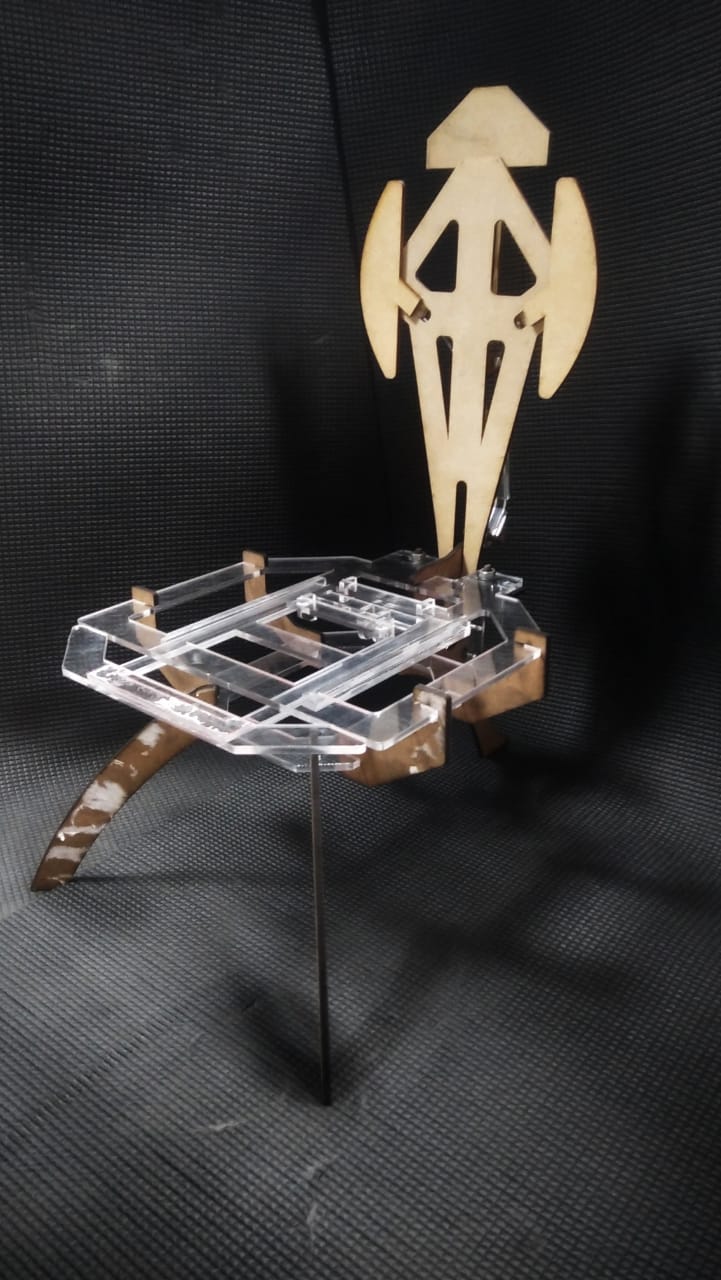
The final assembly after several press fits looks like this.

