Then we installed Arduino IDE (version compatible with our computer).
After connecting the ARDUINO with the laptop using the USB cable, a blink indicated that the connection was established.
To test it I ran an example sketch that I loaded and Run
File>Example>Basic>Blink
Step 2: Blinking an LED
First task was to ON and OFF an LED that I wired.
For that I had to first understand the connection sequence in breadboard-
the first two rows from both the long edge maintain the same potential and
for the rest of the board the columns sequence (without gap) maintain same potential
For the wiring I connected the pin to breadboard with -
Power from ARDUINO pin (12 in this case) to resistor to the positive (longer leg) of the LED and another wire from
negative side of LED to ground
For the code first I entered pin-mode with the pin number that the wire from LED will connect to at the ARDUINO,
then initialized the loop function void loop that will repeat the function of power on and off of the LED at set
delays.
Using the digital write command I specified the pin number and its on and off command – when voltage is
‘HIGH’ turns the LED on when voltage is ‘LOW’ turns the LED off.
Step 3: Displaying name
(a) Making the circuit connection-
I used two breadboards and connected them. I wired 9 LED pins in the same connection as mentioned above (connection
with pins in ARDUINO for power supply and another connection with resistor and ground)
For entering integer data type the ‘int’ command is used to enter the LED pin number.
So I entered the LEDs and numbered them and their connection with ARDUINO pins and the button pins
Ex- int ledPin1 = 2
After specifying all the pins and the connection of button A and B.
Then I wrote the pin sequence for each alphabet in a piece of paper that I used later to make the code for lighting
the specific pins (for reading as an alphabet)
Initially I ran the code with the digitalWrite command and turning the LED high and low with a delay value.
This made all the pins of the alphabet light up and then go off for the time specified in the following steps-
First entering the pinmode
Then using digitalWrite to turn the specific LEDs on - by entering digital write for all the LEDs I provided the delay
time for it to stay on, then I entered the digitalWrite low to turn off the LEDs and then provided a delay time for
it to stay off.
In the first try the circuit did not work
Since the first four slots of the two end rows of the breadboard have a different connection to the last four slots,
I had to use a wire to make the connection between the two, and all the led’s ground connection was established in
this one connected row.
After a successful trial, in the next attempt I used the functions to blink the alphabet sequence.
(b) Alphabet sequence with function
In the code I entered the integer for each pin, then the void setup with pinmode output
Then in the void loop I entered – alphabet name and delay duration-
Ex-
void loop ()
{
H();
delay (duration);
}
Then I entered the specific LEDs that will light up for the letter A as high and rest as low
Ex –
Void A () {
digitalWrite (ledPin1, HIGH);
digitalWrite (ledPin2, HIGH);
digitalWrite (ledPin3, HIGH)
digitalWrite (ledPin4, HIGH)
digitalWrite (ledPin5, HIGH)
digitalWrite (ledPin6, HIGH)
digitalWrite (ledPin7, HIGH)
digitalWrite (ledPin8, LOW)
digitalWrite (ledPin9, HIGH)
}
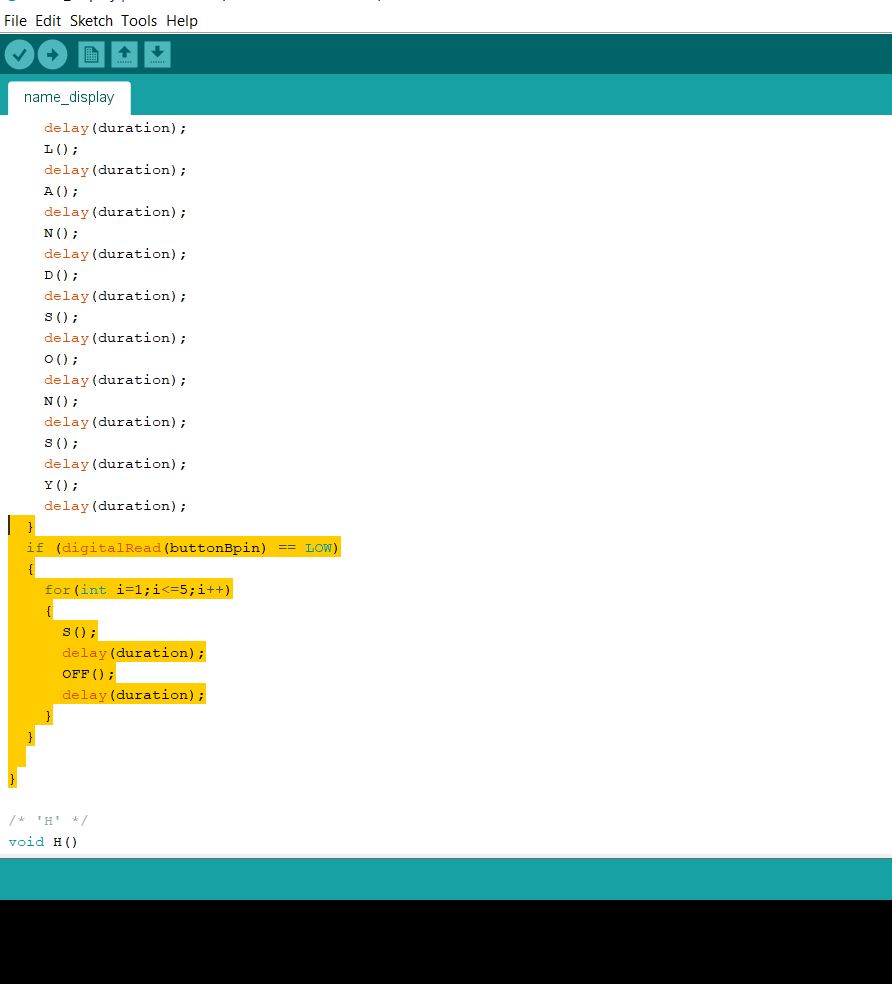
After writing the code in sequence for all the alphabets (HIAMALANDSONSY) I entered the void ‘OFF’ function
in which I set all the pins to low, to turn all the alphabets to low after the whole sequence
Step 4: 5 blinks
Step 5: Initiating serial communicator
For initiating the serial communication I initiated the following code-
First set the void loop for checking availability of character-
Void loop () {
if (Serial.available() > 0)
Then enter the action it will take-Taking the example of alphabet H
{
char letter = Serial.read();
switch (letter)
{
case 'H': Serial.print("Letter Input = ");
Serial.println(letter);
H();
delay(duration);
break;
}
}
So in the monitor, when we type the letter two actions will take place-
The monitor will display the letter on screen as– Letter input = (that alphabet)
And the led sequence of the alphabet will glow in the breadboard