The 3D printing process builds a three-dimensional object from a computer-aided design (CAD) model, usually by successively adding material layer by layer,
which is why it is also called additive manufacturing.
It covers a variety of processes in which material is joined or solidified under computer control to create a three-dimensional object,
with material being added together (such as liquid molecules or powder grains being fused together), typically layer by layer.
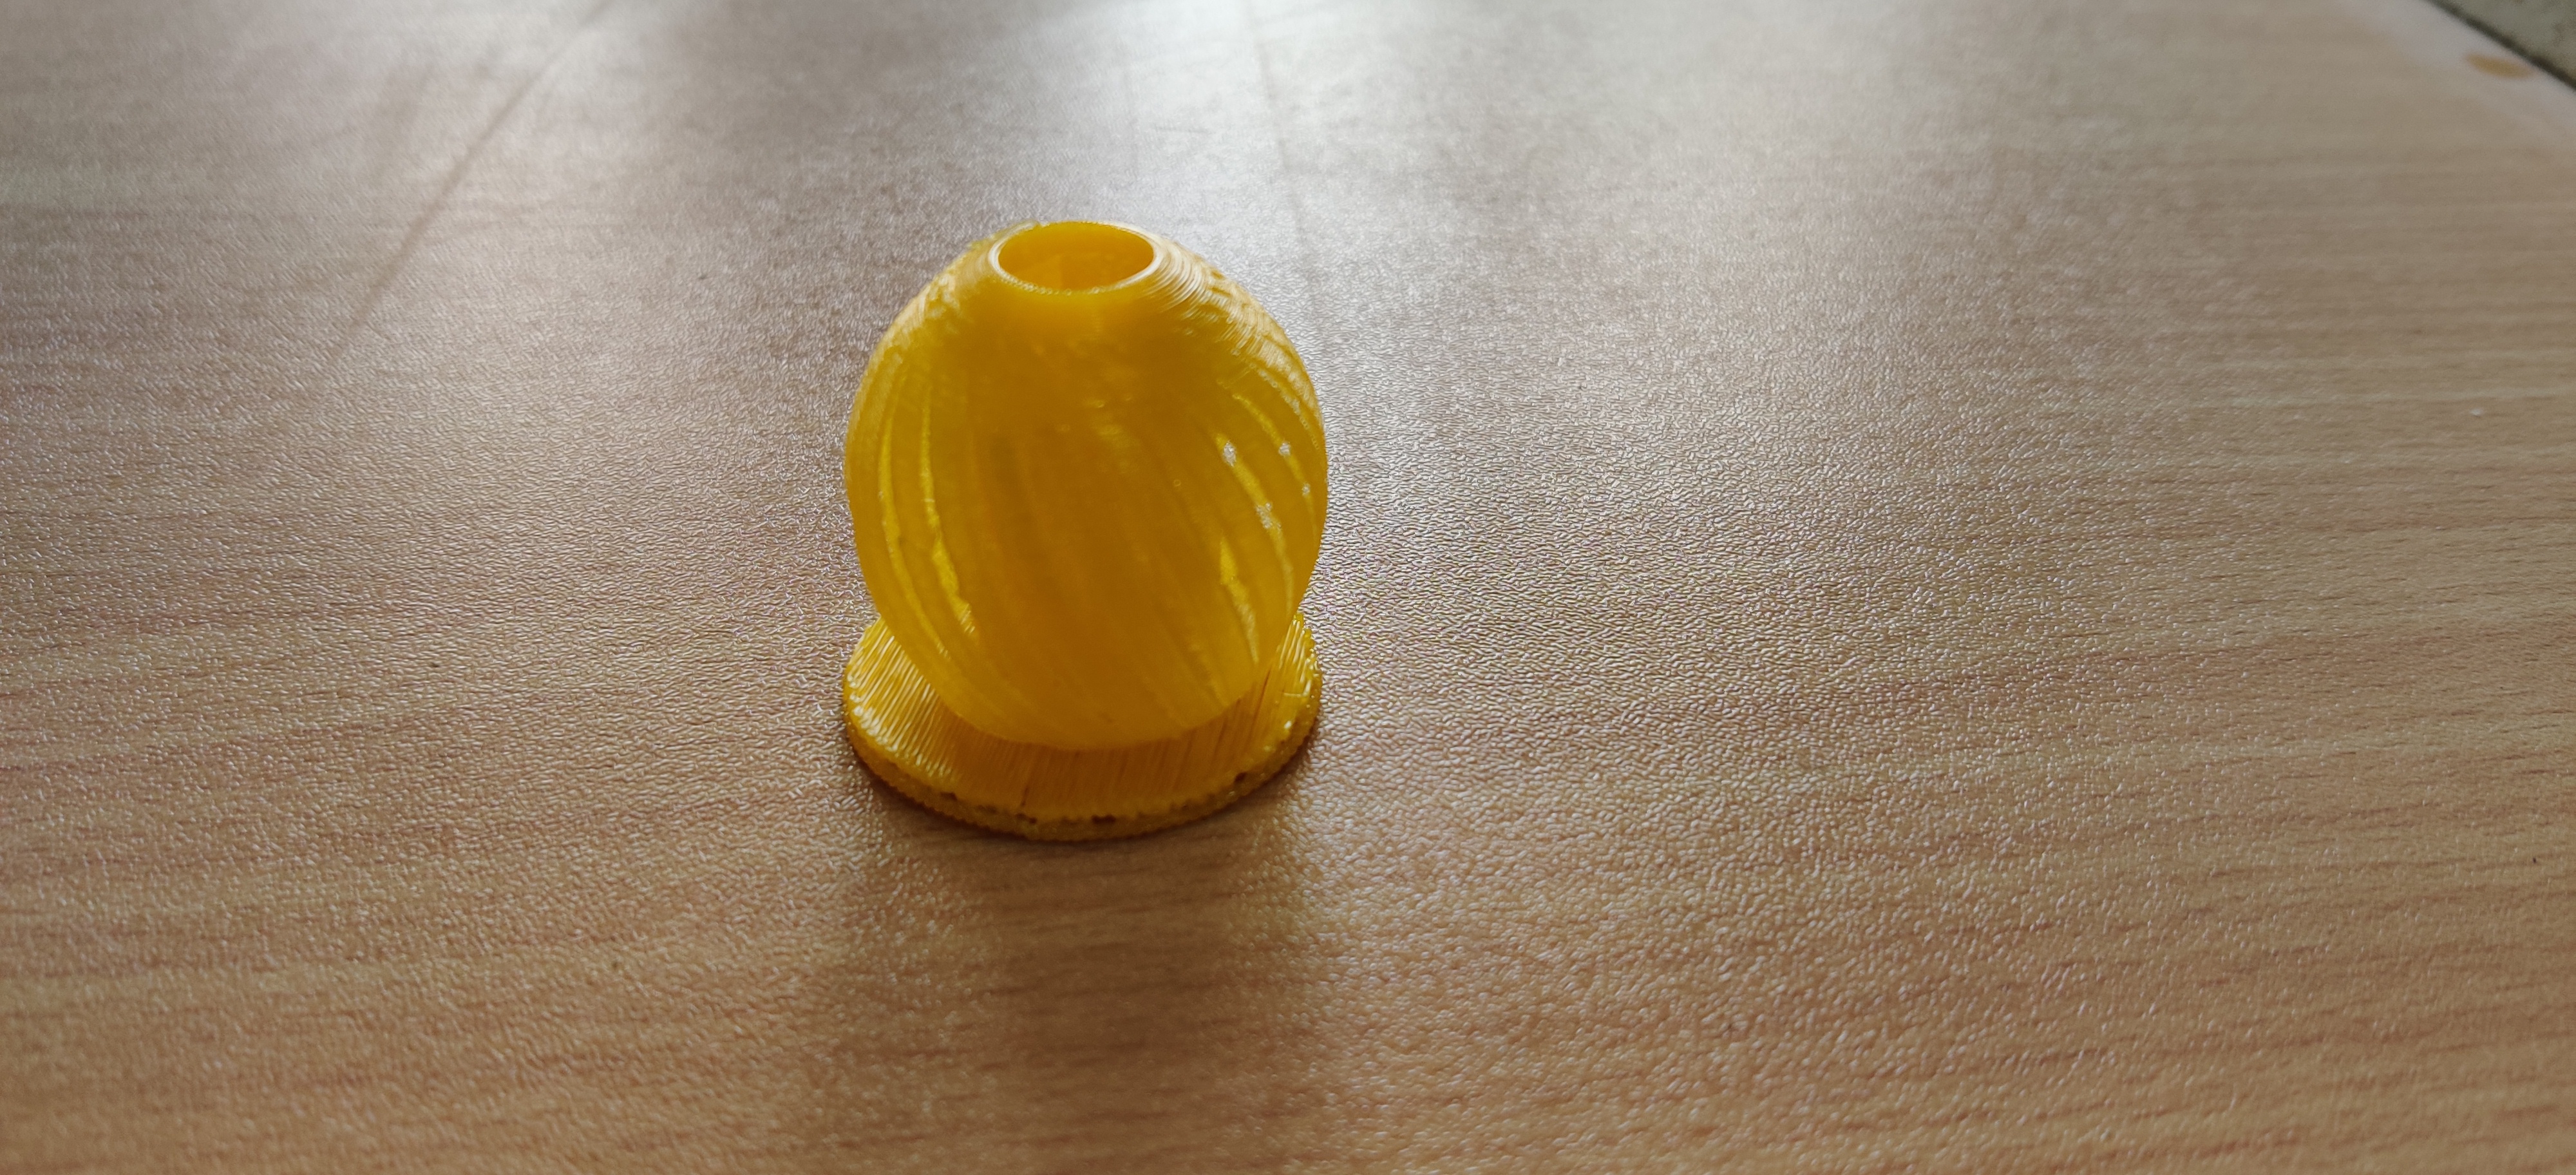
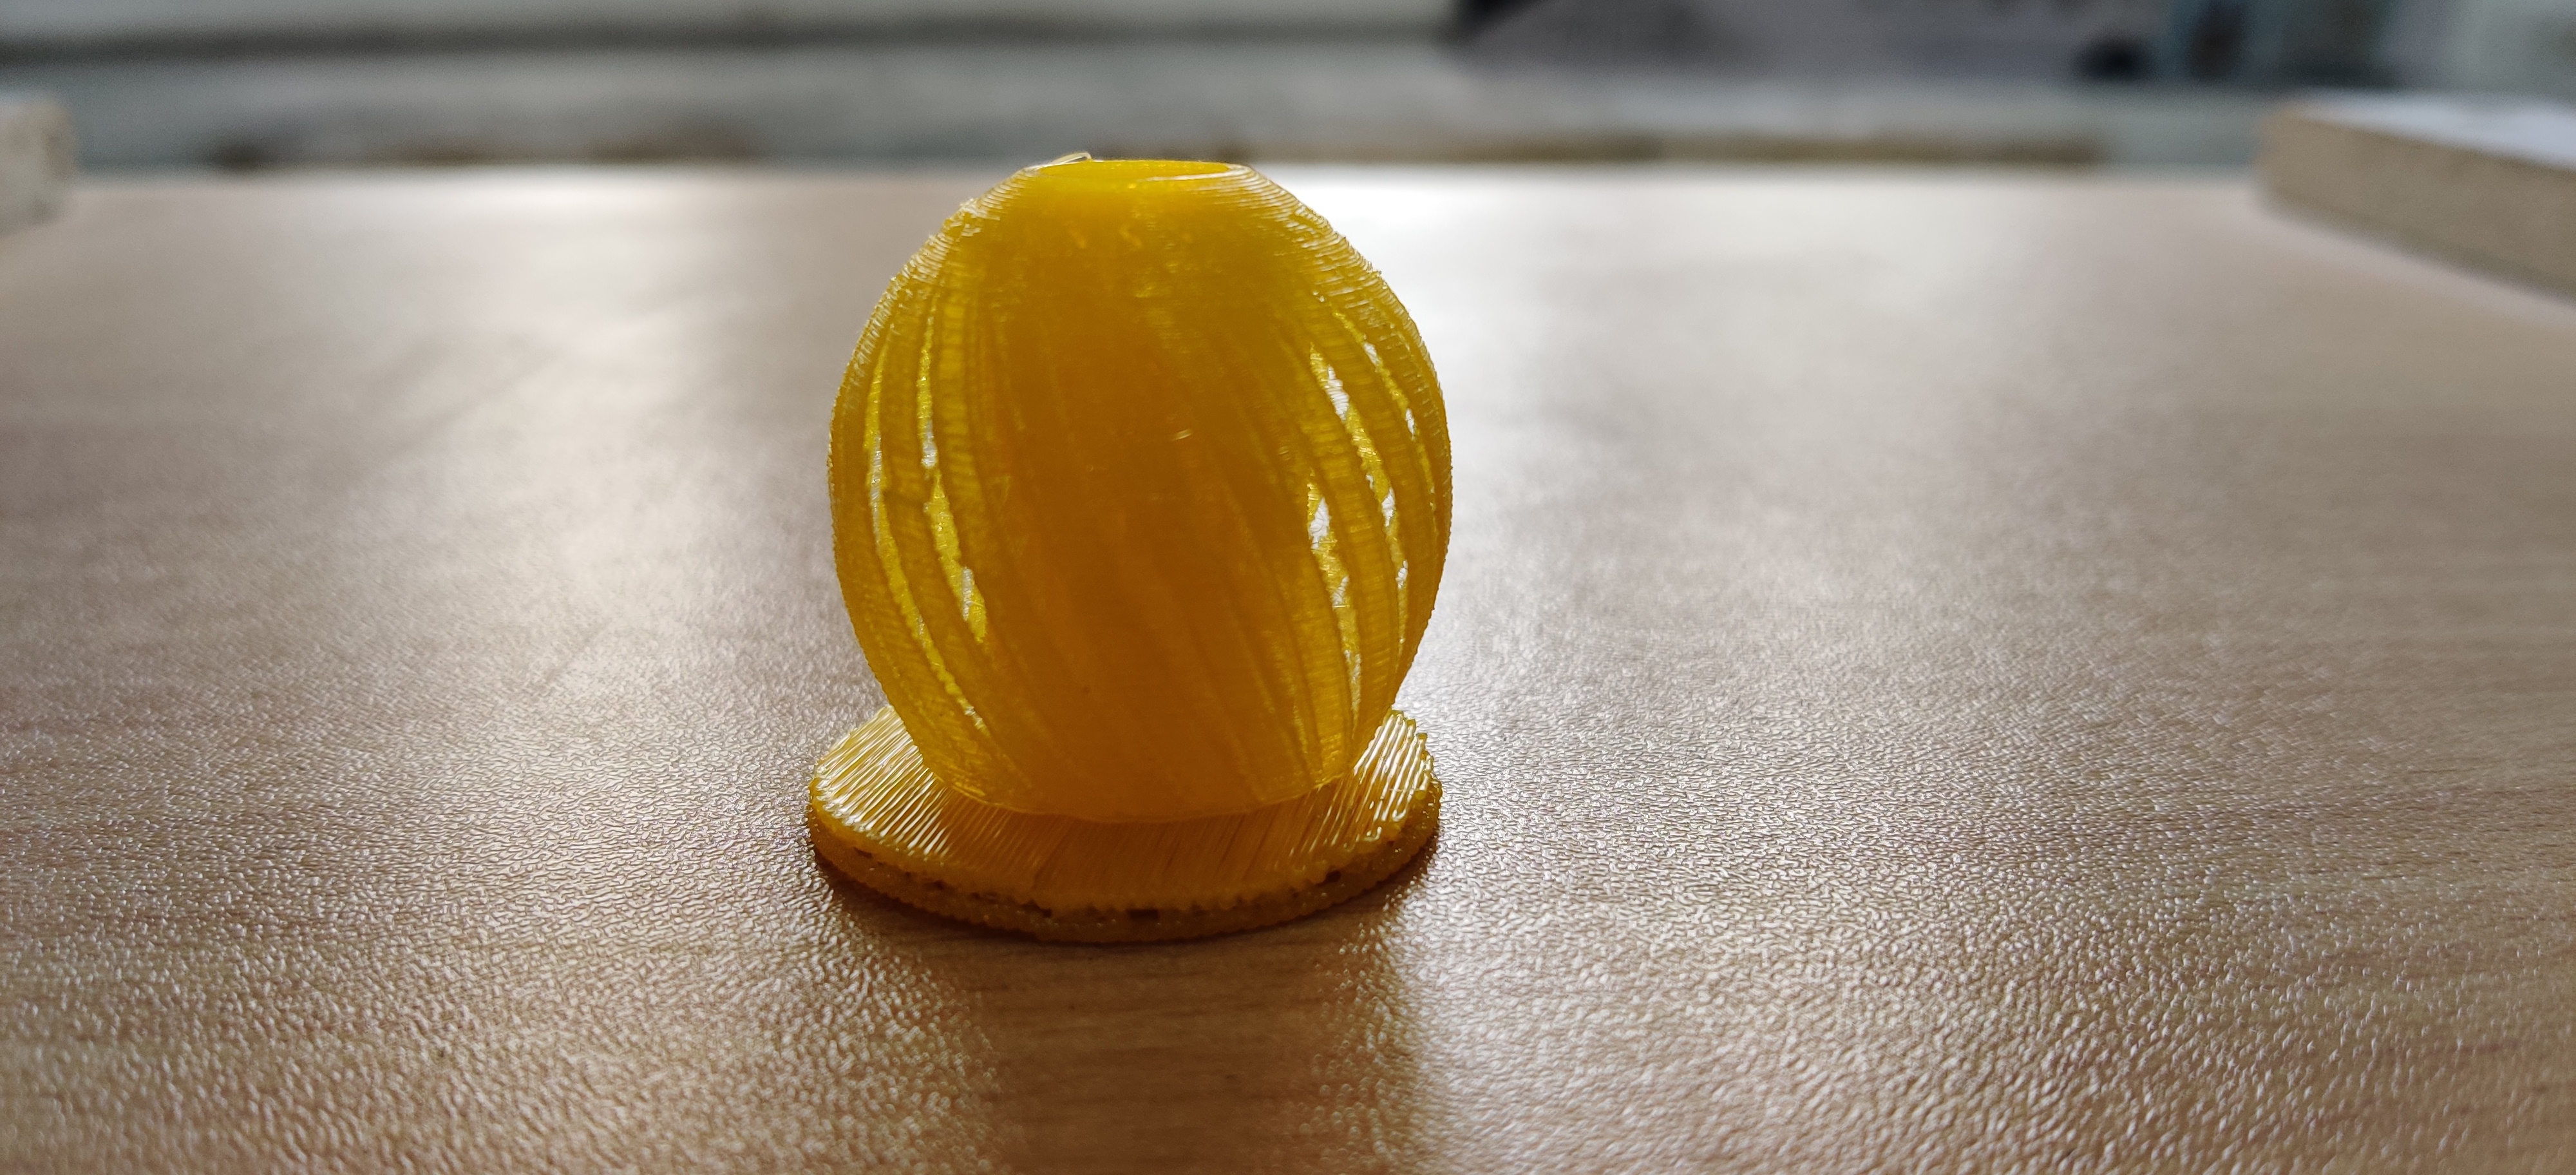
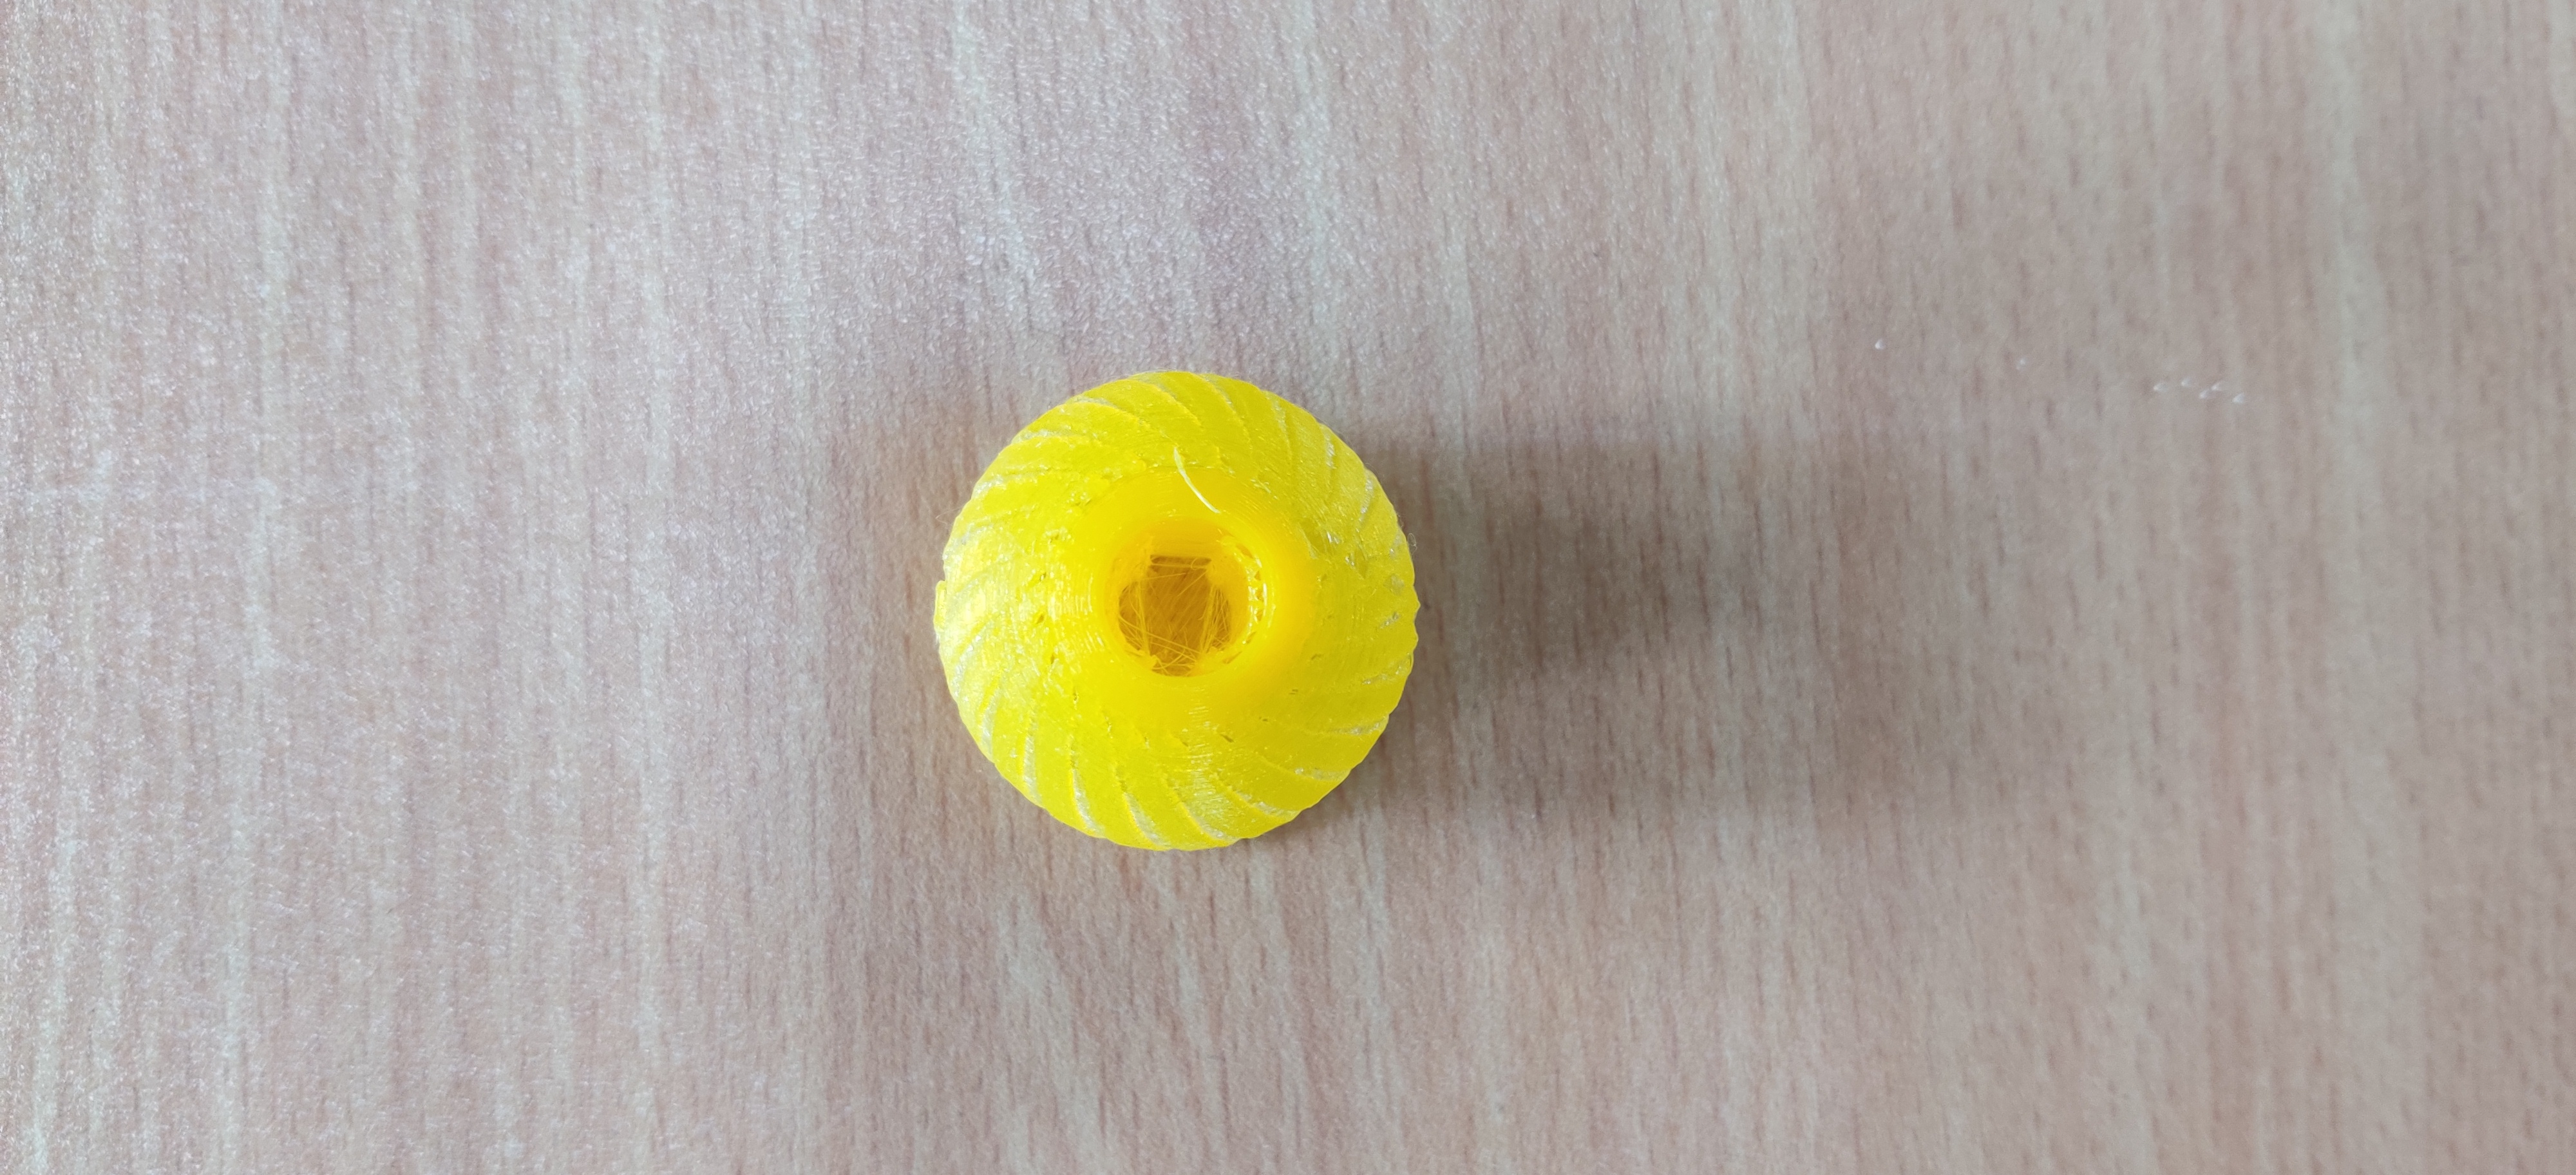
For my model I created a lamp using the software FUSION 360 and imported the model into ideamaker RAISE 3D for printing.
Downloading the software
Downloaded Idea Maker on raised 3d.com for Windows 10. After installing it, I selected the printer model
(which the idea-maker remembers for future models). For changing this I went to the Printer, current type of printer -and selected the printer.
The modeling software used for the model was Fusion 360.
Making and importing the model
I created a lamp (process mentioned in Assignment 6). I imported the 3d model using add icon and dragging it to workspace. Then I checked the model
in the 3D space of ideamaker at different angles and zooming lengths and panning the workspace.


I changed the support settings by going to supports structure menu on the bar and selecting create auto support to generate support.
I opened the preset slicing template by pressing the start icon. I checked the printer selection. I printed this model with Ardoitec
RxP2200 SMART SSERIES printer.

Then I saved the file to .svl format and opened it in Idea Maker.
The object was oriented to stand upright. (In the first print, the model for which was the shape of the alphabet L, the orientation was modified
to incline it to the ground so it doesn’t require support).
After generating slicing and vpreviewing the print process I realized that since the lamp was designed to be hollow in the center, the support
system that was being generated was hefty. So, I modified the support settings and changed the overhang angle to a greater value (65) to reduce the
support network at the center.
The base support for the object was kept as raft.


Slicing Preview


Printing
After saving the file in a pendrive I connected the it to the printed and opened the model file and selected it to print. Print will set position and
temperature(Nozzle Temp - 216 Deg Cel & Bed Temp - 60 Deg Cel) according to instructions set in file.
I changed the support settings by going to supports structure menu on the bar and selecting create auto support to generate support. I opened the preset slicing template by pressing the start icon. I checked the printer selection. I printed this model with Ardoitec RxP2200 SMART SSERIES printer. Then I saved the file to .svl format and opened it in Idea Maker. The object was oriented to stand upright. (In the first print, the model for which was the shape of the alphabet L, the orientation was modified to incline it to the ground so it doesn’t require support). After generating slicing and vpreviewing the print process I realized that since the lamp was designed to be hollow in the center, the support system that was being generated was hefty. So, I modified the support settings and changed the overhang angle to a greater value (65) to reduce the support network at the center. The base support for the object was kept as raft.
Slicing Preview