
Assignment 1
Mamp- for local hosting WinScp for uploading files into the iitd server.
Task- Creating and documenting website using html and css.
To get started we downloaded and installed the following applications-Visual Studio Code
To create and edit text html text files.
MAMP
MAMP stands for ‘Mac Apache MySQL PHP’. It is used to test the files on our local browser before we upload it on the actual server. This is extremely helpful because uploading files again and again on the server is time consuming. MAMP gives instant editing results.
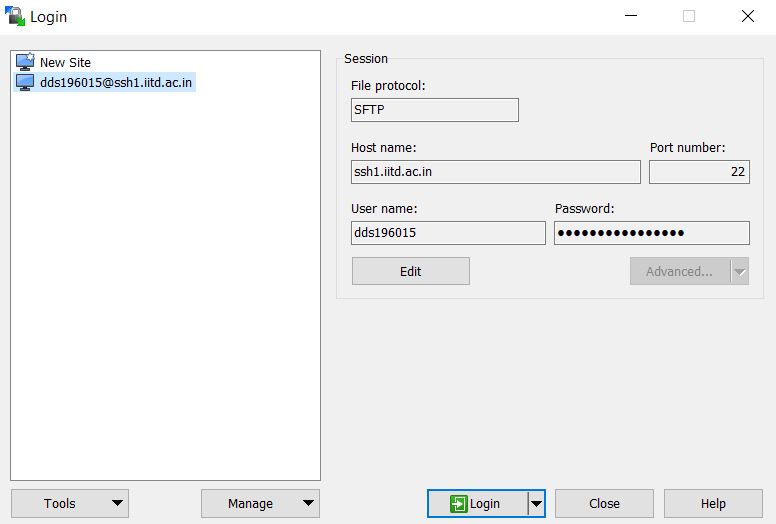
WinScp
Its main function is secure file transfer between a local and a remote computer. Beyond this, WinSCP offers basic file manager and file synchronization functionality
Kdenlive
free and open-source video editing software
Imagemagick
Free and open-source software suite for displaying, converting, and editing raster image and vector image files
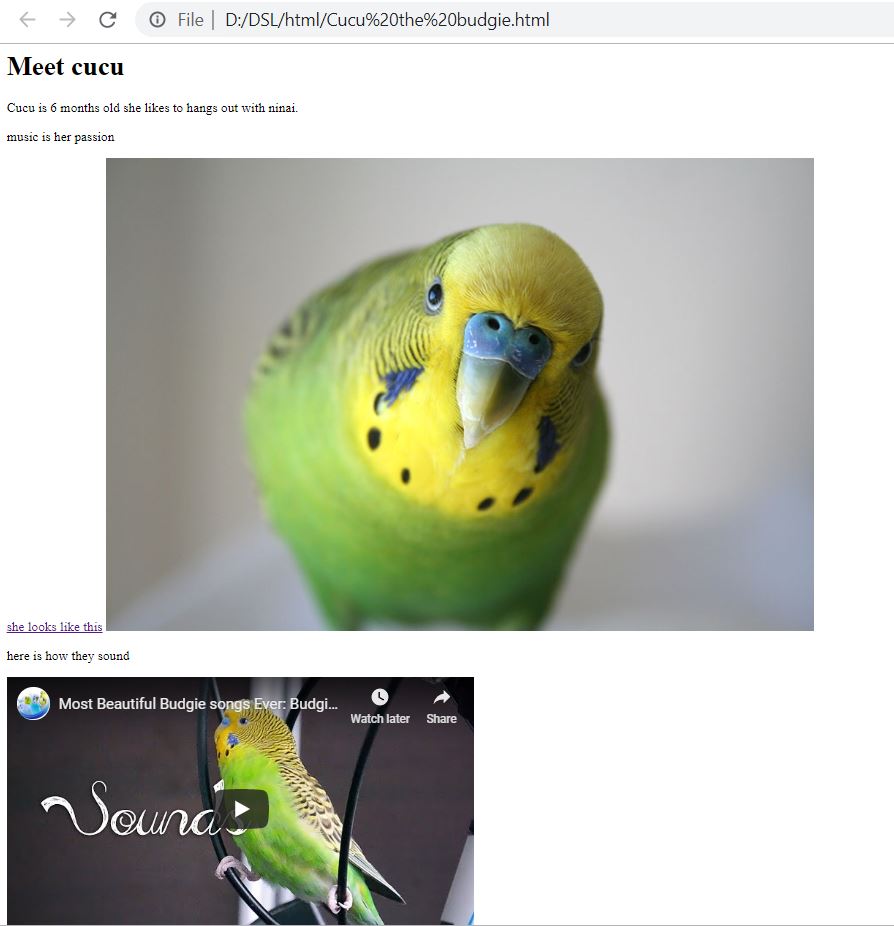
 Practiced the basics of html (uploading video, image, headings, paragraphs, links etc) referencing from w3 school
Creating a html code, uploading image and video
Practiced the basics of html (uploading video, image, headings, paragraphs, links etc) referencing from w3 school
Creating a html code, uploading image and video
Creating a basic webiste
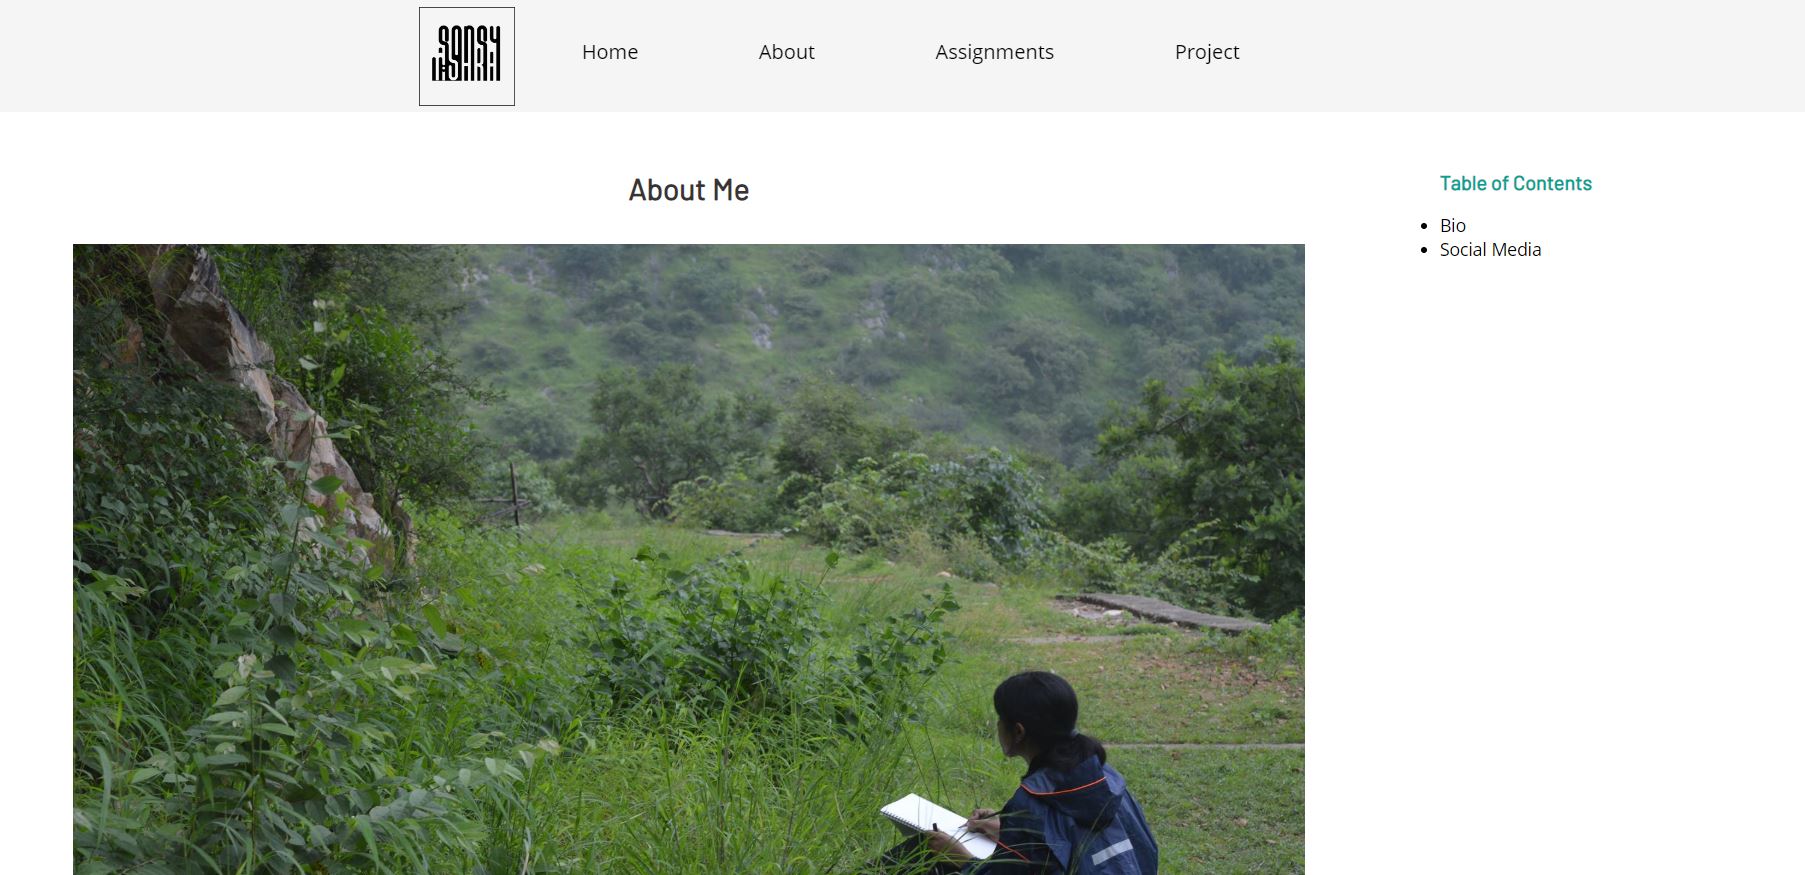
For creating webiste first I visited the webiste "www.infinityfree.com" to create my subdomain sonsymishra.com for free. I began writing the codes for my webiste in visual code editor and saving them in .html format.Creating my webiste using a basic template
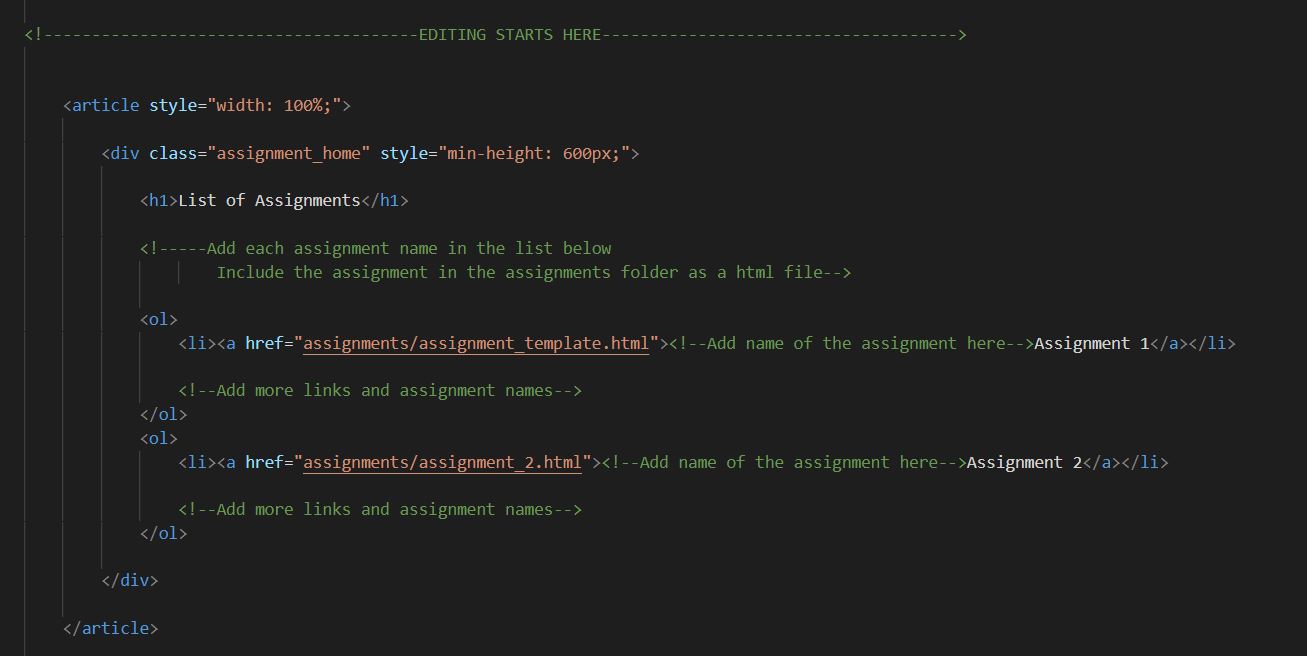
After understanding and testing the basic code in html, I created my website using a template. The template consisted of an about page, project navigation page, assignment page and the format in a seperate css file. The basic template looked like this-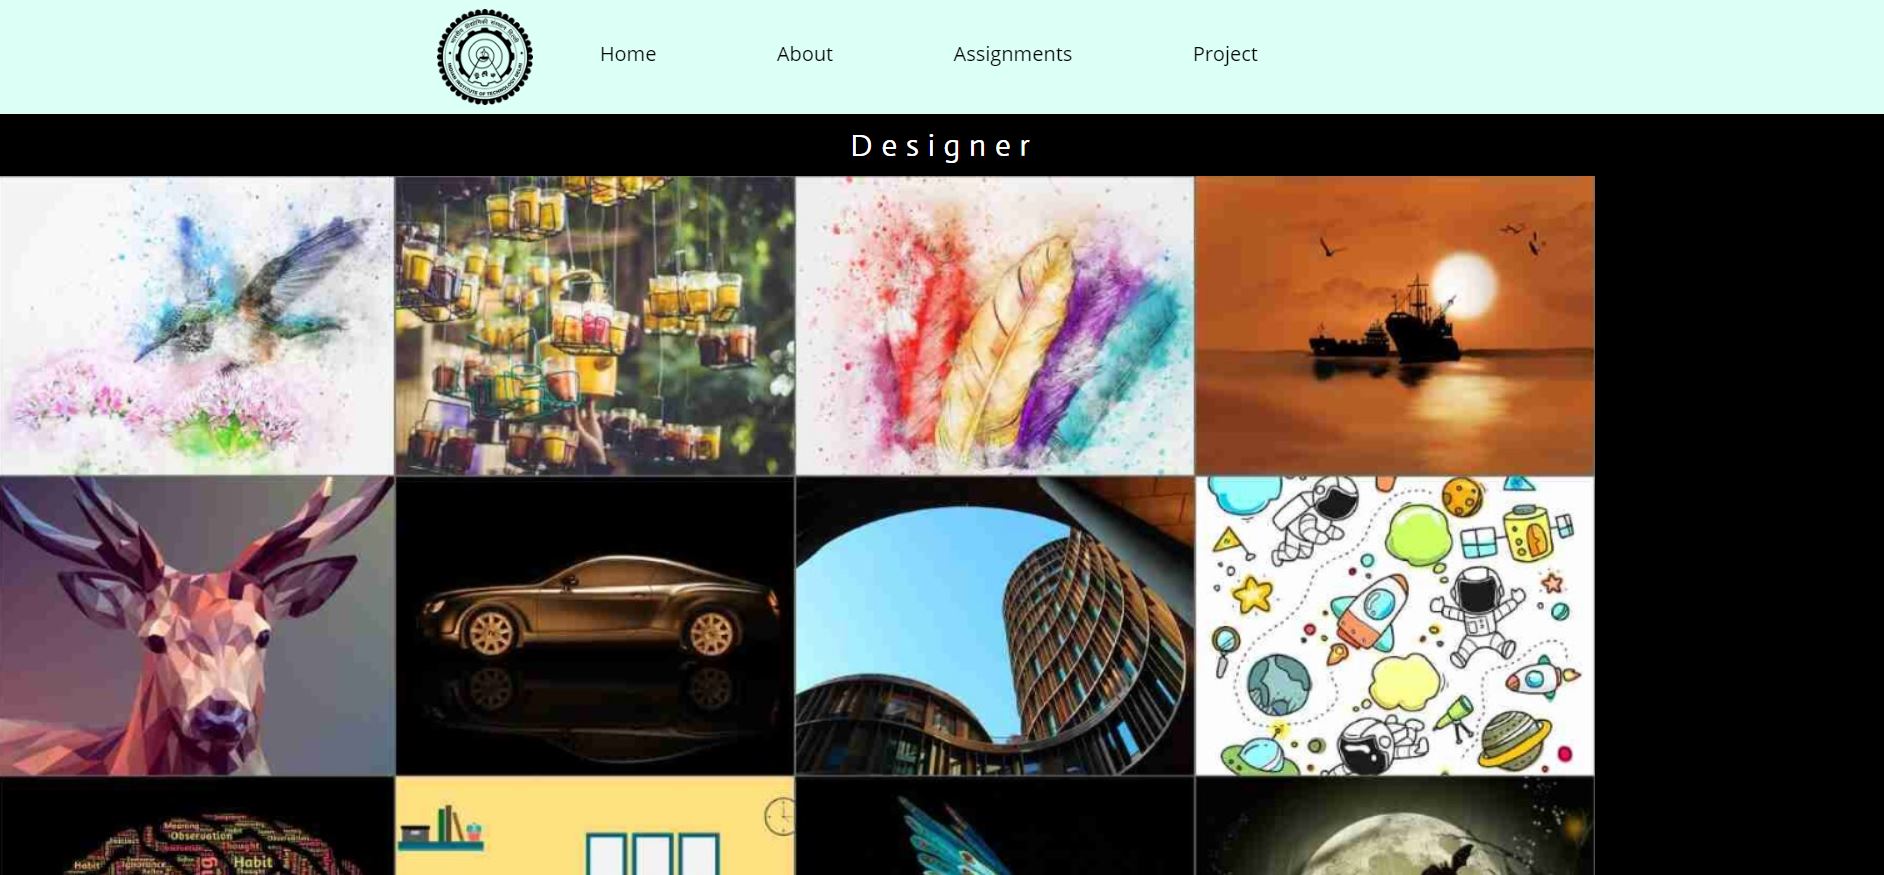
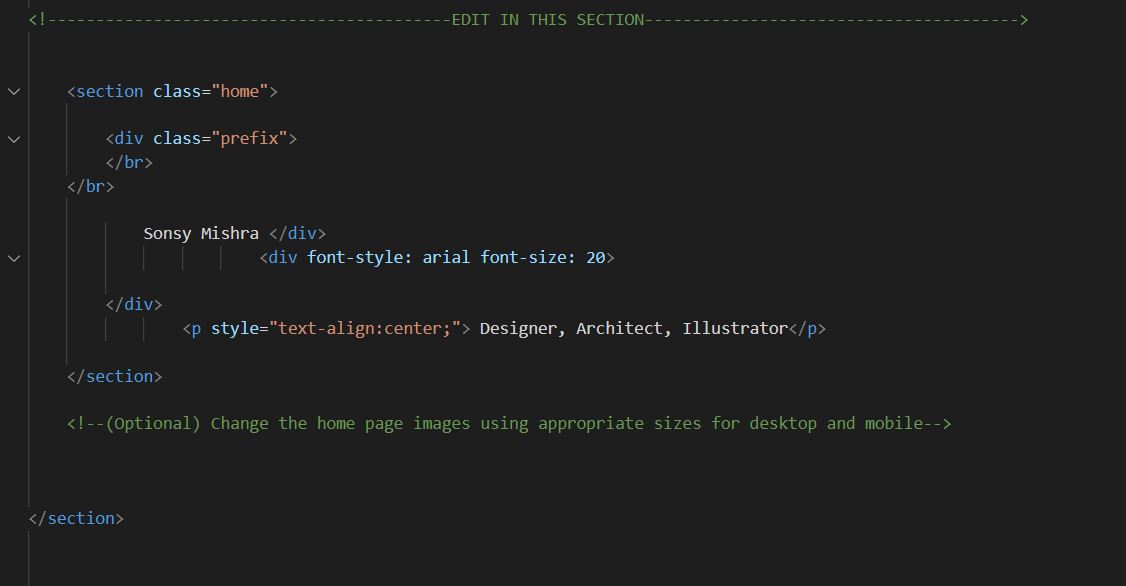
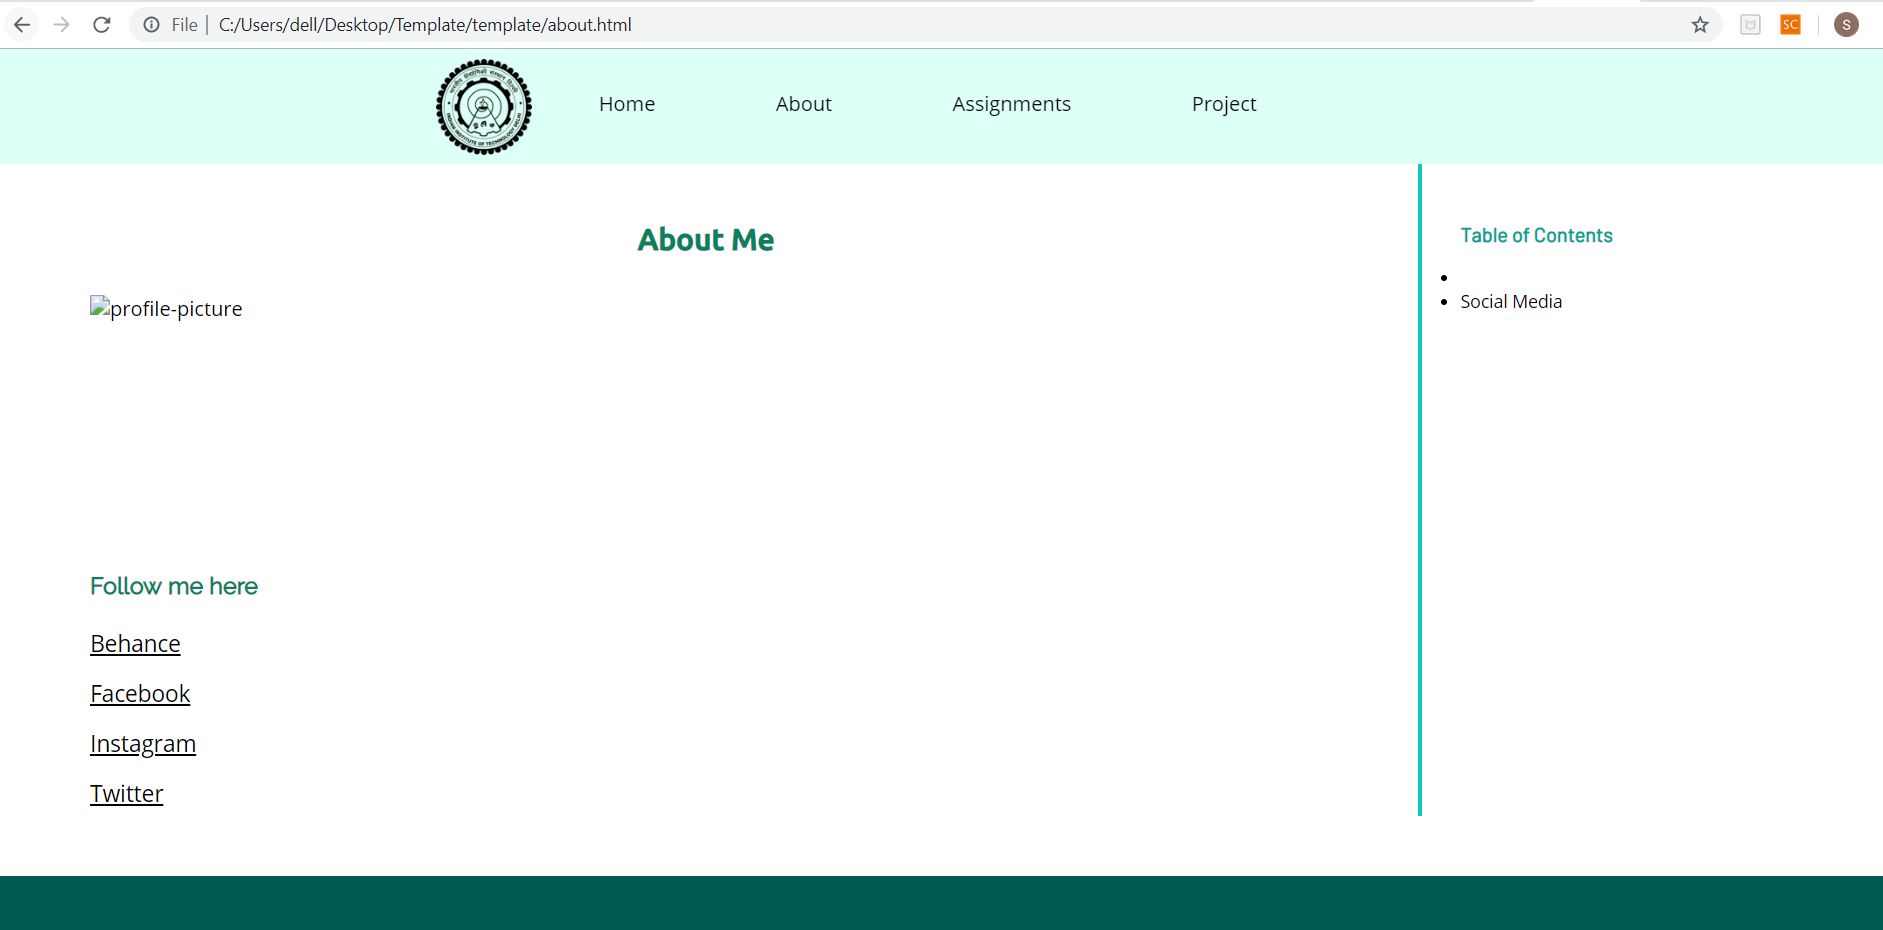 After understanding the code I edited the information and layout, changing the division within the page, colour of heading and buttons,
text size, navigation options to customize the website in the intended style. I replaced the images, logo and reference links with my own data
and changed their division, size, alignment and navigation.
After understanding the code I edited the information and layout, changing the division within the page, colour of heading and buttons,
text size, navigation options to customize the website in the intended style. I replaced the images, logo and reference links with my own data
and changed their division, size, alignment and navigation.
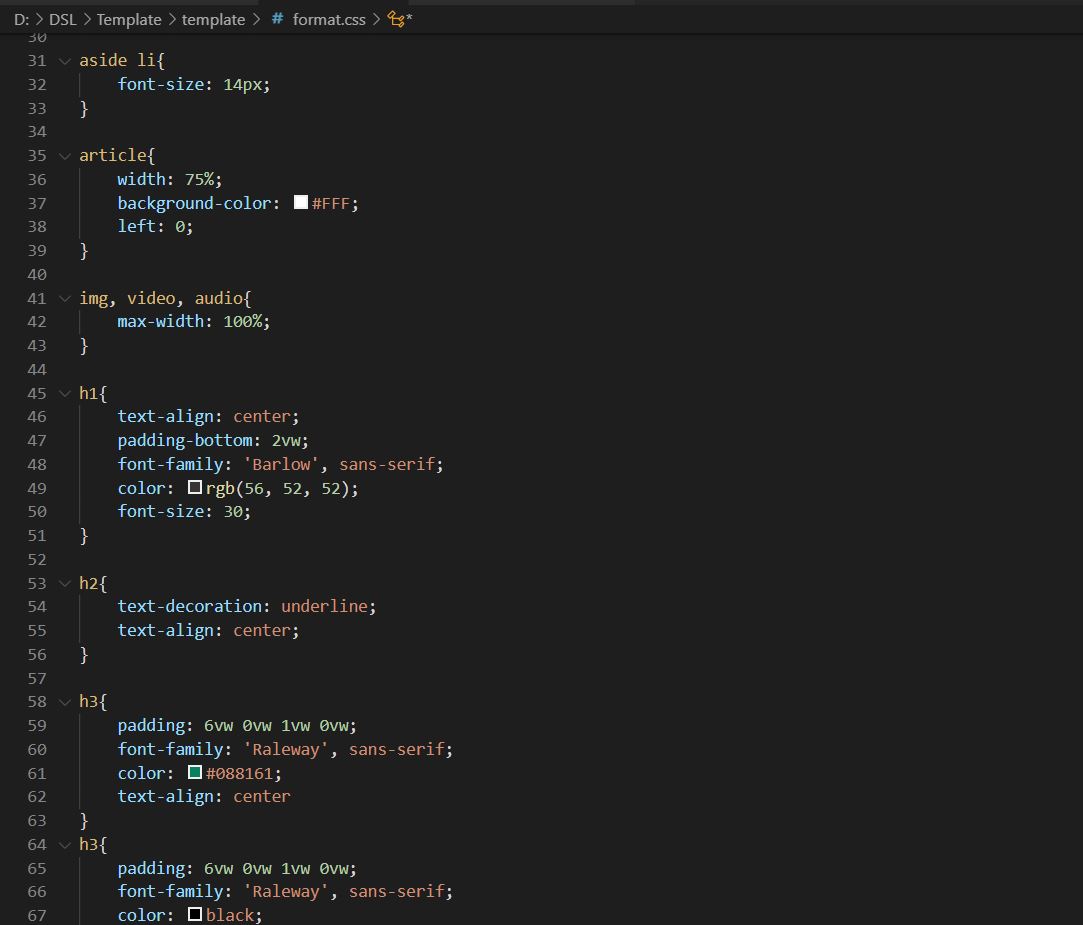
Steps followed
adjusting the format in css - colour, font, alignment uploading image files, logo and formating text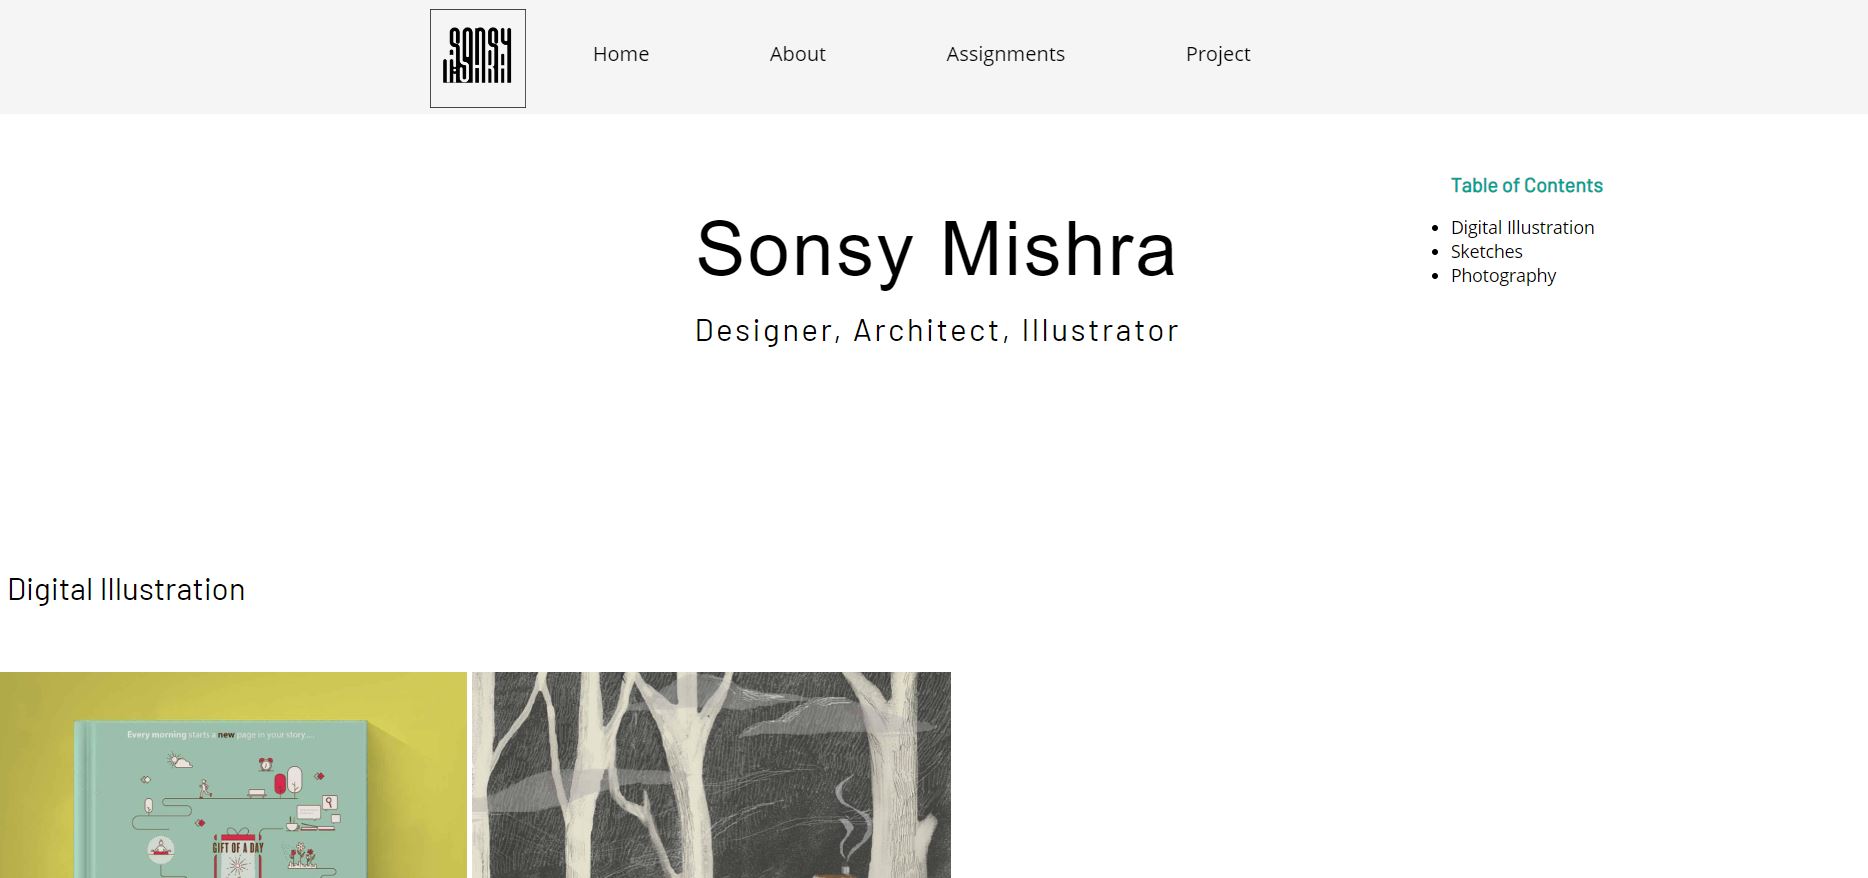
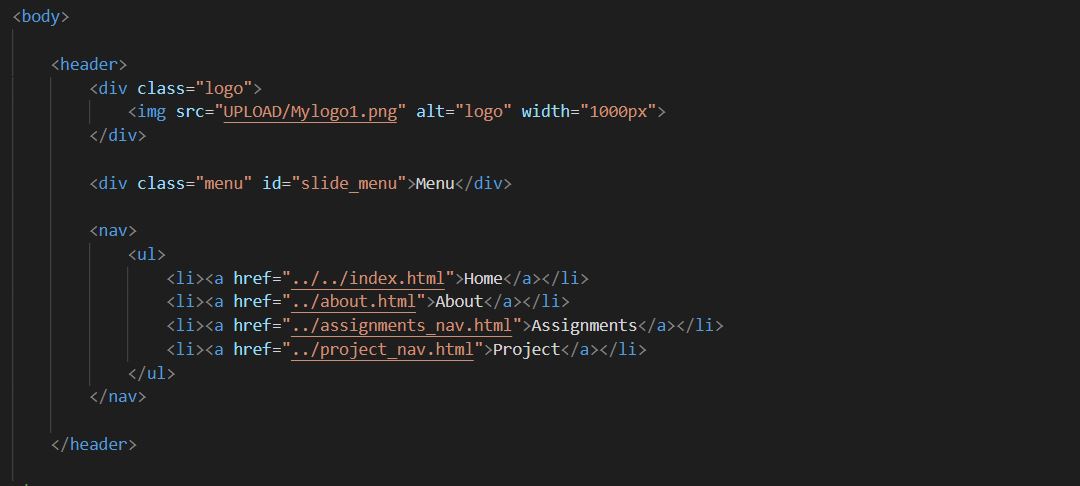
 adjusting the navigation
 creating page for assignment in assignment navigation file
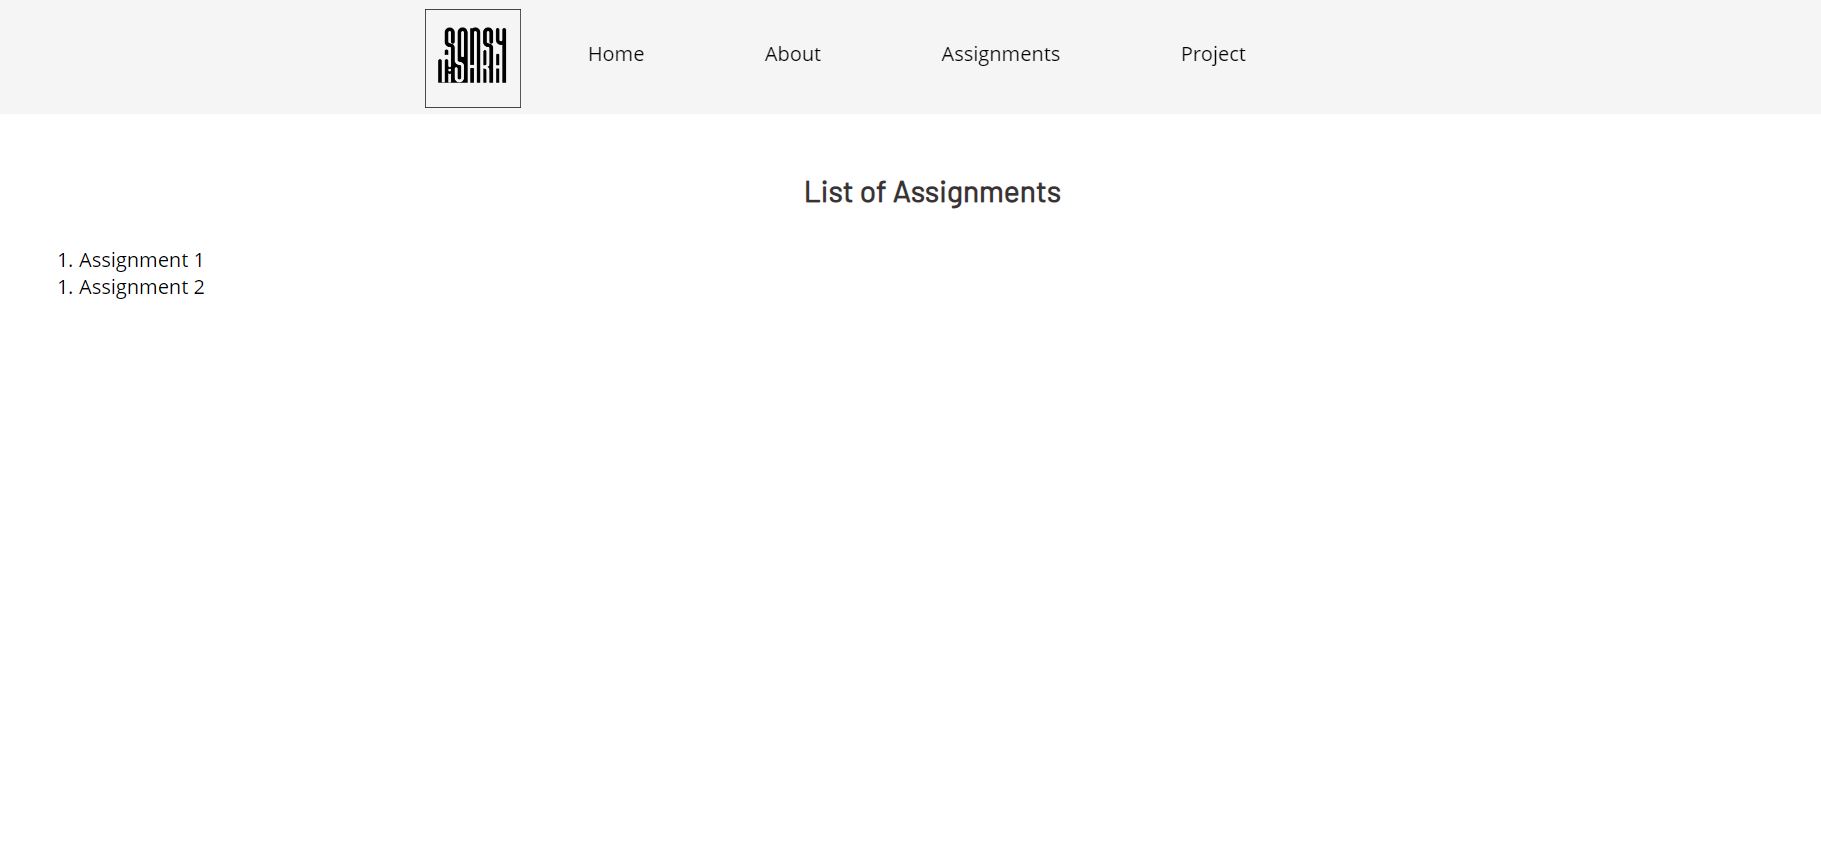 After completing the website I uploaded the folder containing the html files into server so that it can be opened through privateweb