CNC means Computer Numerical Control. This means a computer converts the design produced by Computer Aided Design
software (CAD), into numbers. The numbers can be considered to be the coordinates of a graph and they control the
movement of the cutter.
It is a subtractive manufacturing process which typically employs computerized controls and machine tools to remove
layers of material from a stock piece—known as the blank or workpiece—and produces a custom-designed part.
As per the assignment brief, we need to perform the task of designing, milling, and assembling a workpiece using
CNC Machine.
This assignment had to be done in a group of two and hence, I paired up with Atul Kumar who has an Architect
background.
Process:
1. Tools and Materials Used
1. CNC machine
2. 6mm & 17mm thickness MDF board
3. Vectric Aspire software (Full version v8.5)
4. Adobe Illustrator
5. Vaccum Cleaner
2. Preparation of CAD Design File & CNC Milling
1. We made the CAD File in Adobe Illustrator, by tracing out a graphic taken from the internet as shown below.

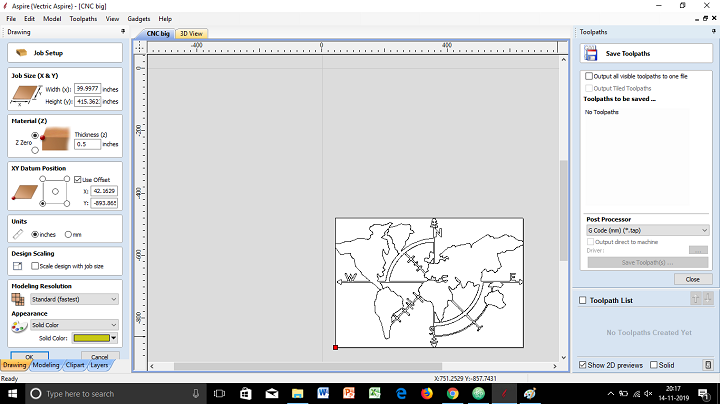
2. Import the CAD File to Vectric Aspire software v8.5.

3. Adjust settings and parameters.
3.1 Job Size: Defines the size of your drawing that is going to be cut on the material.
3.2 Material thickness: Thickness of the board you are going to put on the machine.
3.3 XY Datum Position: Defines the point from which machine is going to cut.
3.4 Units: Make sure that the units selected are the desired one.
3.5 Modeling resolution: Set it up as per the finish required.
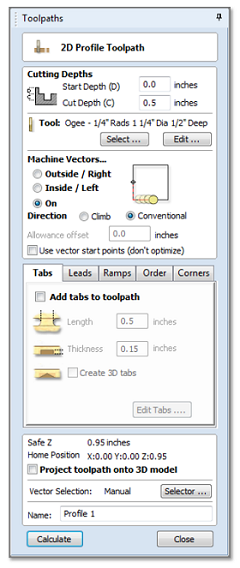
4. Click "Toolpath" in topmost corner and select 2D profile toolpath option.
4.1 Start depth: Set it to zero.
4.2 Cut depth: Depth of the board for a cut through.
4.3 Machine Vectors: Select how you want your bit to move while cutting with reference to the drawing.
4.4 Home position: Set it to 0,0,0.
5. Close and Save Toolpath as "G Code (mm) Tap file".
6. Copy the file to a pendrive and take it to the CNC Machine Control.
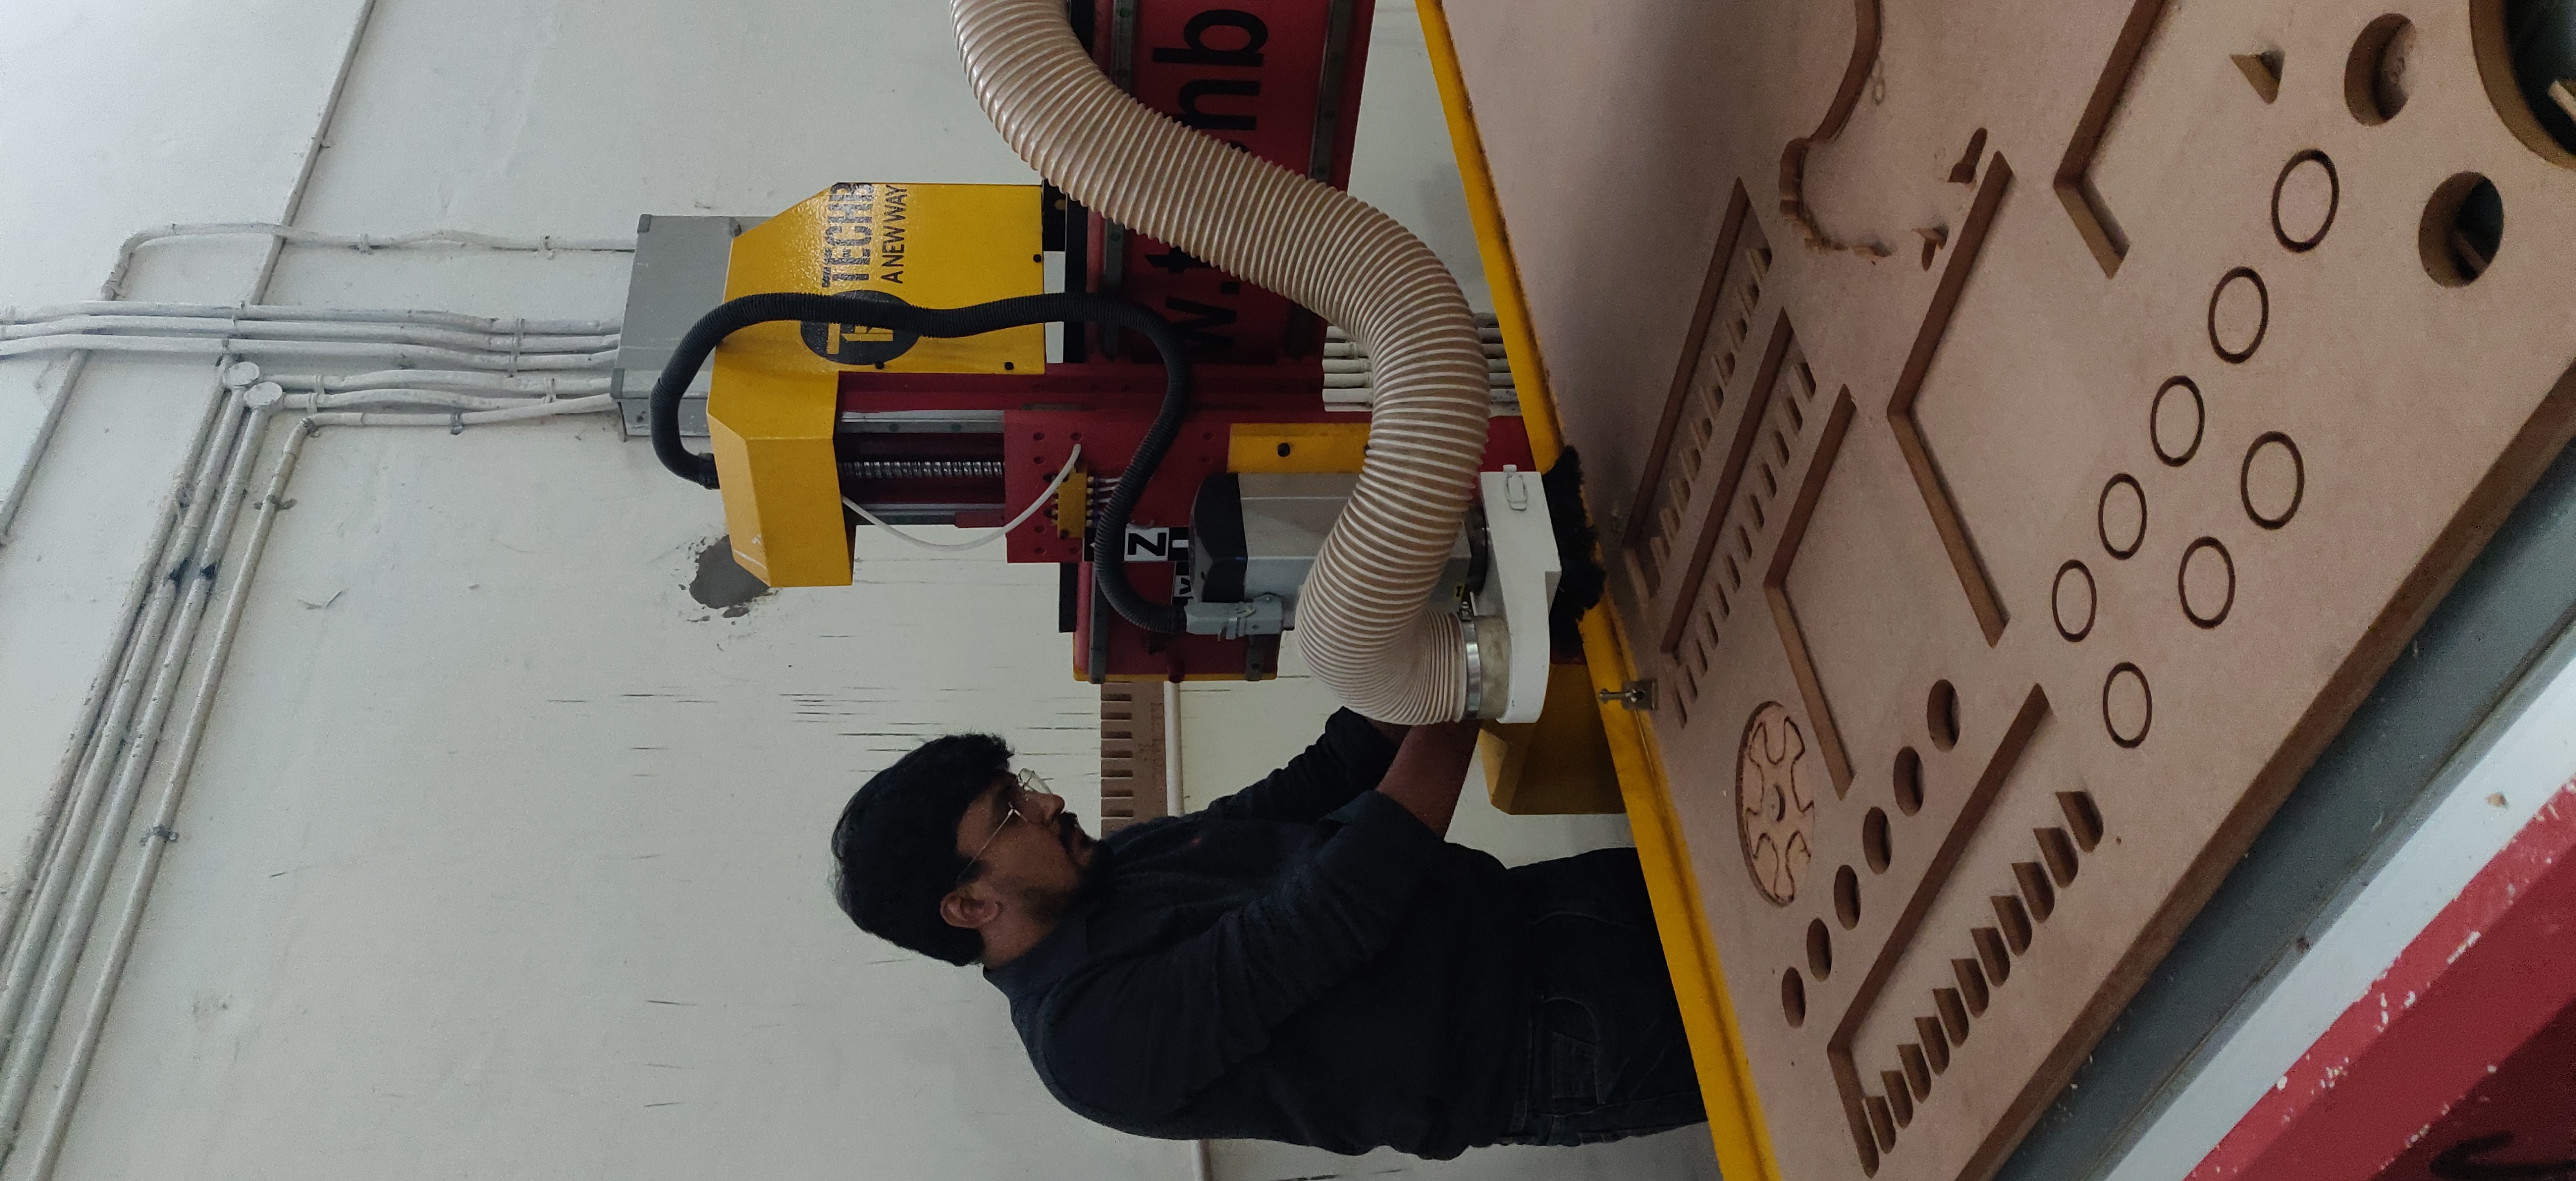
7. Set up the CNC Machine.
7.1 Switch on the power MCB to turn on the CNC Machine.
7.2 Press the home button on the machine to bring the CNC engraving head to the corner of the machine bed.
7.3 Place a >6mm MDF board as the sacrifice board to protect the machine bed.
7.4 Place the main material board over the sacrifice board.
7.5 Put the desired drill bit (6mm) in the machine.
8. Set up the Origin Coordinate in the Handheld Controller.
8.1 1 & 5: for moving the head in X axis.
8.2 2 & 6: for moving the head in Y axis.
8.3 3 & 7: for moving the head in Z axis.
8.4 Press '4' to lock the X&Y positions and '8' to lock the Z position as 0.
8.5 Make sure that the drill bit almost touches the MDF surface. (Try rotating the head with hand while slowly
moving the pin to down. If it rotates freely but should be as close as possible to the board.)
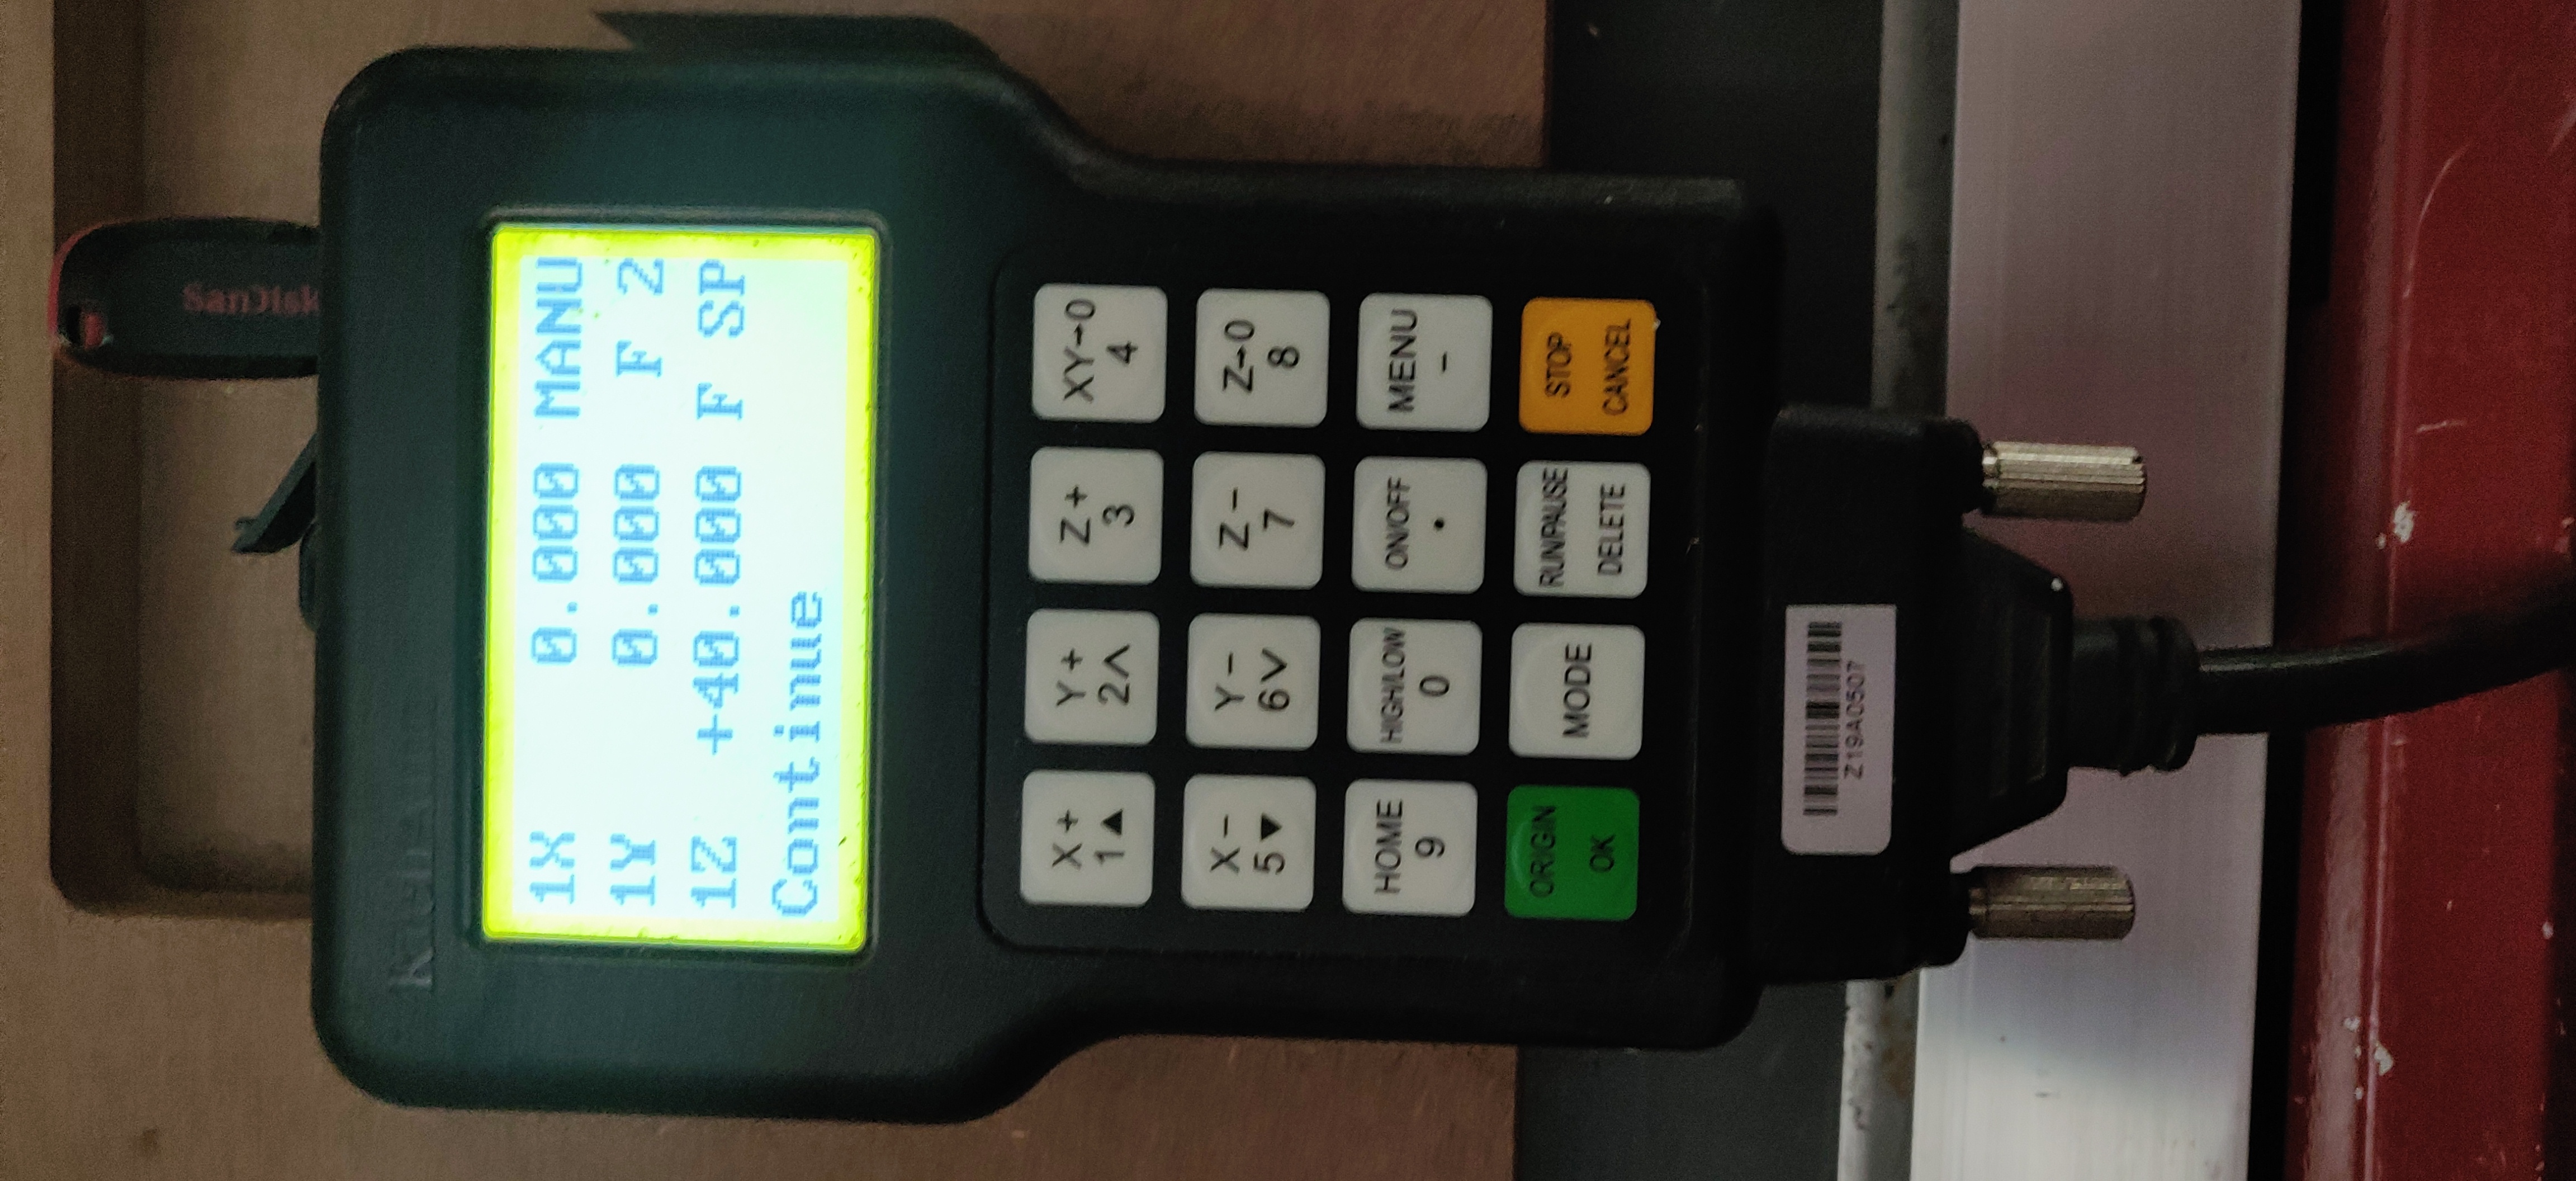
9. Press Run/Pause button. Select the G-Code file accordingly (UDisk File).
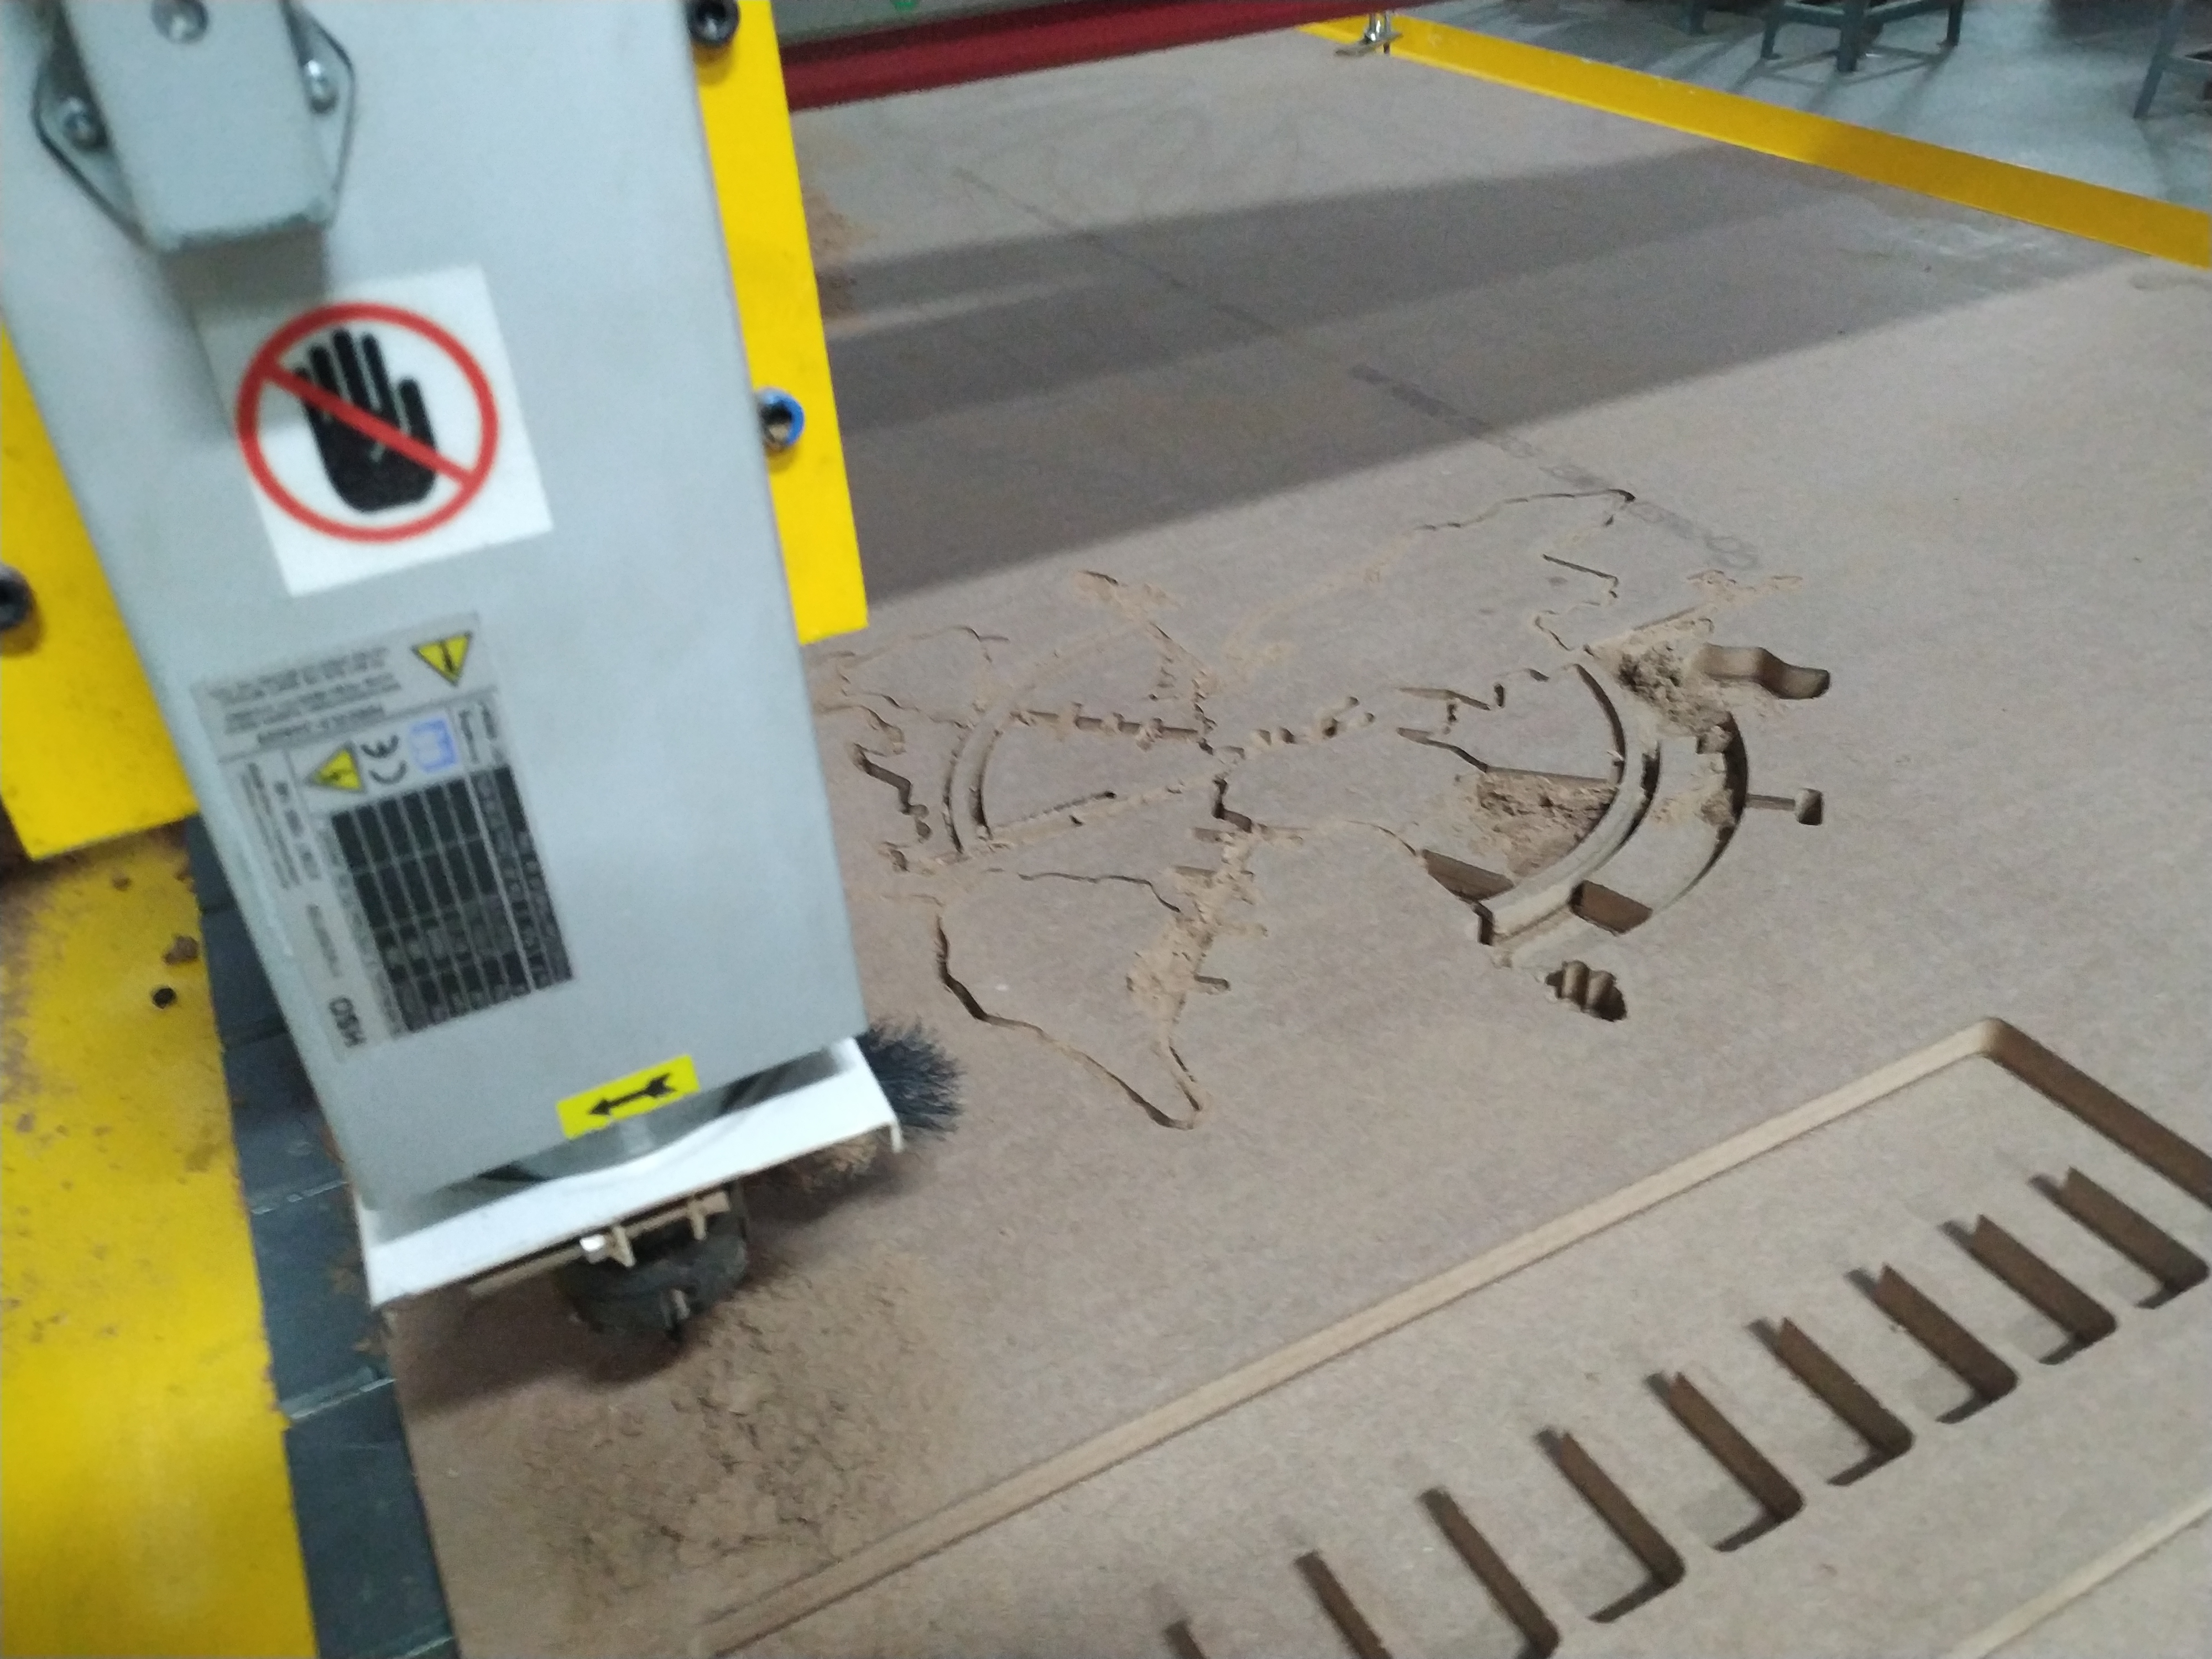
10. Attach the vaccum pump and turn it on.
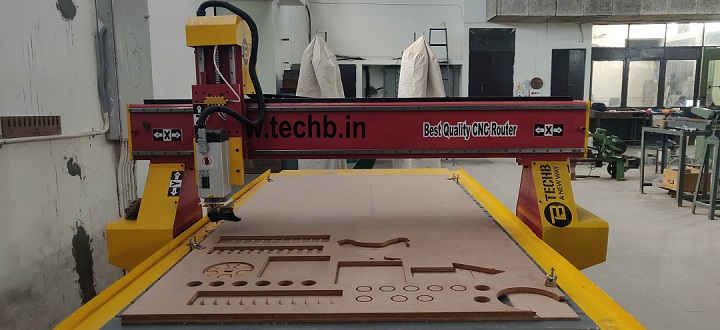
11. Run the task.
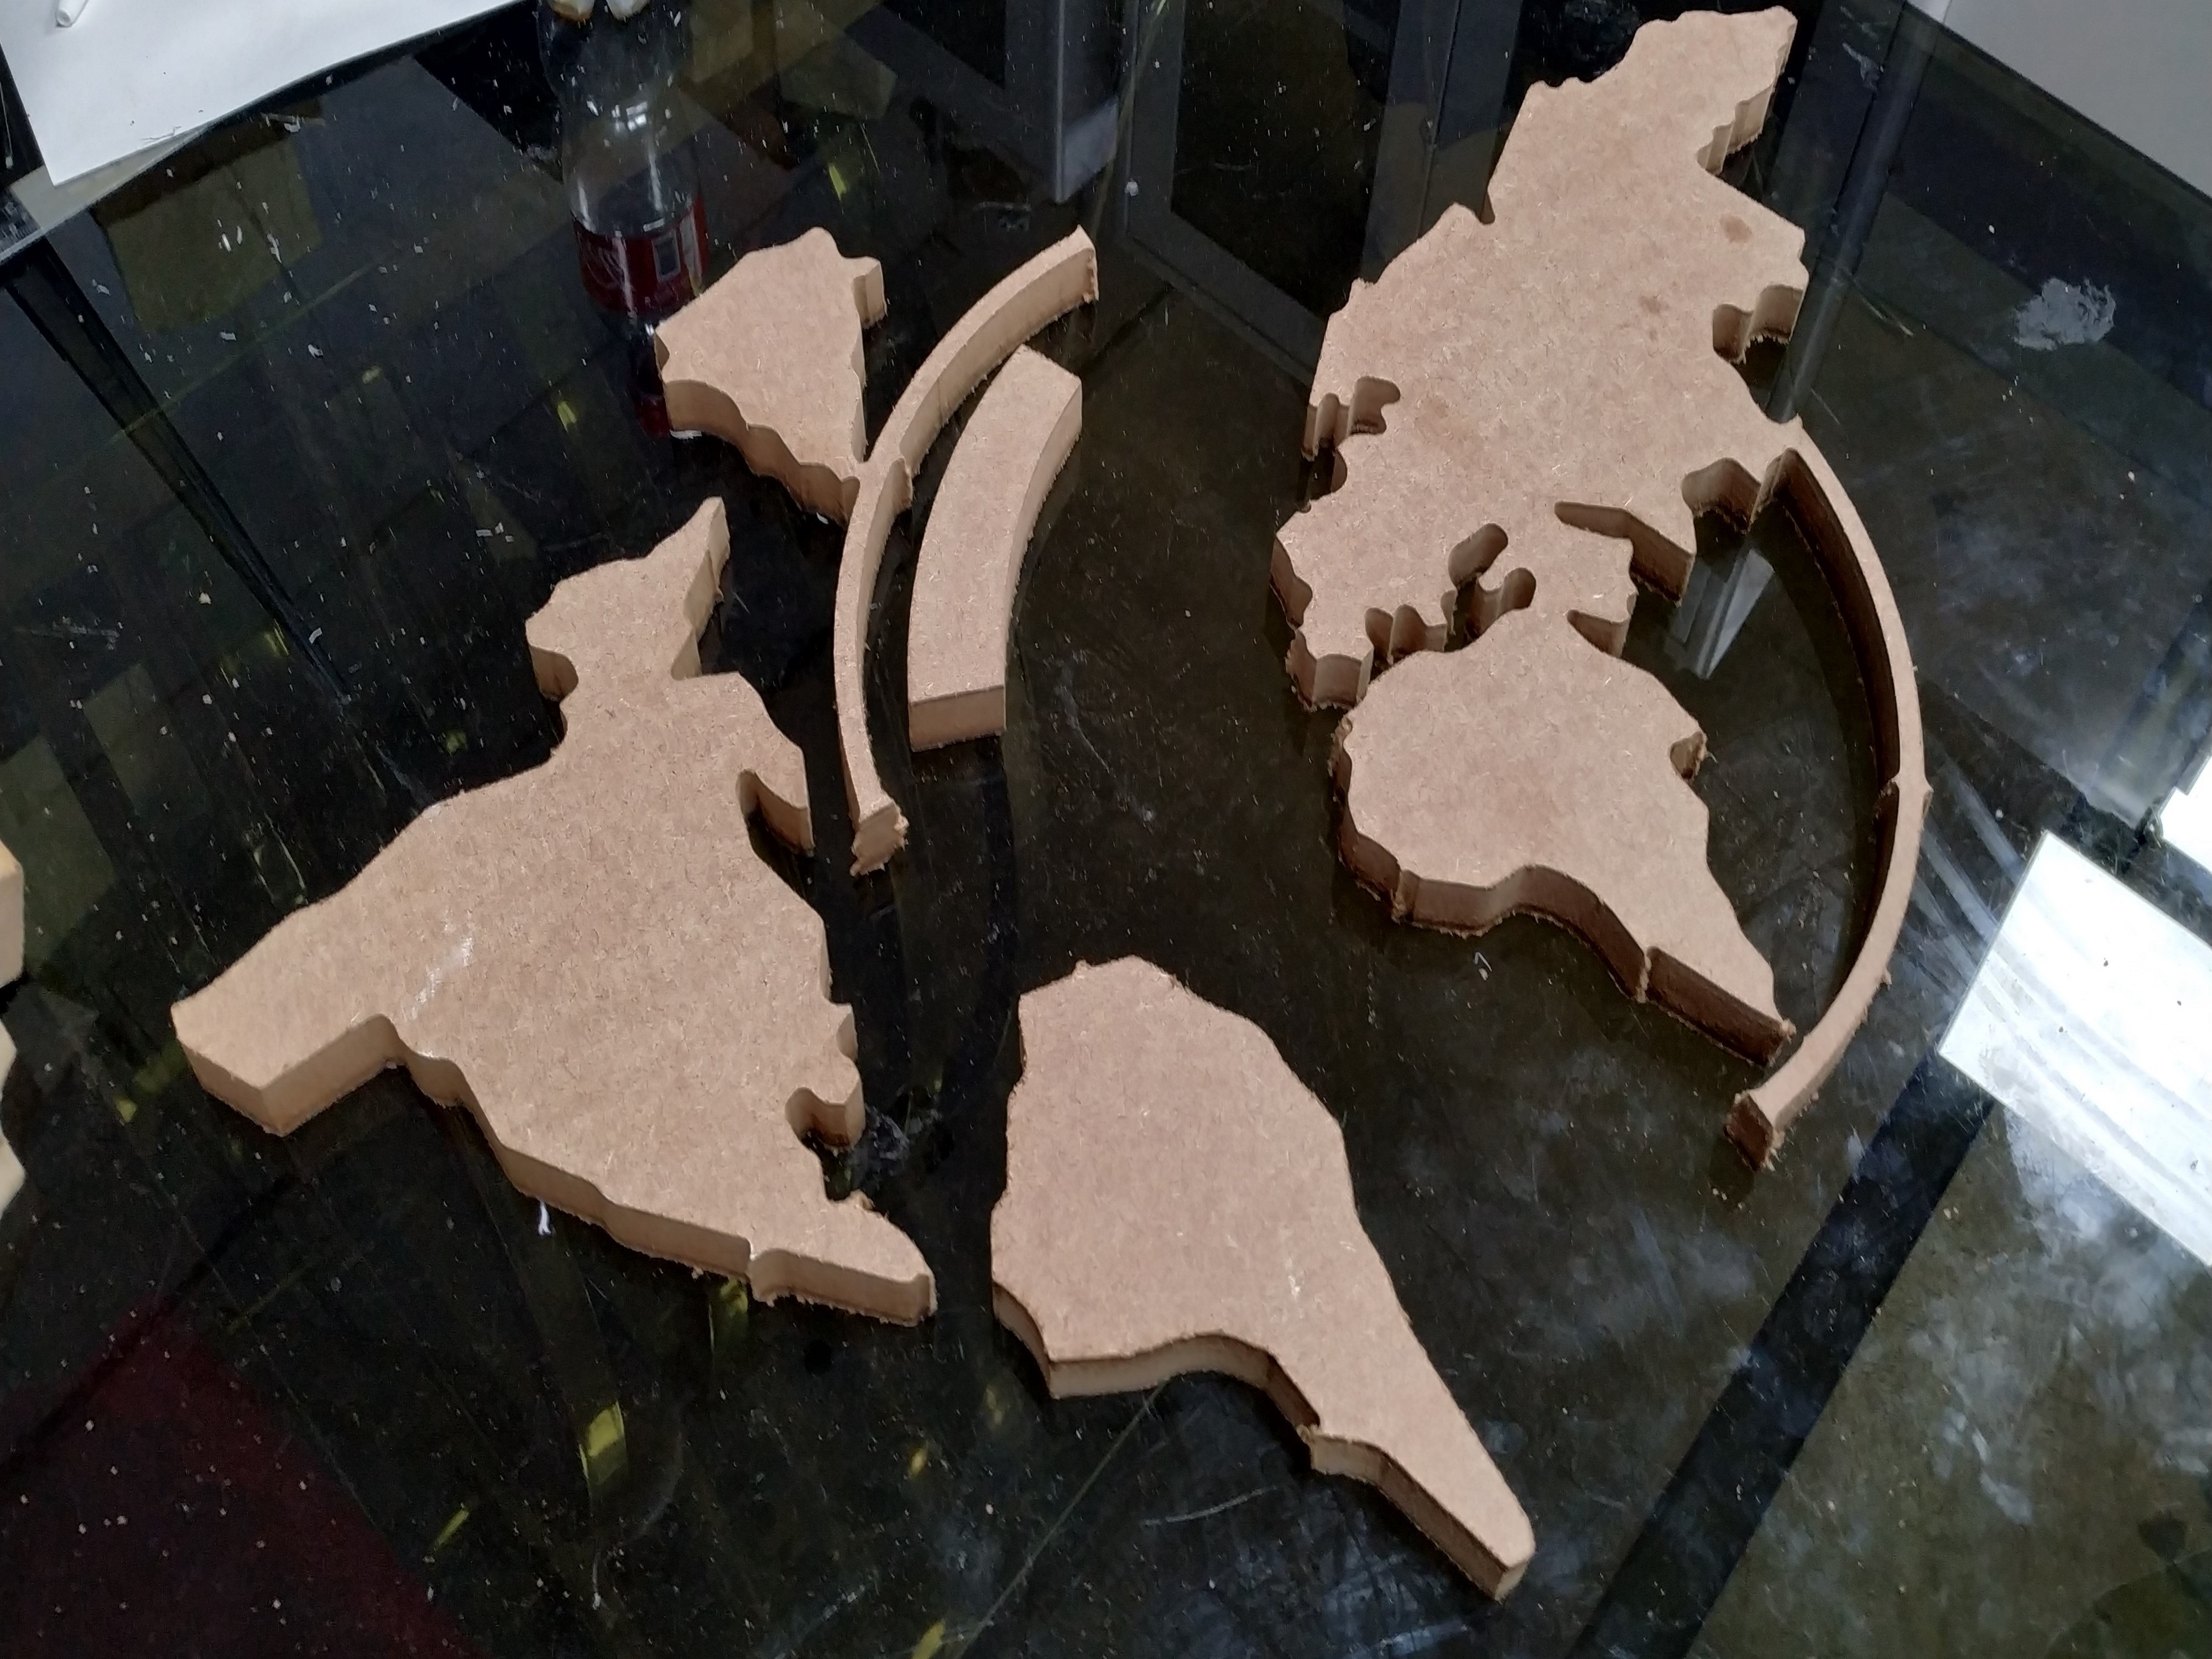
There were several problems faced with the final cut pieces. The pieces with lesser thickness were broken due to
vibrations and also we lost a few during the process. Apart from that, other cuts were done perfectly.
Demonstration:
Result:
The assignment has given me relatively good insights on CNC Machining.
The precautions to be taken care of while undergoing the process are as follow:
1. Make sure that the drawing is placed perfectly with respect to the origin.
2. Make sure that the dimensions and units are right.
3. Do not touch the machine while the operation is going on.
4. In case of any emergencies, press the power button immediately to stop the process.