3D printing or additive manufacturing is a process of making three dimensional solid objects from a digital file.
The creation of a 3D printed object is achieved using additive processes. In an additive process, an object is
created by laying down successive layers of material until the object is created. Each of these layers can be seen
as a thinly sliced horizontal cross-section of the eventual object.
As per the assignment brief, we need to perform the following tasks:
1. Prepare CAD Model Design File.
2. Prepare File in IdeaMaker Software.
3. 3D Printing (considering possible errors & problems).
This assignment had to be done in a group of two and hence, I paired up with Atul Kumar who has an Architect
background.
Process:
1. Tools and Softwares Used
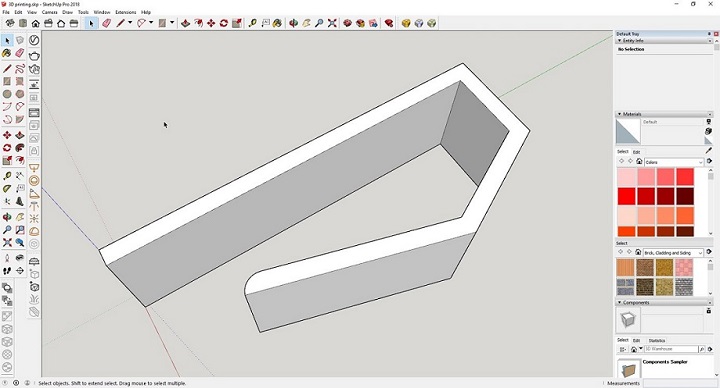
1. SketchUp Pro 2018 (For preparation of the 3D CAD model)
2. Ideamaker software (For slicing process)
3. Raise RxP2200 SMART 3D printer (For 3D printing)
4. 1.75mm PLA filament (For 3D printing)
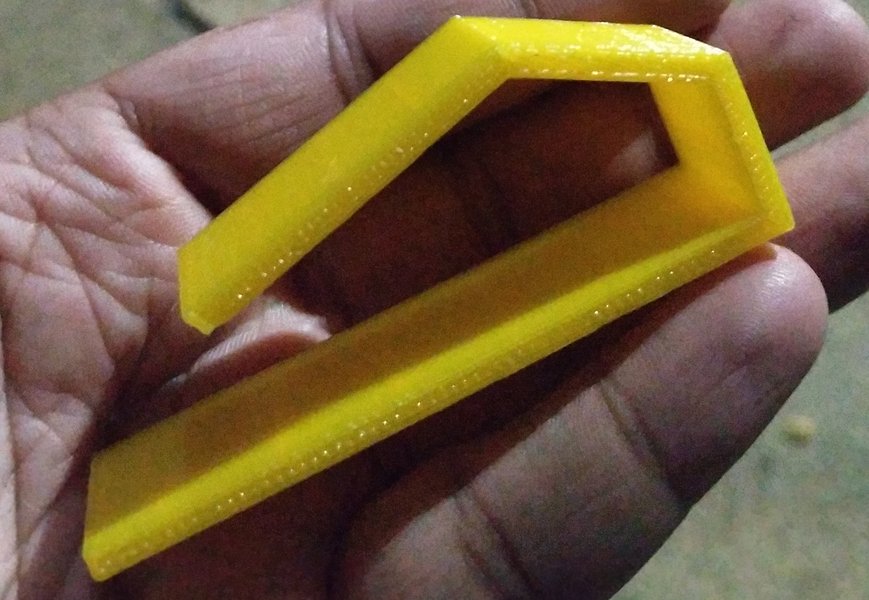
2. Preparation of CAD Model Design File
Using SketchUp Pro 2018, we planned to design a simple drawing board clip. We attempted twice for the clip design, wherein the first one was successfully printed while the printing of the other model failed due to unavoidable issues.
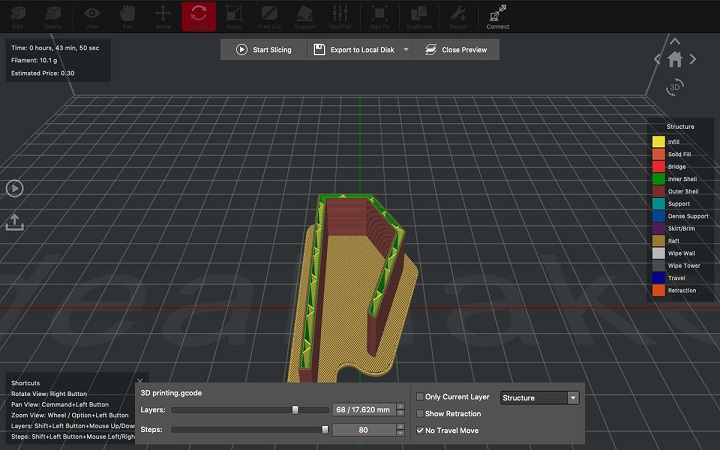
3. Preparation of File in IdeaMaker Software
Now that we had a 3D model, the next step is to prepare the file for 3D printer. This is called slicing. Slicing is dividing a 3D model into hundreds or thousands of horizontal layers and is done with a slicing software like IdeaMaker. Some 3D printers have a built-in slicer and let you feed the raw .stl, .obj or even CAD file.
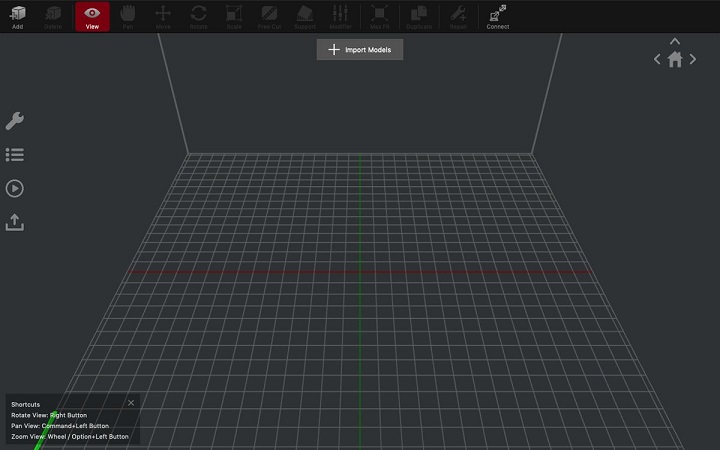
The process to do the slicing process is as follows:
1. Import the model by clicking the "Import models" button on the top.
2. Adjust the model by rotating and moving it in the workspace, such that the number of rafts and supports are
minimum.
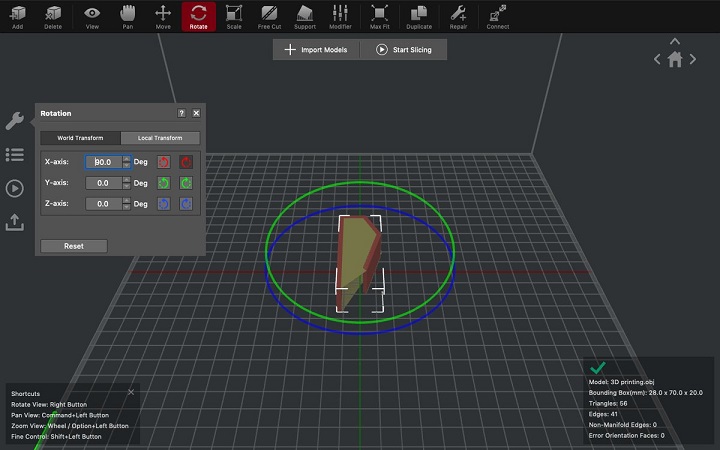
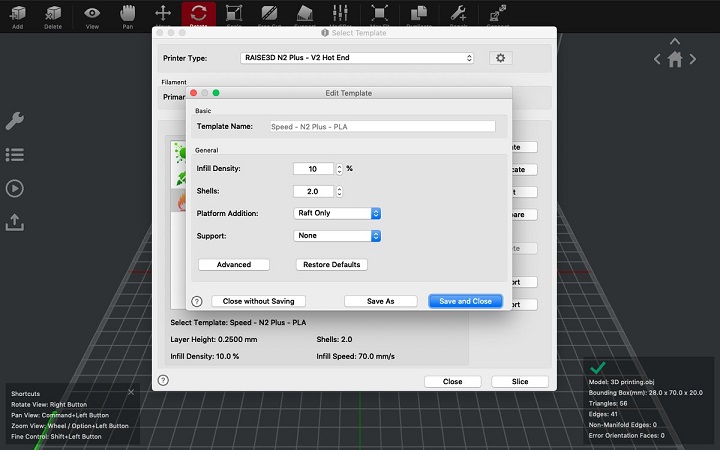
3. Start slicing by clicking the "Start Slicing" button on the top.
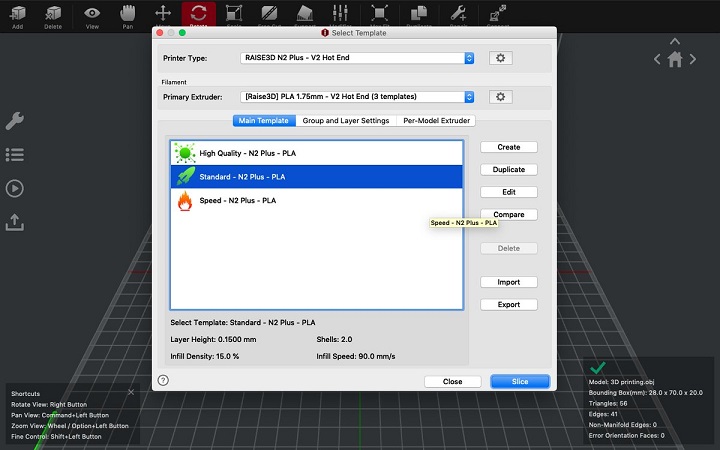
4. Select the infill density as 10% and the shell count as 2 in the Basic Settings window.
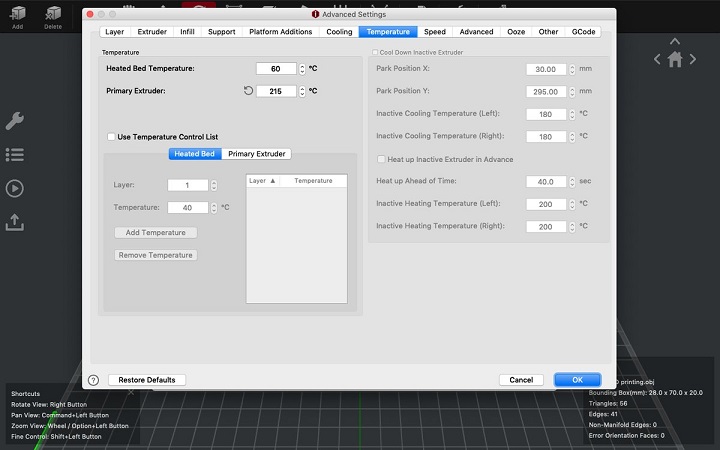
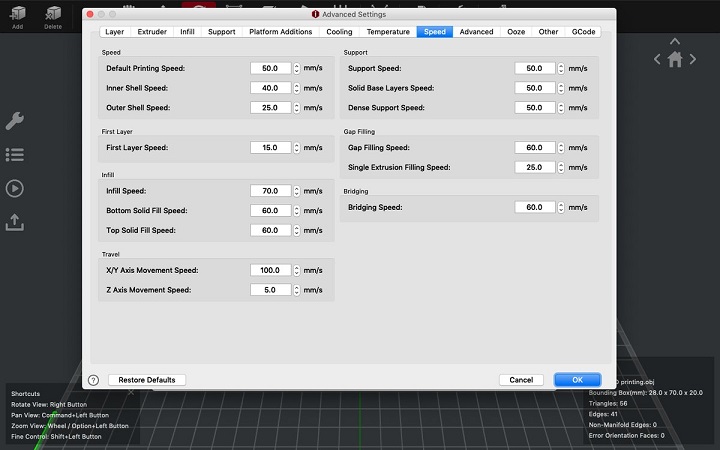
5. Select the temperature, speed and support settings in the Advanced Settings window.
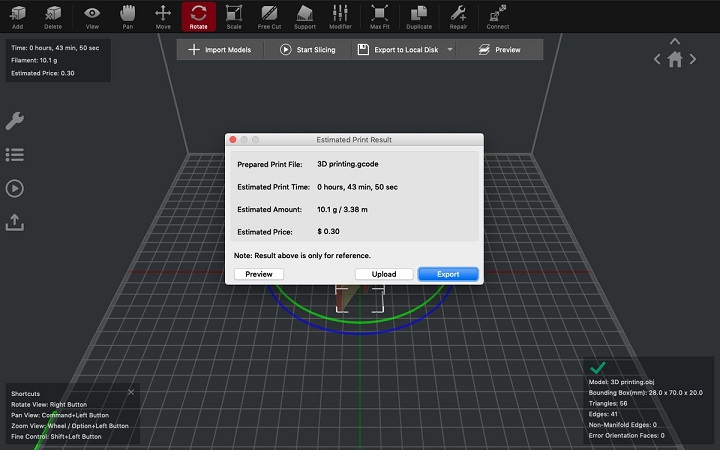
6. Click "OK" button and the software will start the slicing process. You can export the sliced model as ".mtl" file.
The sliced model can also be previewed and the time and material required by the printer can also be seen.
After the above process, we got a ".mtl" file which we copied to a USB and took to the 3D printer.
4. 3D Printing (possible errors & problems).
Now that we had a .mtl file, the process is quite simple at this step. We just
need to plugin the pendrive with the .mtl file, to the printer. In the printer, go to "Print > From Drive > Select the
file > Print".
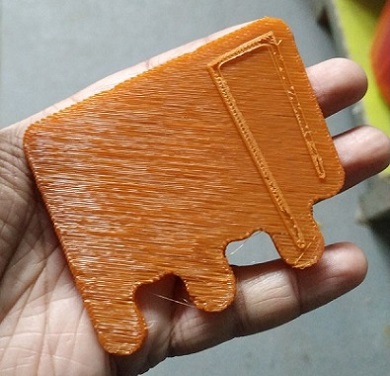
During the exercise, our first model got printed really well and without any issues. However, the second time, the
model didn't print due to stiffness of a new roll of filament which used to get stuck inbetween the process.
Demonstration:
Result:
The assignment has given me relatively good insights on 3D Printing.
The precautions to be taken care of while undergoing the process are as follow:
1. Make sure that there is enough filament for the whole process to commence successfully.
2. Do not touch the extruder when its hot.
3. Make sure that the extruder is not jammed and the filament is getting loaded properly.