
Assignment 7
3D Printing
Introduction
The 3D printing process uses CAD data and builds a three-dimensional object with various materials. In this particular process we woul be talking about FDM process which is Fused deposition method.
The building of model is usually by successively adding material layer by layer, which is why it is also called additive manufacturing, unlike conventional machining, casting and forging processes.
Process
A 3D model is created in Rhino 6 and exported using the file extension .stl (or you can use .obj, .3mf, .fbx formats as well) which is then opened in Ideamaker software for printing.

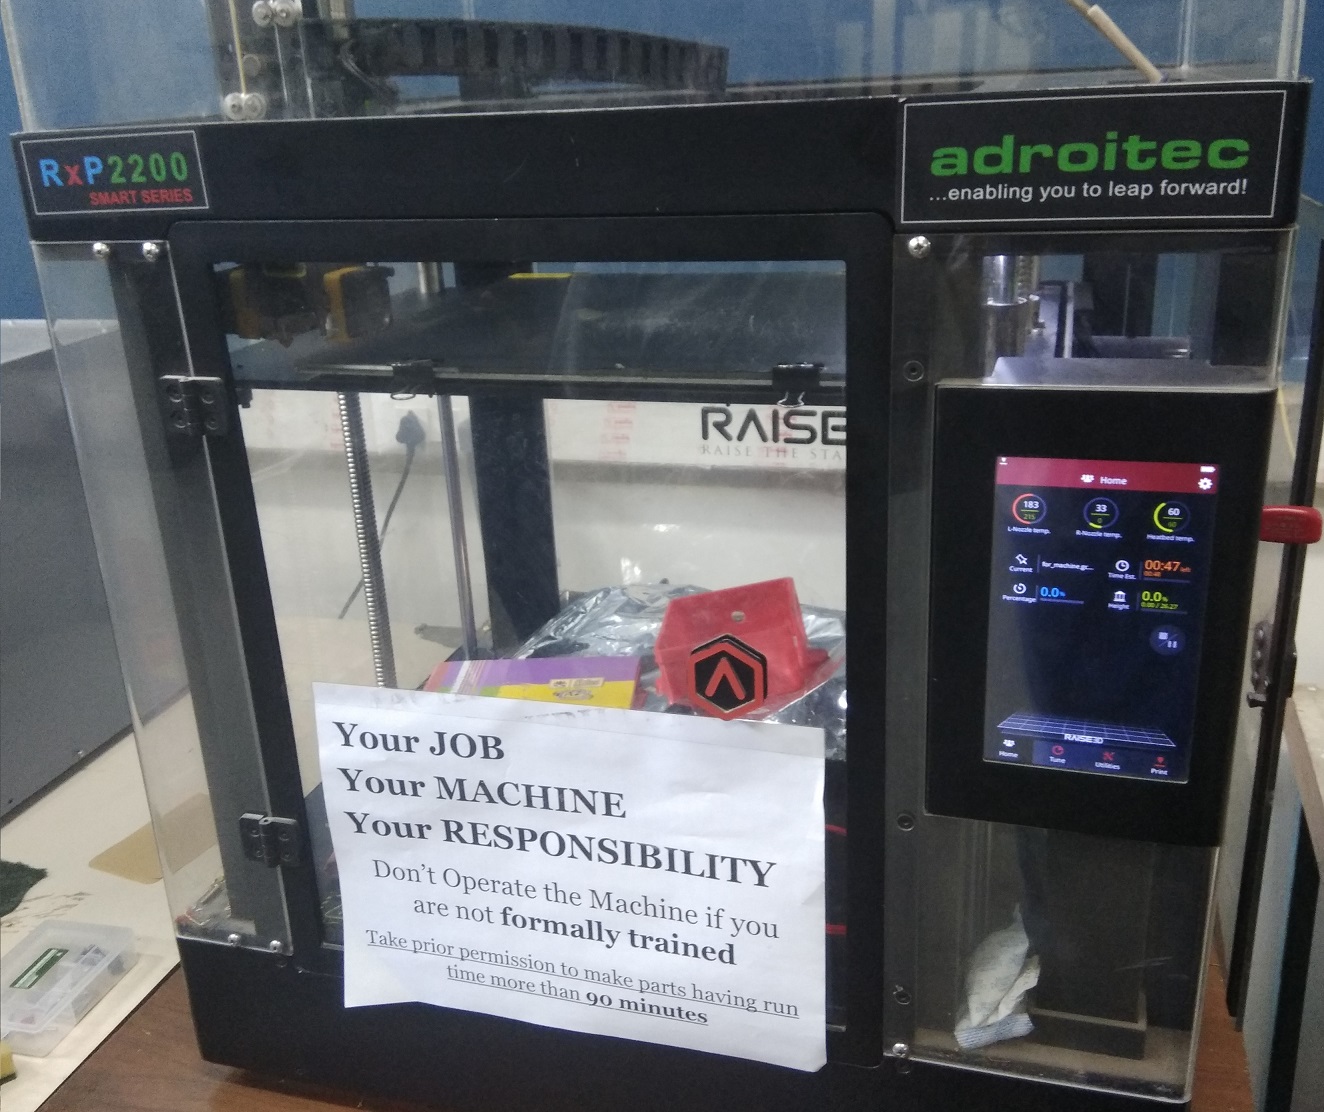
Raise 3D N2 printer is used for 3D Printing.
SUPPORTED FORMAT BY IDEAMAKER-
.OBJ .STL .3MF
You can download file Here Ideamaker 3d.gcode
The There are multiple ways through which we can create models but we need to make sure that the format should be .obj, .stl, .3mf. We can design our model in Rhino or any other 3D modelling software. Rest of the thing we can do it in Ideamaker for transforming further. In this case we have use Solidworks software with Gulshan Sir for hands on experience.
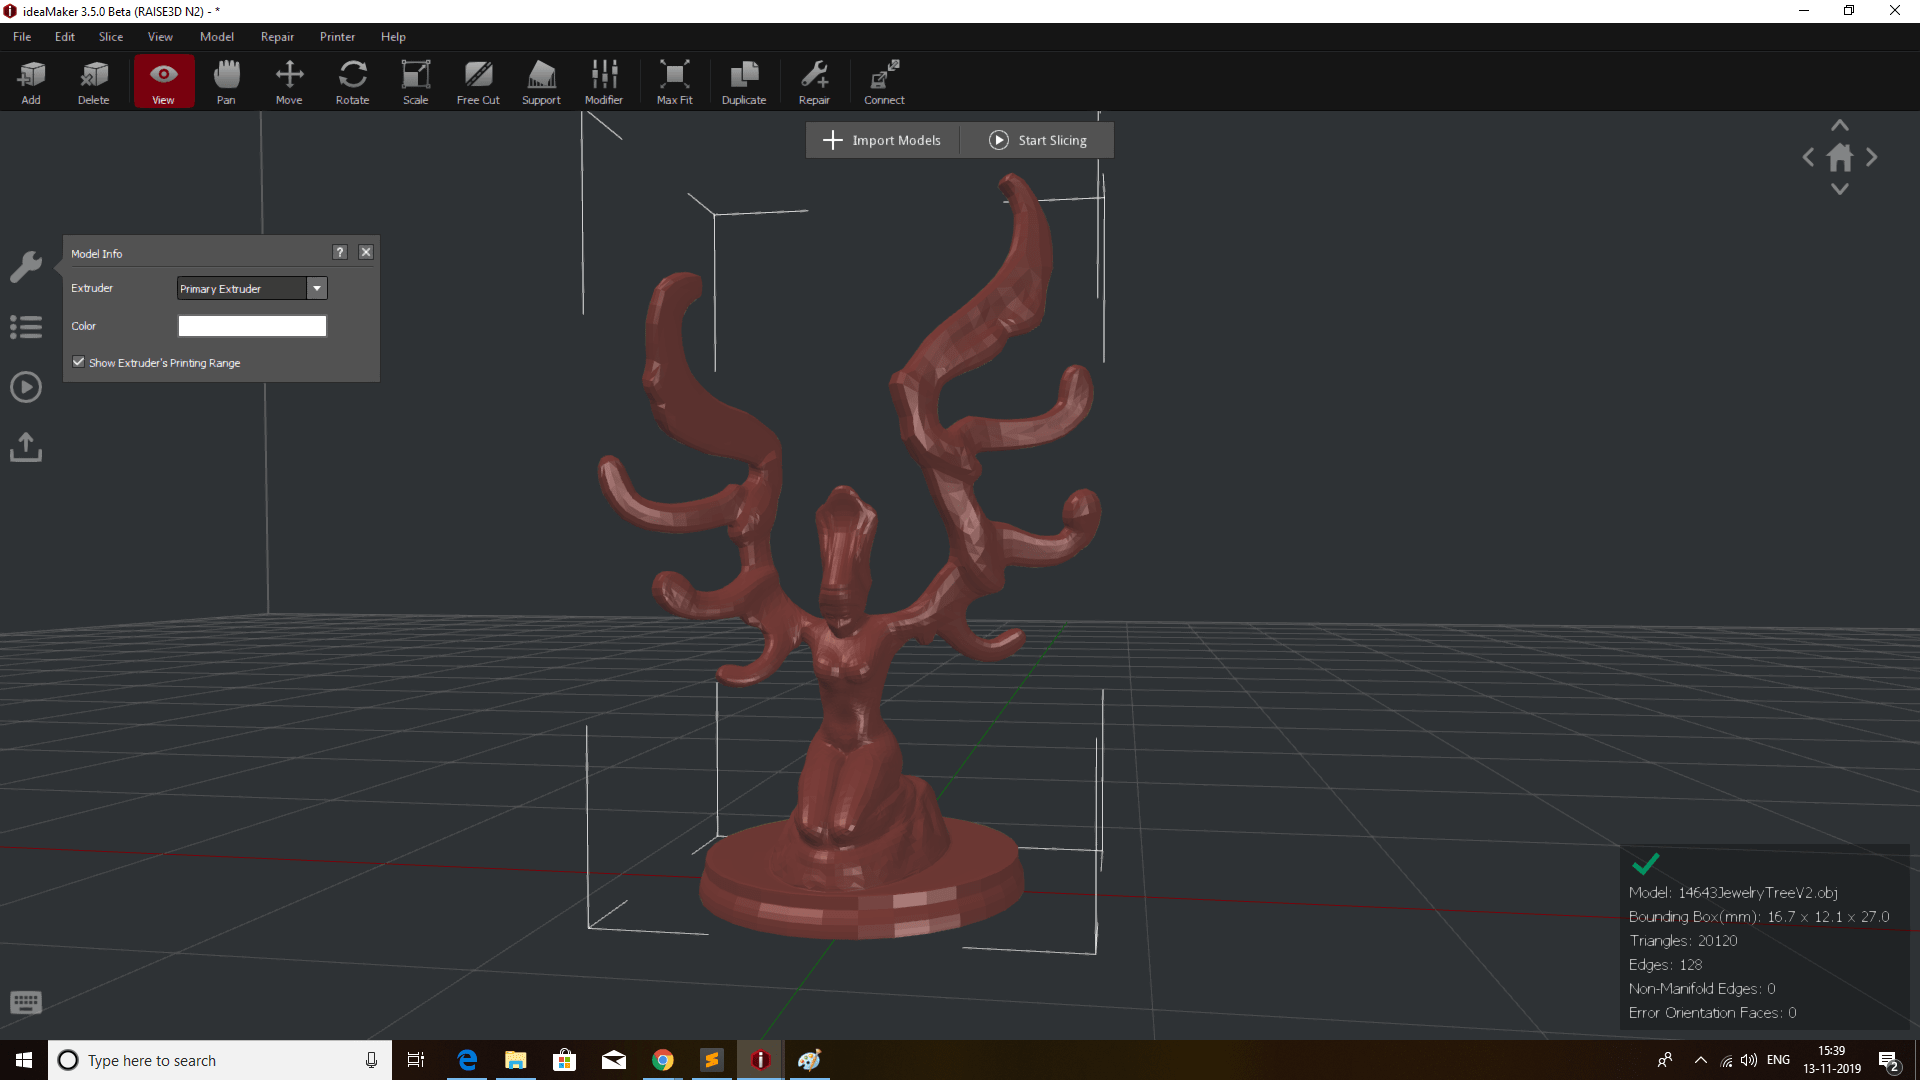
Modeling in IDEAMAKER
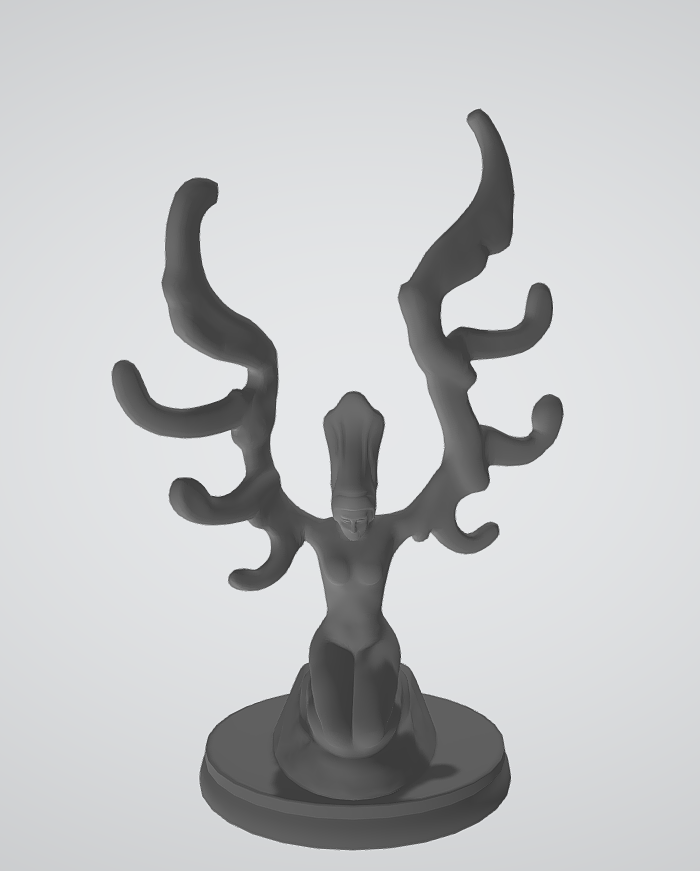
For our Current Project we will be Printing Mudusa Statue.
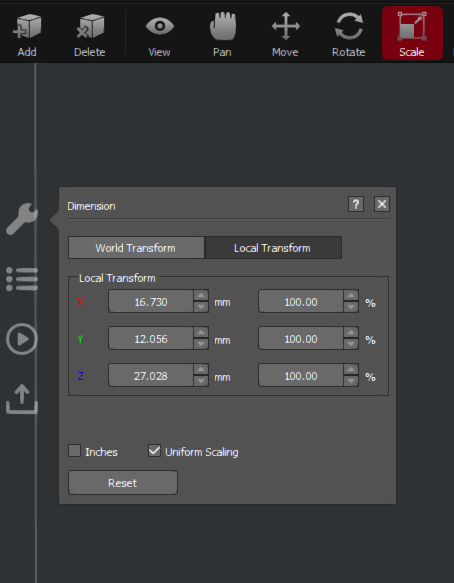
After importing model in ideamaker we will scale the model as per the requirement, because a bigger model will take lot of time and consume lot of material.
After the scaling, we will slice the model for further configuring like....
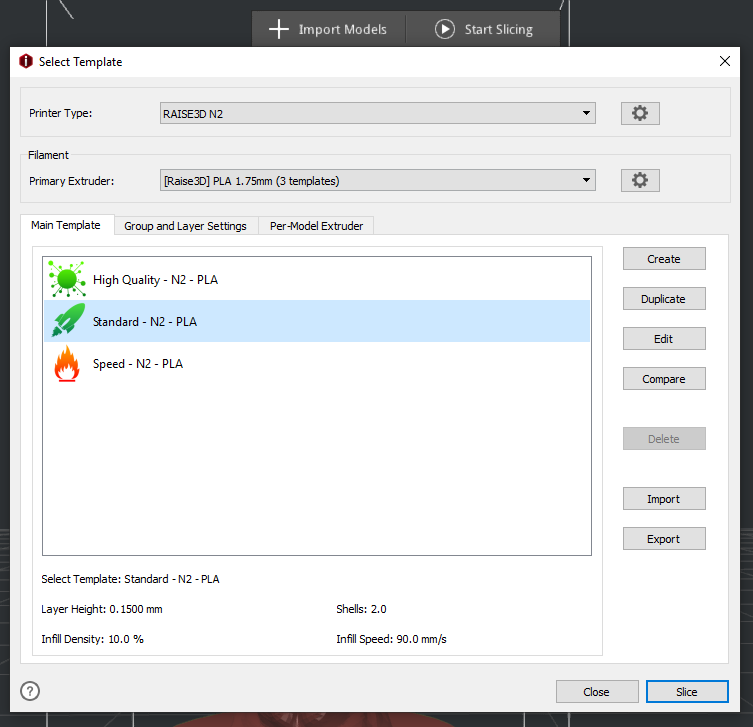
If you find that the 3D printer is taking too much time then you can always go back and scale down your model and even adjust other parameters to complete your product within desired time.
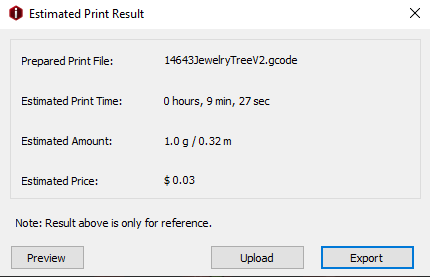
After these steps we should go with Export option to generate G-CODE. After that save your G-code in Pendrive, then insert your drive into RAISE-3D machine, select your file location and start printing.
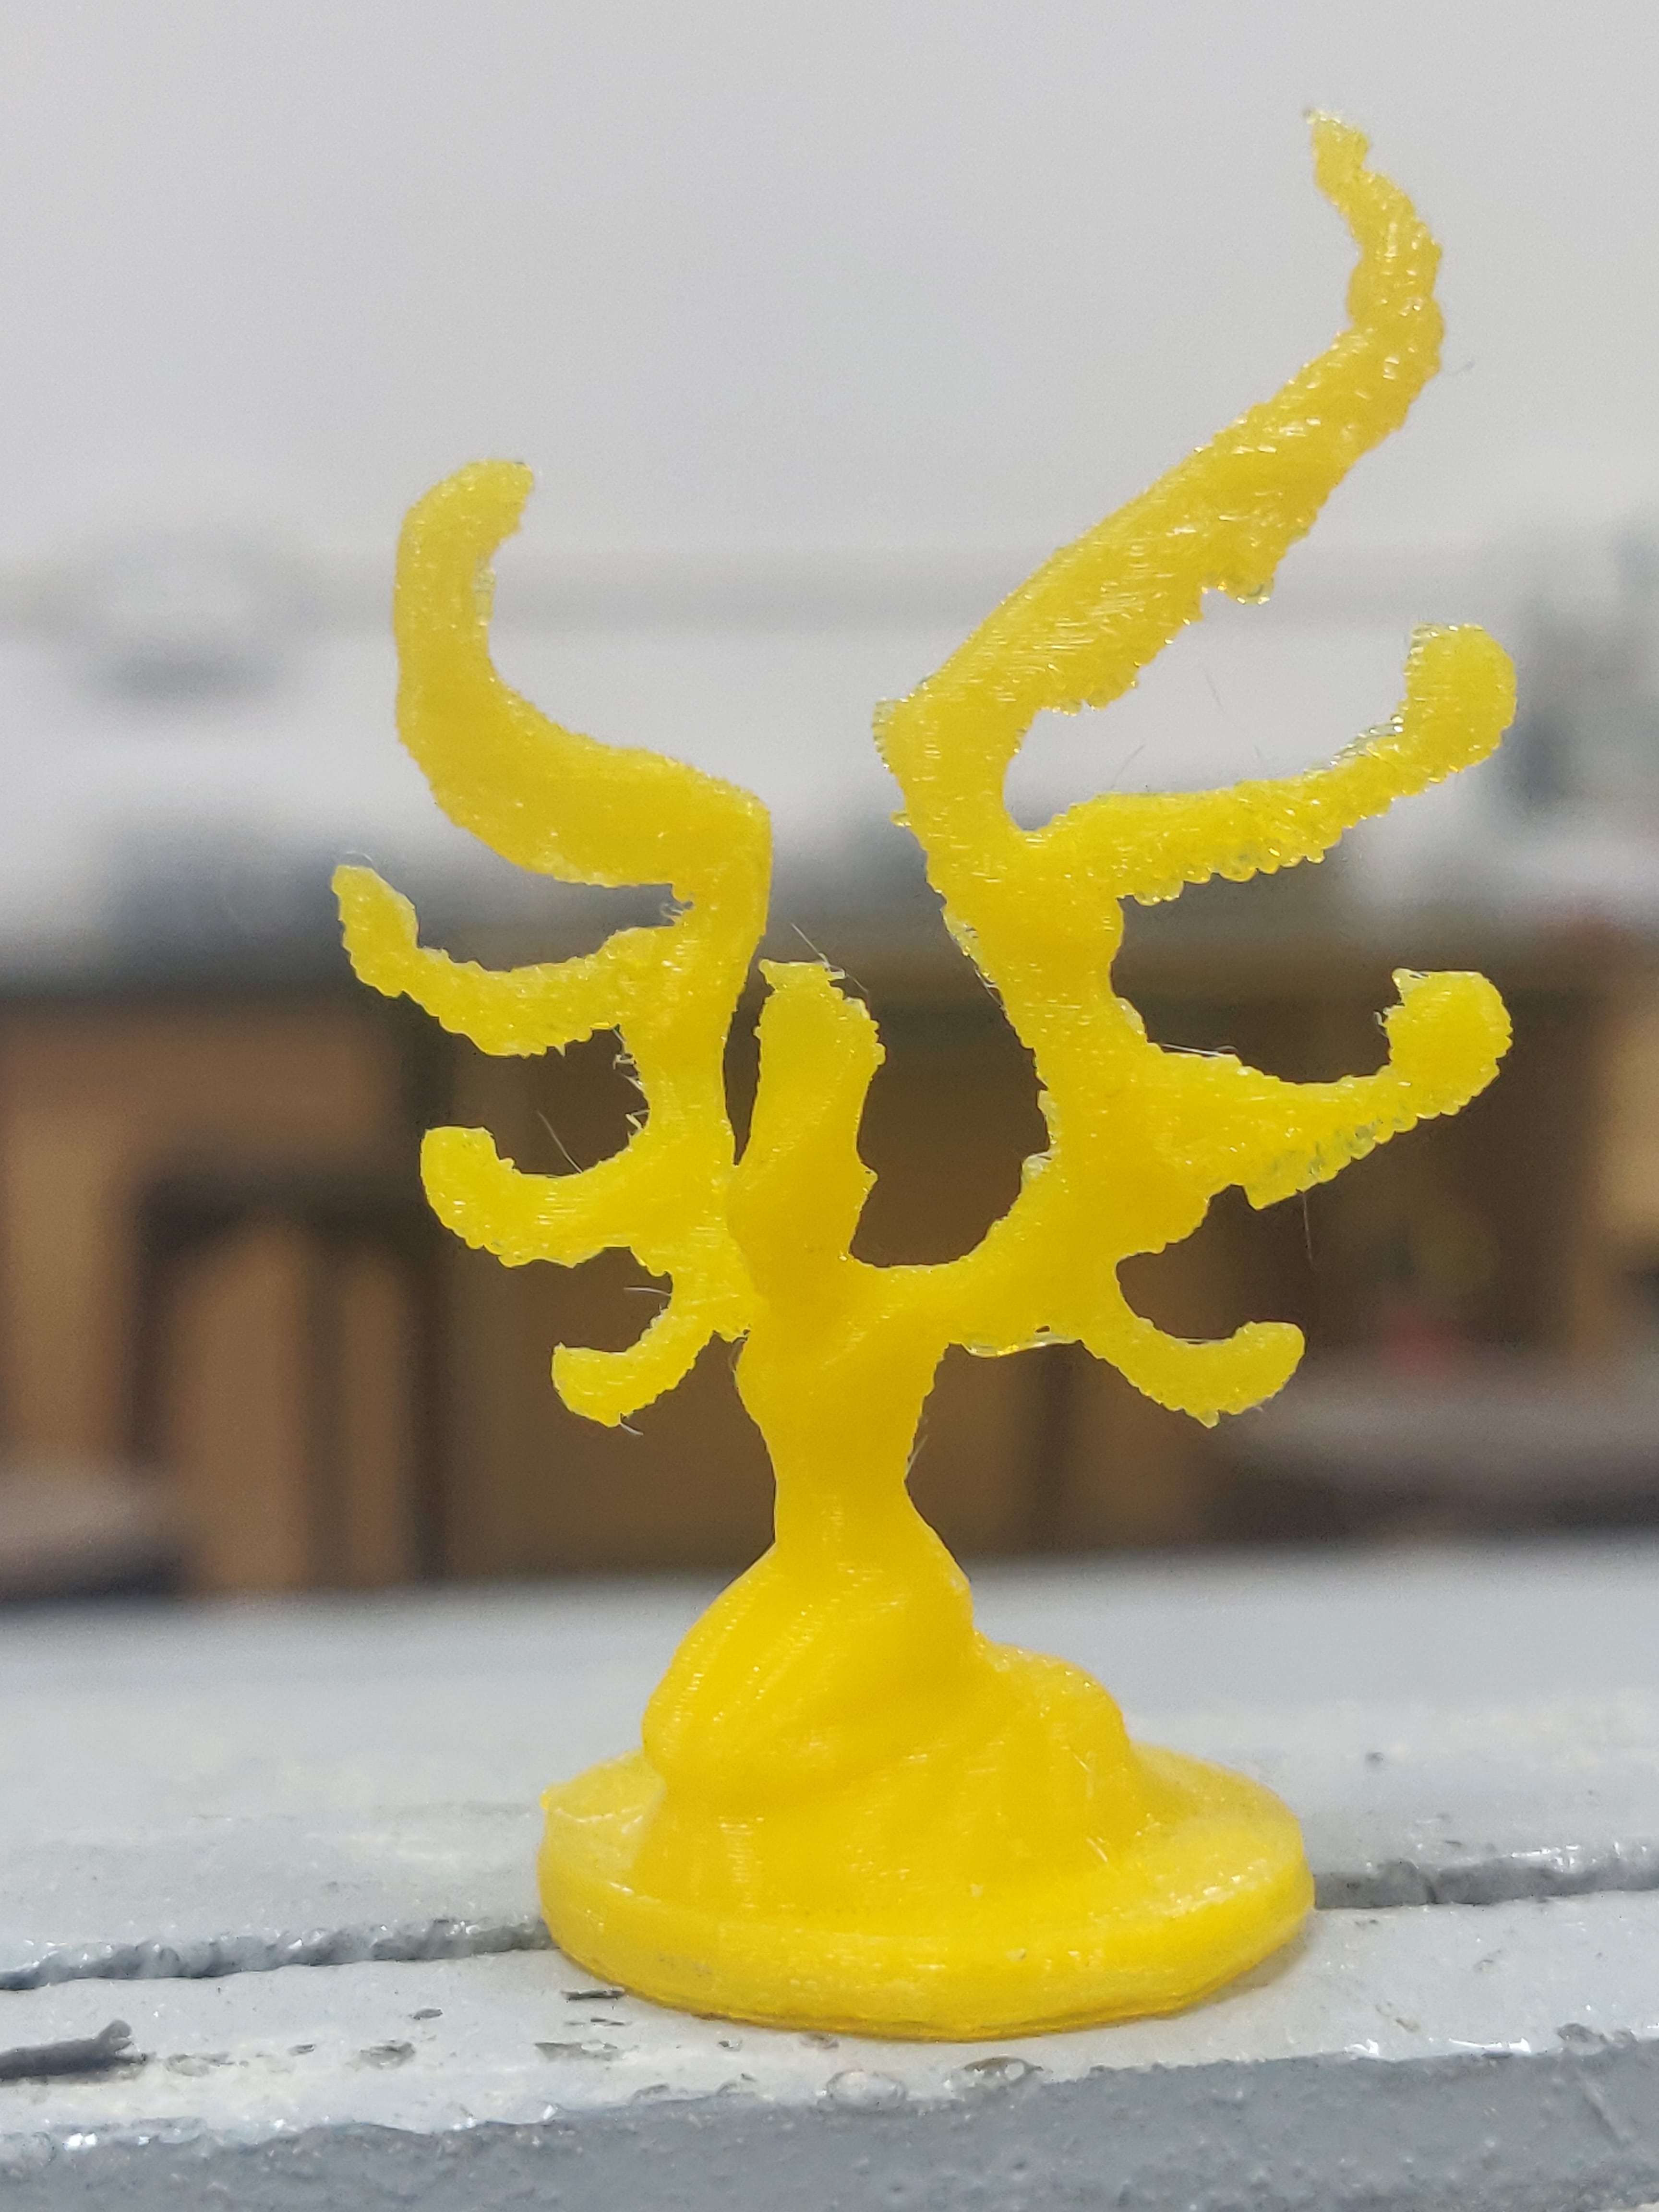
It took almost 1 hour to complete Medusa. We wanted to have details of medusa visible but at the same time to save material so we kept height 5cm. you can see the raft formation in above video Here is our final product.
Problems faced
1. In 3D printing, Some parts needs to be given extra Supports as the IDEAMAKER only gives supports which is above 60 Degree over hanged. But normally this Auto support structure is set at 45 degree in many Softwares. Do check this setting and generate perfect files.
2. Some times Bed heating is not proper and printed model gets warped easily, in that case we need to apply proper glue as per model base which we must take into consideration.
This project is prepared with Gulshan kumar