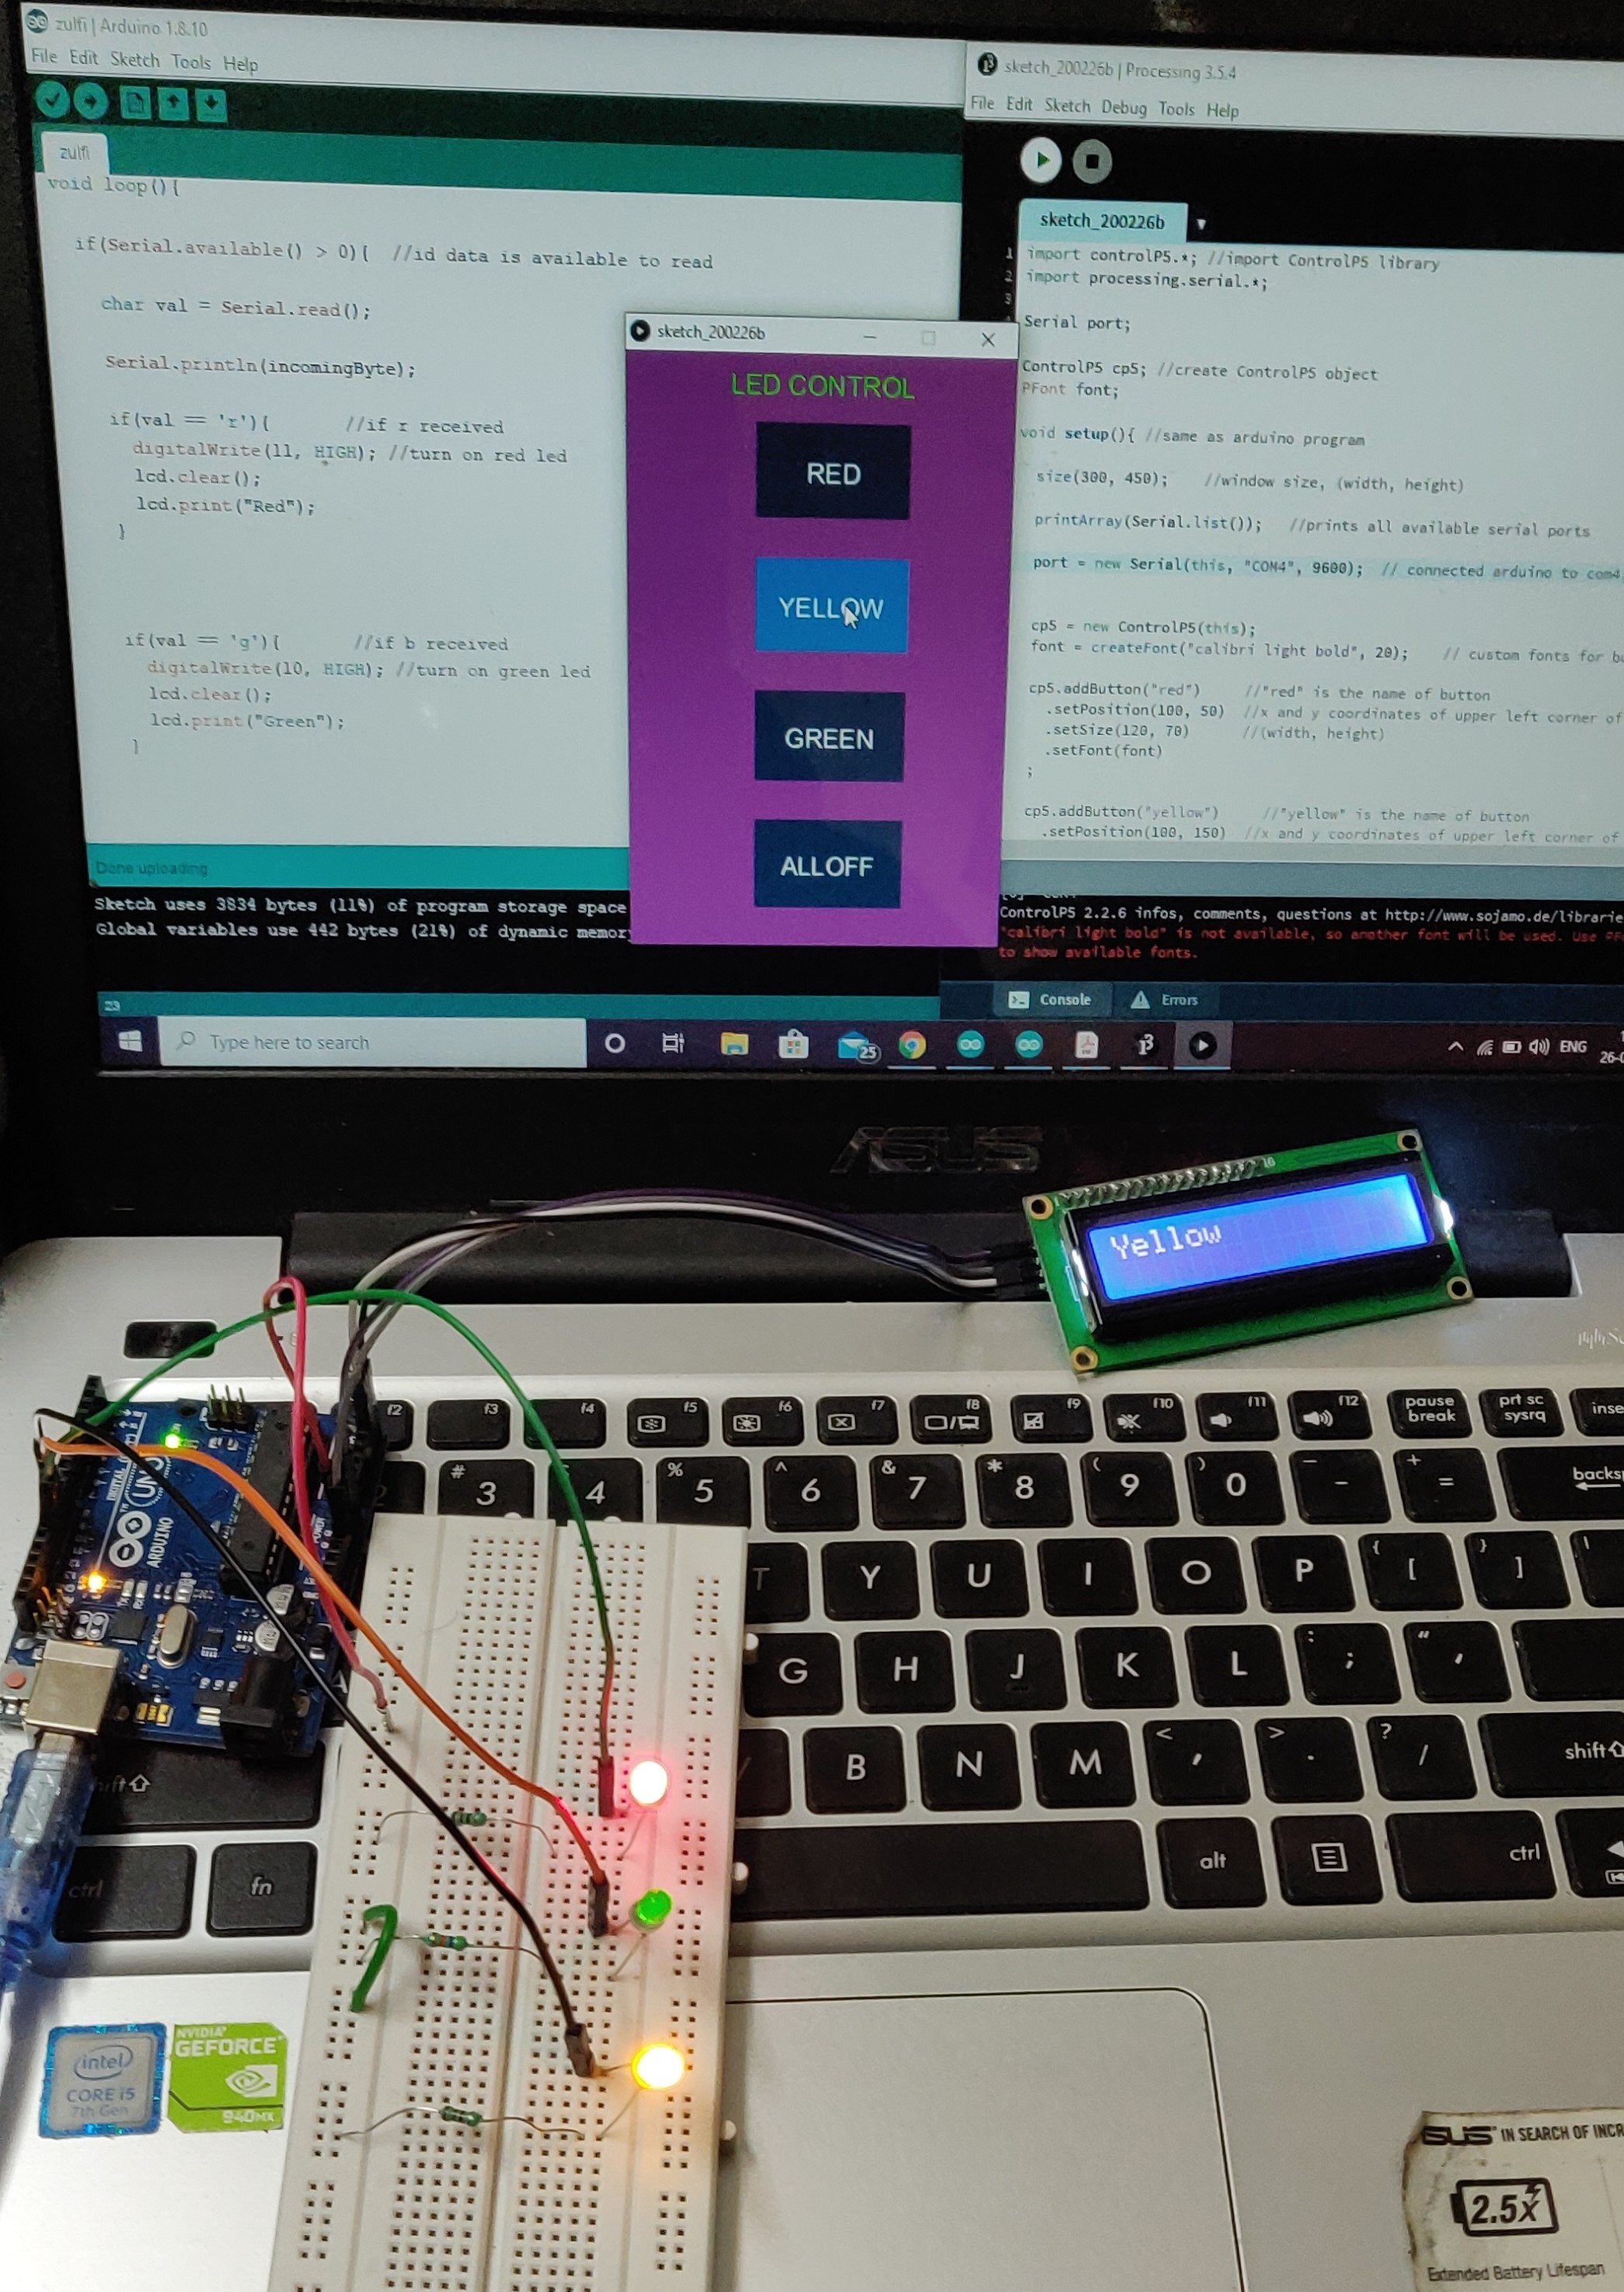
I
n
t
e
r
a
c
t
i
n
g
G
U
I
&
M
i
c
r
o
c
o
n
t
r
o
l
l
e
r
Arduino code
#include LiquidCrystal_I2C.h
char incomingByte;
#include Wire.h
#include LiquidCrystal_I2C.h
LiquidCrystal_I2C lcd(0x27, 16, 2);
void setup() {
pinMode(10, OUTPUT); //set pin as output , green led
pinMode(11, OUTPUT); //set pin as output , red led
pinMode(9, OUTPUT); //set pin as output , yellow led
Serial.begin(9600); //start serial communication @9600 bps
lcd.begin();
lcd.backlight();
}
void loop(){
if(Serial.available() > 0){ //id data is available to read
char val = Serial.read();
Serial.println(incomingByte);
if(val == 'r'){ //if r received
digitalWrite(11, HIGH); //turn on red led
lcd.clear();
lcd.print("Red");
}
if(val == 'g'){ //if b received
digitalWrite(10, HIGH); //turn on green led
lcd.clear();
lcd.print("Green");
}
if(val == 'y'){ //if y received
digitalWrite(9, HIGH); //turn on yellow led
lcd.clear();
lcd.print("Yellow");
}
if(val == 'f'){ //if f received
digitalWrite(11, LOW); //turn off all led
digitalWrite(9, LOW);
digitalWrite(10, LOW);
lcd.clear();
lcd.print("OFF");
}
}
}
Processing Code
import controlP5.*; //import ControlP5 library
import processing.serial.*;
Serial port;
ControlP5 cp5; //create ControlP5 object
PFont font;
void setup(){ //same as arduino program
size(300, 450); //window size, (width, height)
printArray(Serial.list()); //prints all available serial ports
port = new Serial(this, "COM8", 9600); // connected arduino to com8,
cp5 = new ControlP5(this);
font = createFont("calibri light bold", 20); // custom fonts for buttons and title
cp5.addButton("red") //"red" is the name of button
.setPosition(100, 50) //x and y coordinates of upper left corner of button
.setSize(120, 70) //(width, height)
.setFont(font)
;
cp5.addButton("yellow") //"yellow" is the name of button
.setPosition(100, 150) //x and y coordinates of upper left corner of button
.setSize(120, 70) //(width, height)
.setFont(font)
;
cp5.addButton("green") //"green" is the name of button
.setPosition(100, 250) //x and y coordinates of upper left corner of button
.setSize(120, 70) //(width, height)
.setFont(font)
;
cp5.addButton("alloff") //"alloff" is the name of button
.setPosition(100, 350) //x and y coordinates of upper left corner of button
.setSize(120, 70) //(width, height)
.setFont(font)
;
}
void draw(){ //same as loop in arduino
background(150, 0 , 150); // background color of window (r, g, b) or (0 to 255)
//lets give title to our window
fill(0, 255, 0); //text color (r, g, b)
textFont(font);
text("LED CONTROL", 80, 30); // ("text", x coordinate, y coordinat)
}
//lets add some functions to our buttons
//so when you press any button, it sends perticular char over serial port
void red(){
port.write('r');
}
void yellow(){
port.write('y');
}
void green(){
port.write('g');
}
void alloff(){
port.write('f');
}