1. The aim of this project is to understand 3D Printing. It is a means of constructing a 3D model into a solid object by slicing the 3D model into layers and developing them in sequence.
2. Unlike dedicated scanning softwares like "SENSE" where specific equipment is required to be used to scan the object concerned. Photgrammetry uses basic equipment like a camera/ videocam to take a series of pictures/videos of any object. These are then used to reconstruct the object.
IDEA MAKER
3. There are various softwares available for developing a G-code of any 3D model required for undertaking 3D printing. The software used for this exercise is IDEAMAKER. I have found IDEAMAKER to be pretty user friendly, also it has a free version available without any time period. Hence, the software was chosen to understand the nuances of 3D printing.
4. The software accepts STL, OBJ and 3MF file formats. A 3D model developed from 3D scanning or developed on any CAD software can be exported in this format and can be opened in IDEAMAKER.
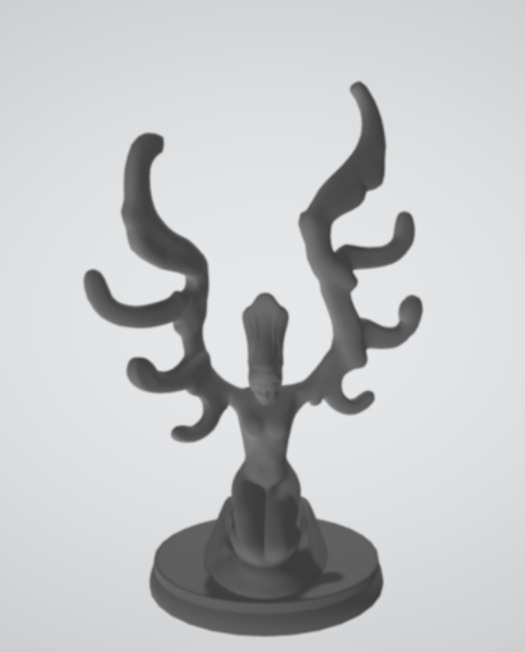
5. For the purpose of this exercise, OBJ files available of some models in the web were chosen to understand the working of the software. The picture of the model chosen is as shown below.
3D Printer
6. The 3D Printer available in Makerspace is RAISE3D. It has two extruders, Primary and Secondary. The primary extruder is used for layering and the secondary can be used for different colour of the filament or generally used for filling of the void spaces so as to ensure the model developed is sturdy in nature. In our case the solid model was kept a filling of 10% and the primary extruder was used for both the layering and filling processes.
7. The 3D Printer available has a bed which raises and lowers as the model is layered by the extruder, the thickness og the layering material and the movement of the base plate is interlinked so as to ensure that the extruder is fixed at a particular height during the extrusion process. The base plate is also heated along with the extruder which has a heater and a fan combination to ensure the filament is melted and cooled immediately post cooling to set in the requisite shape.
Methodology
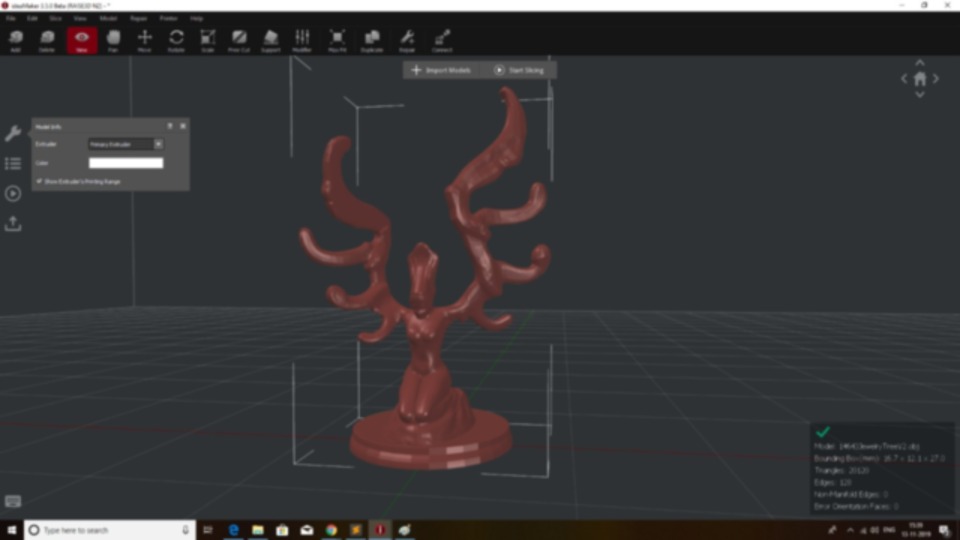
6. The model chosen was imported into IDEAMAKER and as some of the overhangs on the model had an angle of >60 degrees temporary supports were added to the structure. The model was scaled to a height of 50mm so as to keep the usage of material to a minimum while observing the development of the model.
7. The software generally adds a Raft at the bottom of the structure so as to keep the model from sticking to the base of the printer. Post scaling and provision of supports, the model was exported as a G-code to be uploaded on the printer. The quality of the print was kept as a Standard Quality.
8. Once the model is positioned satisfactorily in the printable area indicated in IDEAMAKER, and the scaling and supports required are added, the model is exported and a G-code required for undertaking the printing exercise is developed. The G-code is transferred to the printer and the settings of the printer are re-checked and the model developed finalized for printing.
9. In this exercise to optimize the time for printing 3 different models were simultaneously printed by positioning them together in the software.
10. The models developed were removed from the base of the printer post completion of the exercise, the temporary supports attached to the structure and the raft at the bottom is removed. The model developed was filed and the edges smoothened to develop a 3D printed structure.
11. The pictorial representation of the methodology adopted and the result obtained is as shown below. Step I involved selection of a 3D model, from web in OBJ format.
12. Step II involved, scaling the prodcut and adding a raft and temporary supports. Supports of 1mm thickness were addes to the model on one side where the overhang was > 60 degrees.
13. Step III involved the printing of the model.
14. The final product was filed and completed to create a smooth model of the structure.