ASSIGNMENTS

Introduction to HTML and website building : The first assignment is a website tutorial using the official servers of IIT Delhi and a few insertion of text, images, links etc. It is a very interactive assignment and fairly easy to do.
Creating a website : There are two main components in creating website which is compulsory.
- A site to host the website
- HTML or CSS codes for the website.
Wix is a free website which can host your website for you. It has got an online website builder and a storage of about 500mb for free. W3Schools contains multiple Codes different languages including HTML and CSS. Links for both are given below.


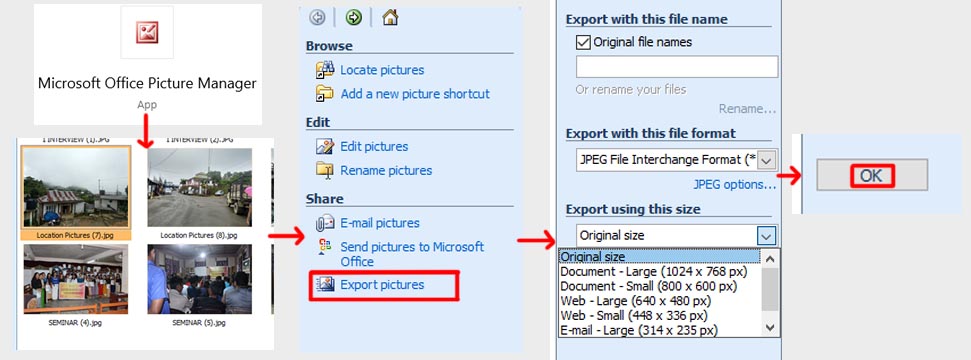
Compressing Image : Compressing the size of an image Can be done using Microsoft Picture Manager which comes with Microsoft office.
The main advantage of this software is compressing multiple images at the push of a button. Steps to use Picture manager are:
- Open Microsoft Picture Manager from Start Menu or Desktop
- Import image of multiple images from the computer directories
- Select the images to compress
- Click on 'Export Pictures' on the right side
- Select the size and level of compression you require, or enter manually. Click 'OK' and the compression process will begin
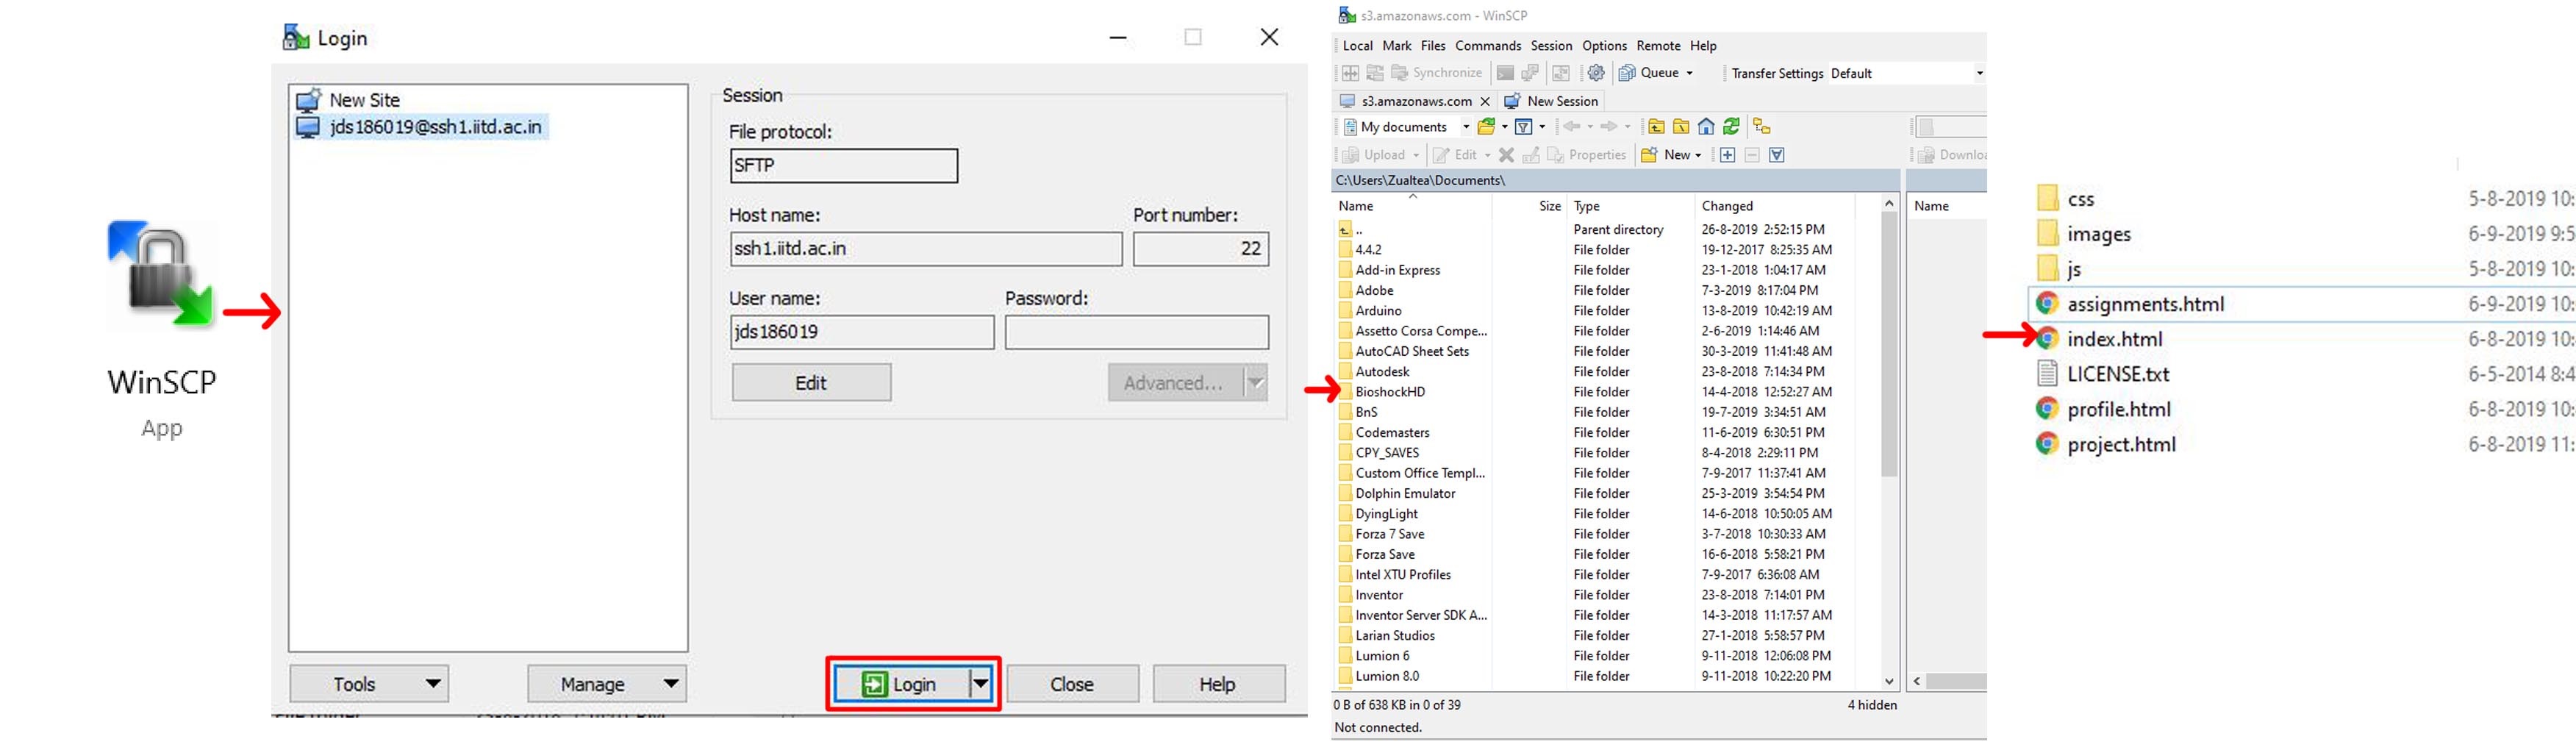
Uploading files on Server : Uploading files can be done using WINSCP which is a free software to access webpages to upload files for the website.
Steps to upload on IIT Delhi website using WINSCP are:
- Open WINSCP from Start Menu or Desktop
- Login using your credentials for the website
- Upload the required files by dragging into the folders (This can be text, images, CSS codes etc).
Website Design : After all the steps learned to make a better website such as compressing images, uploading pictures, videos, links etc. We can use the thigns we learnt to make website like the following
Basic website where features like uploading videos, images and audio are featured: http://privateweb.iitd.ac.in/~jds186019/test33.htmlThis website which has more complex coding and a template, CSS is also utilised in this site: http://privateweb.iitd.ac.in/~jds186019/index.html
The project proposal for the semester is based on the concept of steering wheel input device used for playing games on the PC. The different sensors of an existing gamepad controller will be used and reassigned as a real steering wheel and pedals.
Link for the project proposal can be found here on the link below:
http://privateweb.iitd.ac.in/~jds186019/project.htmlCoding in different computer language codes such as C, Python etc. These are basic coding which are use the basics of coding.
Introduction to coding : Coding is basically a language which the user inputs in a way that the computer understands the intentions of the user. There the countless numbers of coding methods. There are common coding languages such as C, C++ and python while there are also much lesser known languages. The most common languages are used to program different softwares and other utilities in a computer.
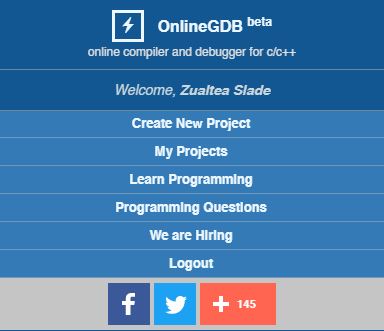
Coding can be done easily using an online coding software called 'onlinegdb' which is a platform to perform multiple coding languages. The compiler is also available on the site itself. Links can be found below by clicking on the icon.

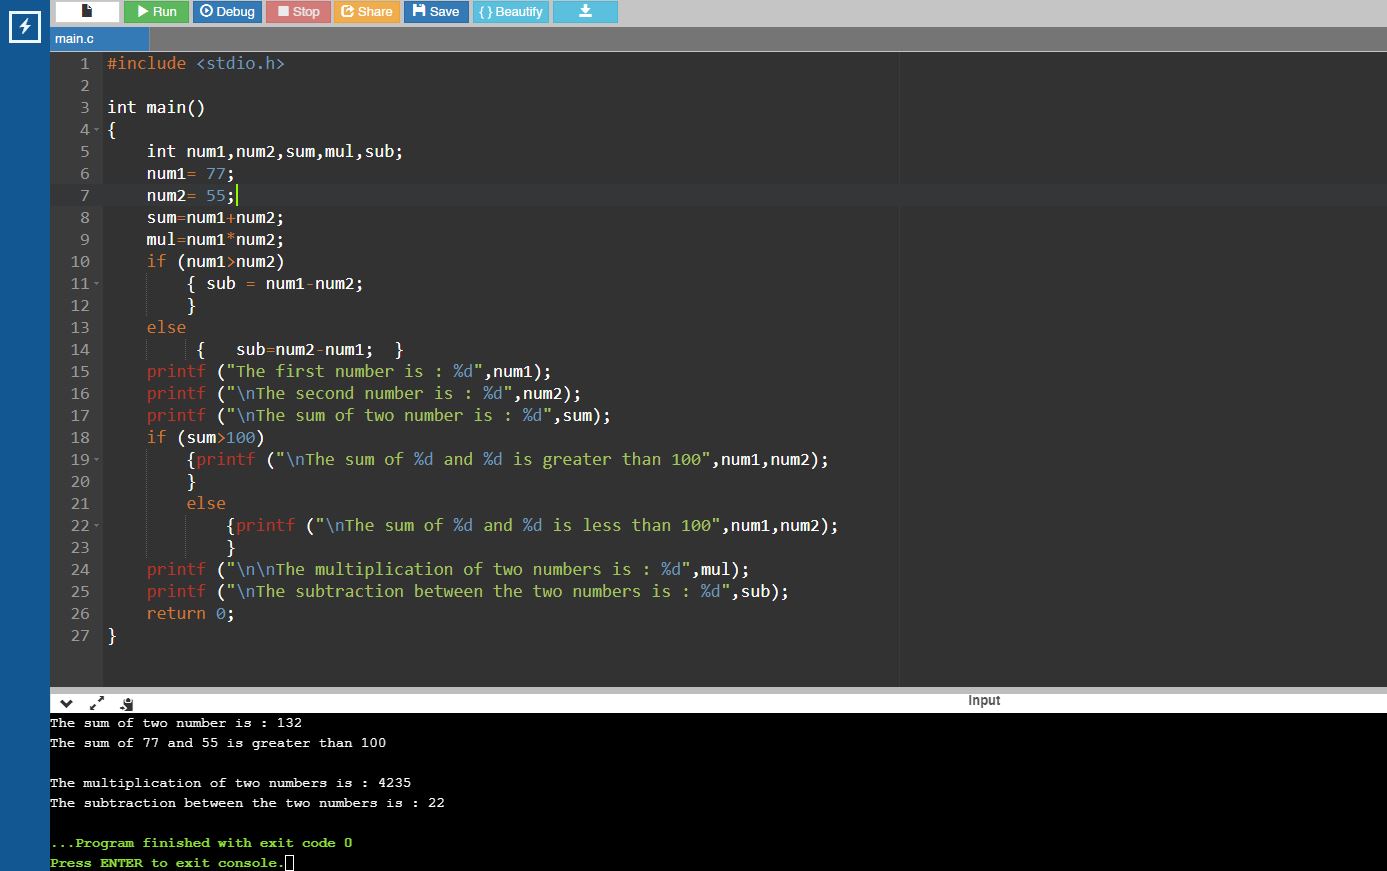
Coding in C and Python : Coding done in C and Python can be found below with the codes in the text box and the output along it.
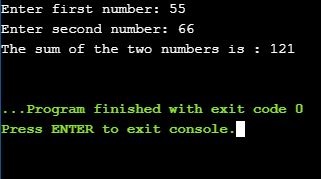
1. Input of two numbers and finding its sum :Program and Output in C:
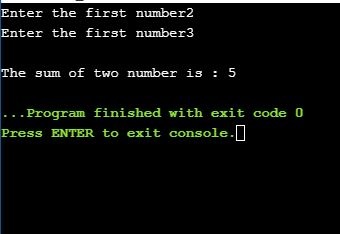
Program and Output in Python:
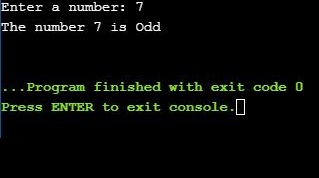
2. Is the number Even or Odd :
Program and Output in C:
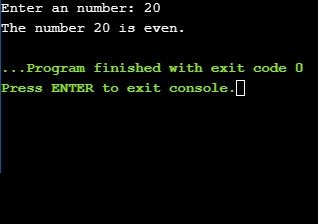
Program and Output in Python:
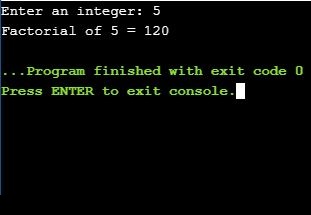
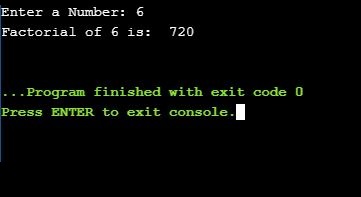
3. Factorial of a number :
Program and Output in C:
Program and Output in Python:
LED programming is done to spell out the initials of our names using basic LEDs and ARDUINO.
Code for the LED programming can be found here on the link below:
Video link
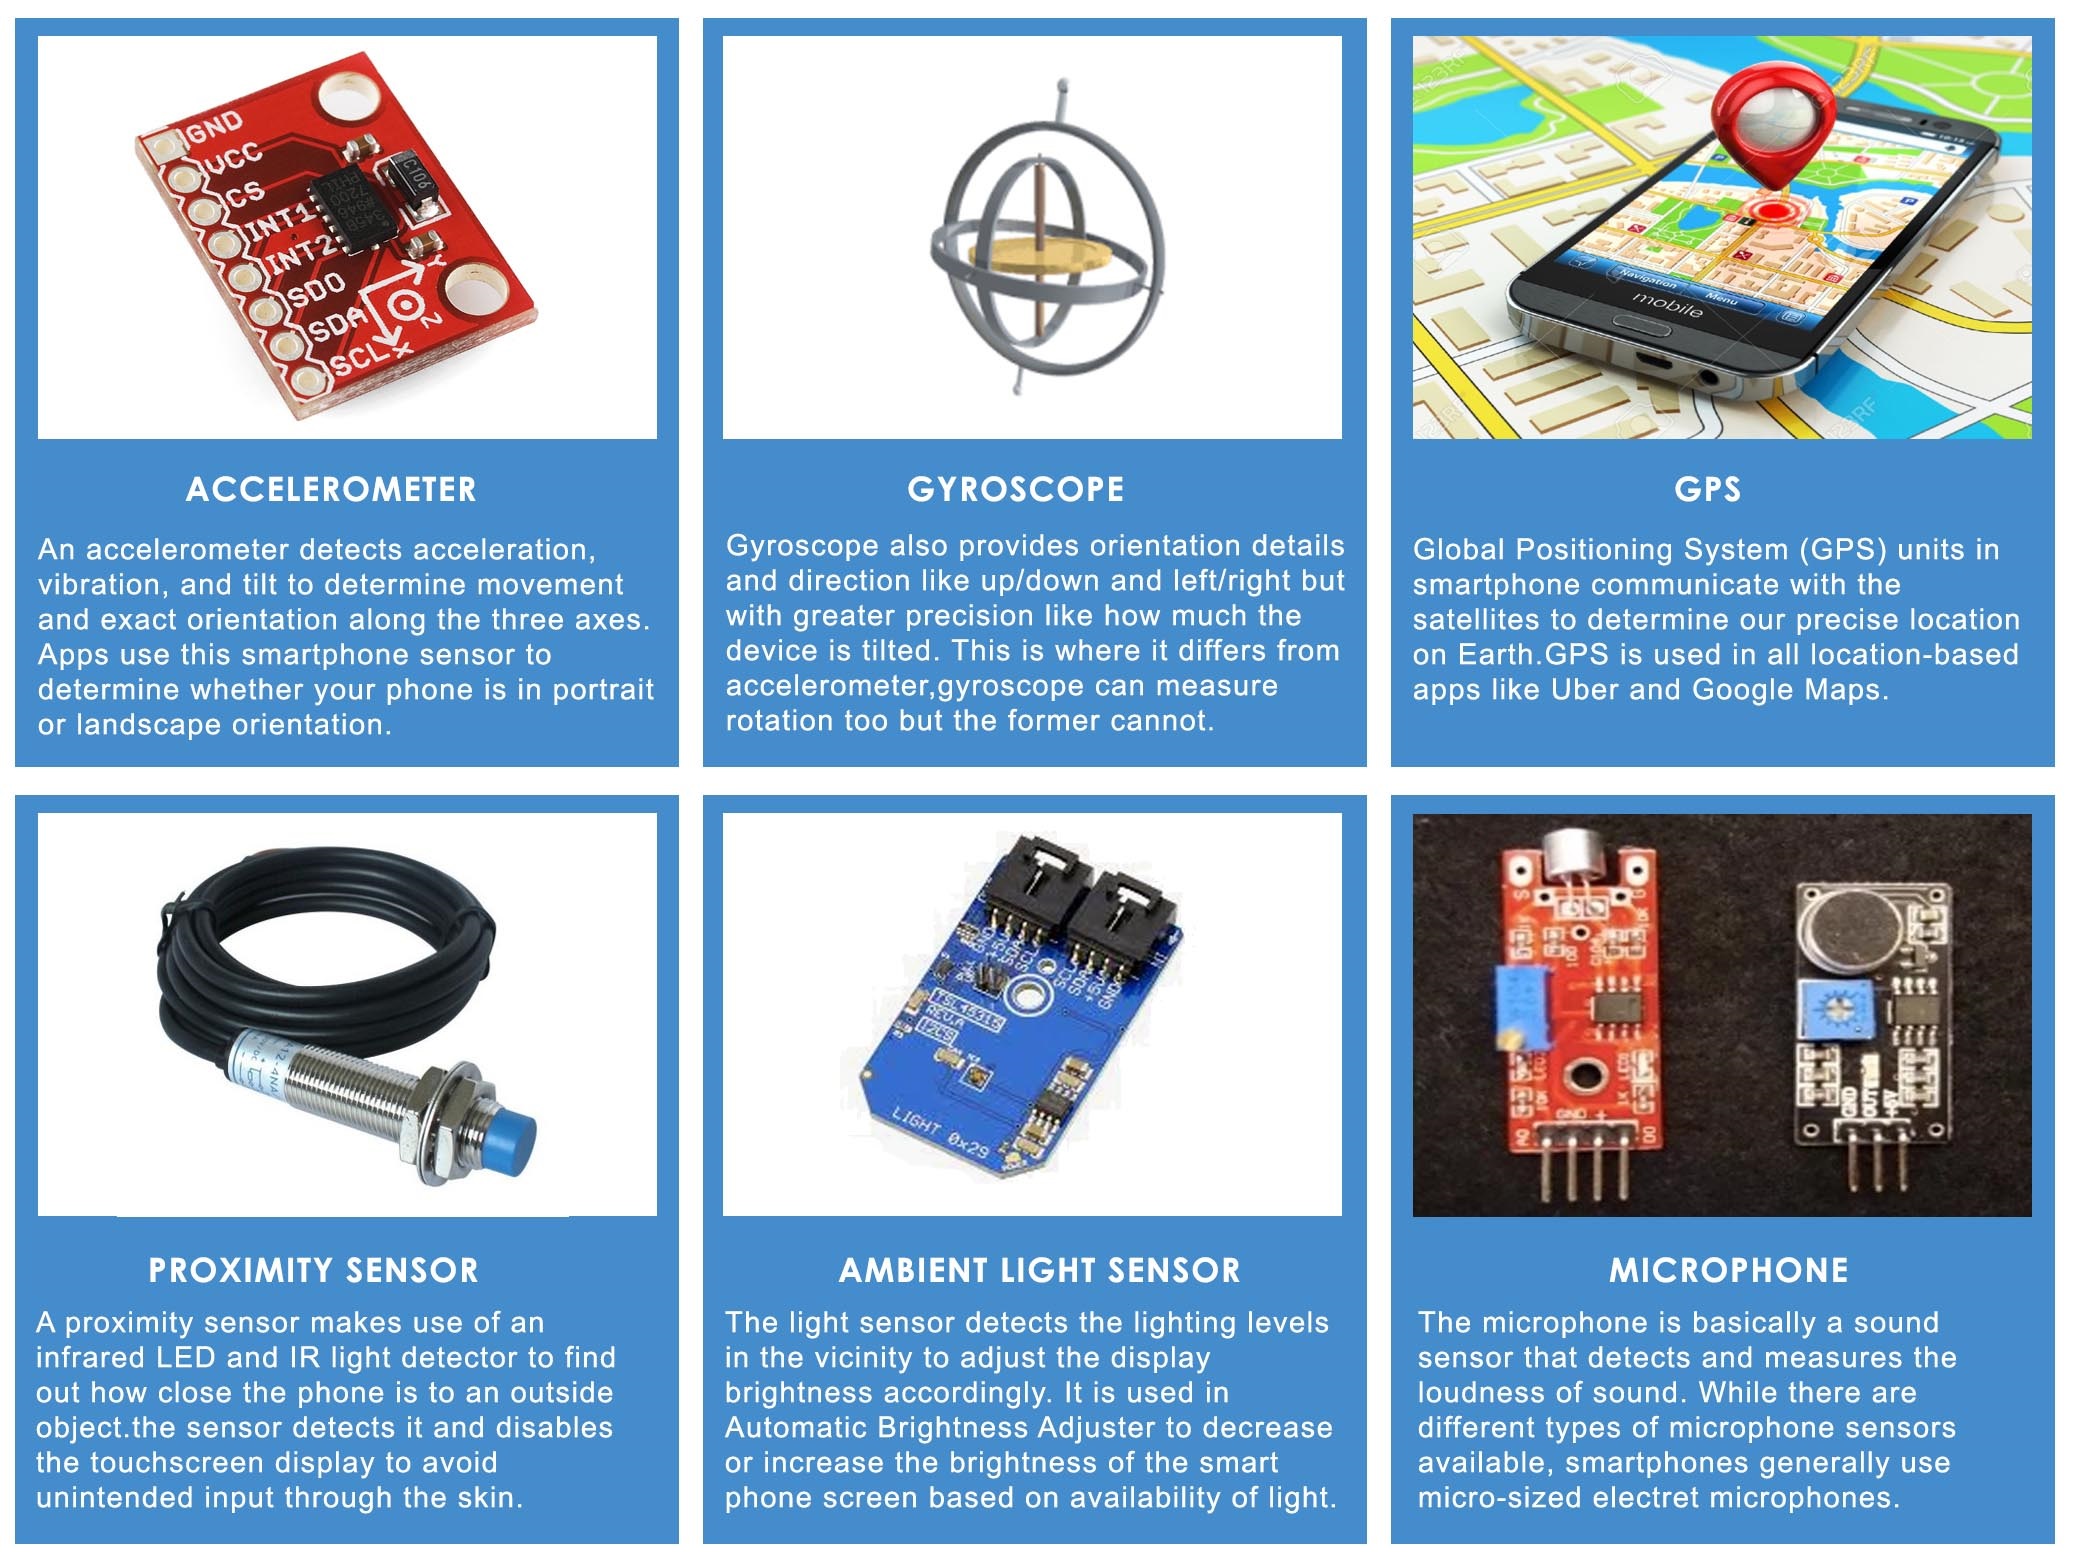
Sensors on a smartphone :
The common sensors that can be found on a cellphone are given below. They include sensors like Accelerometer, Gyroscope, GPS etc.
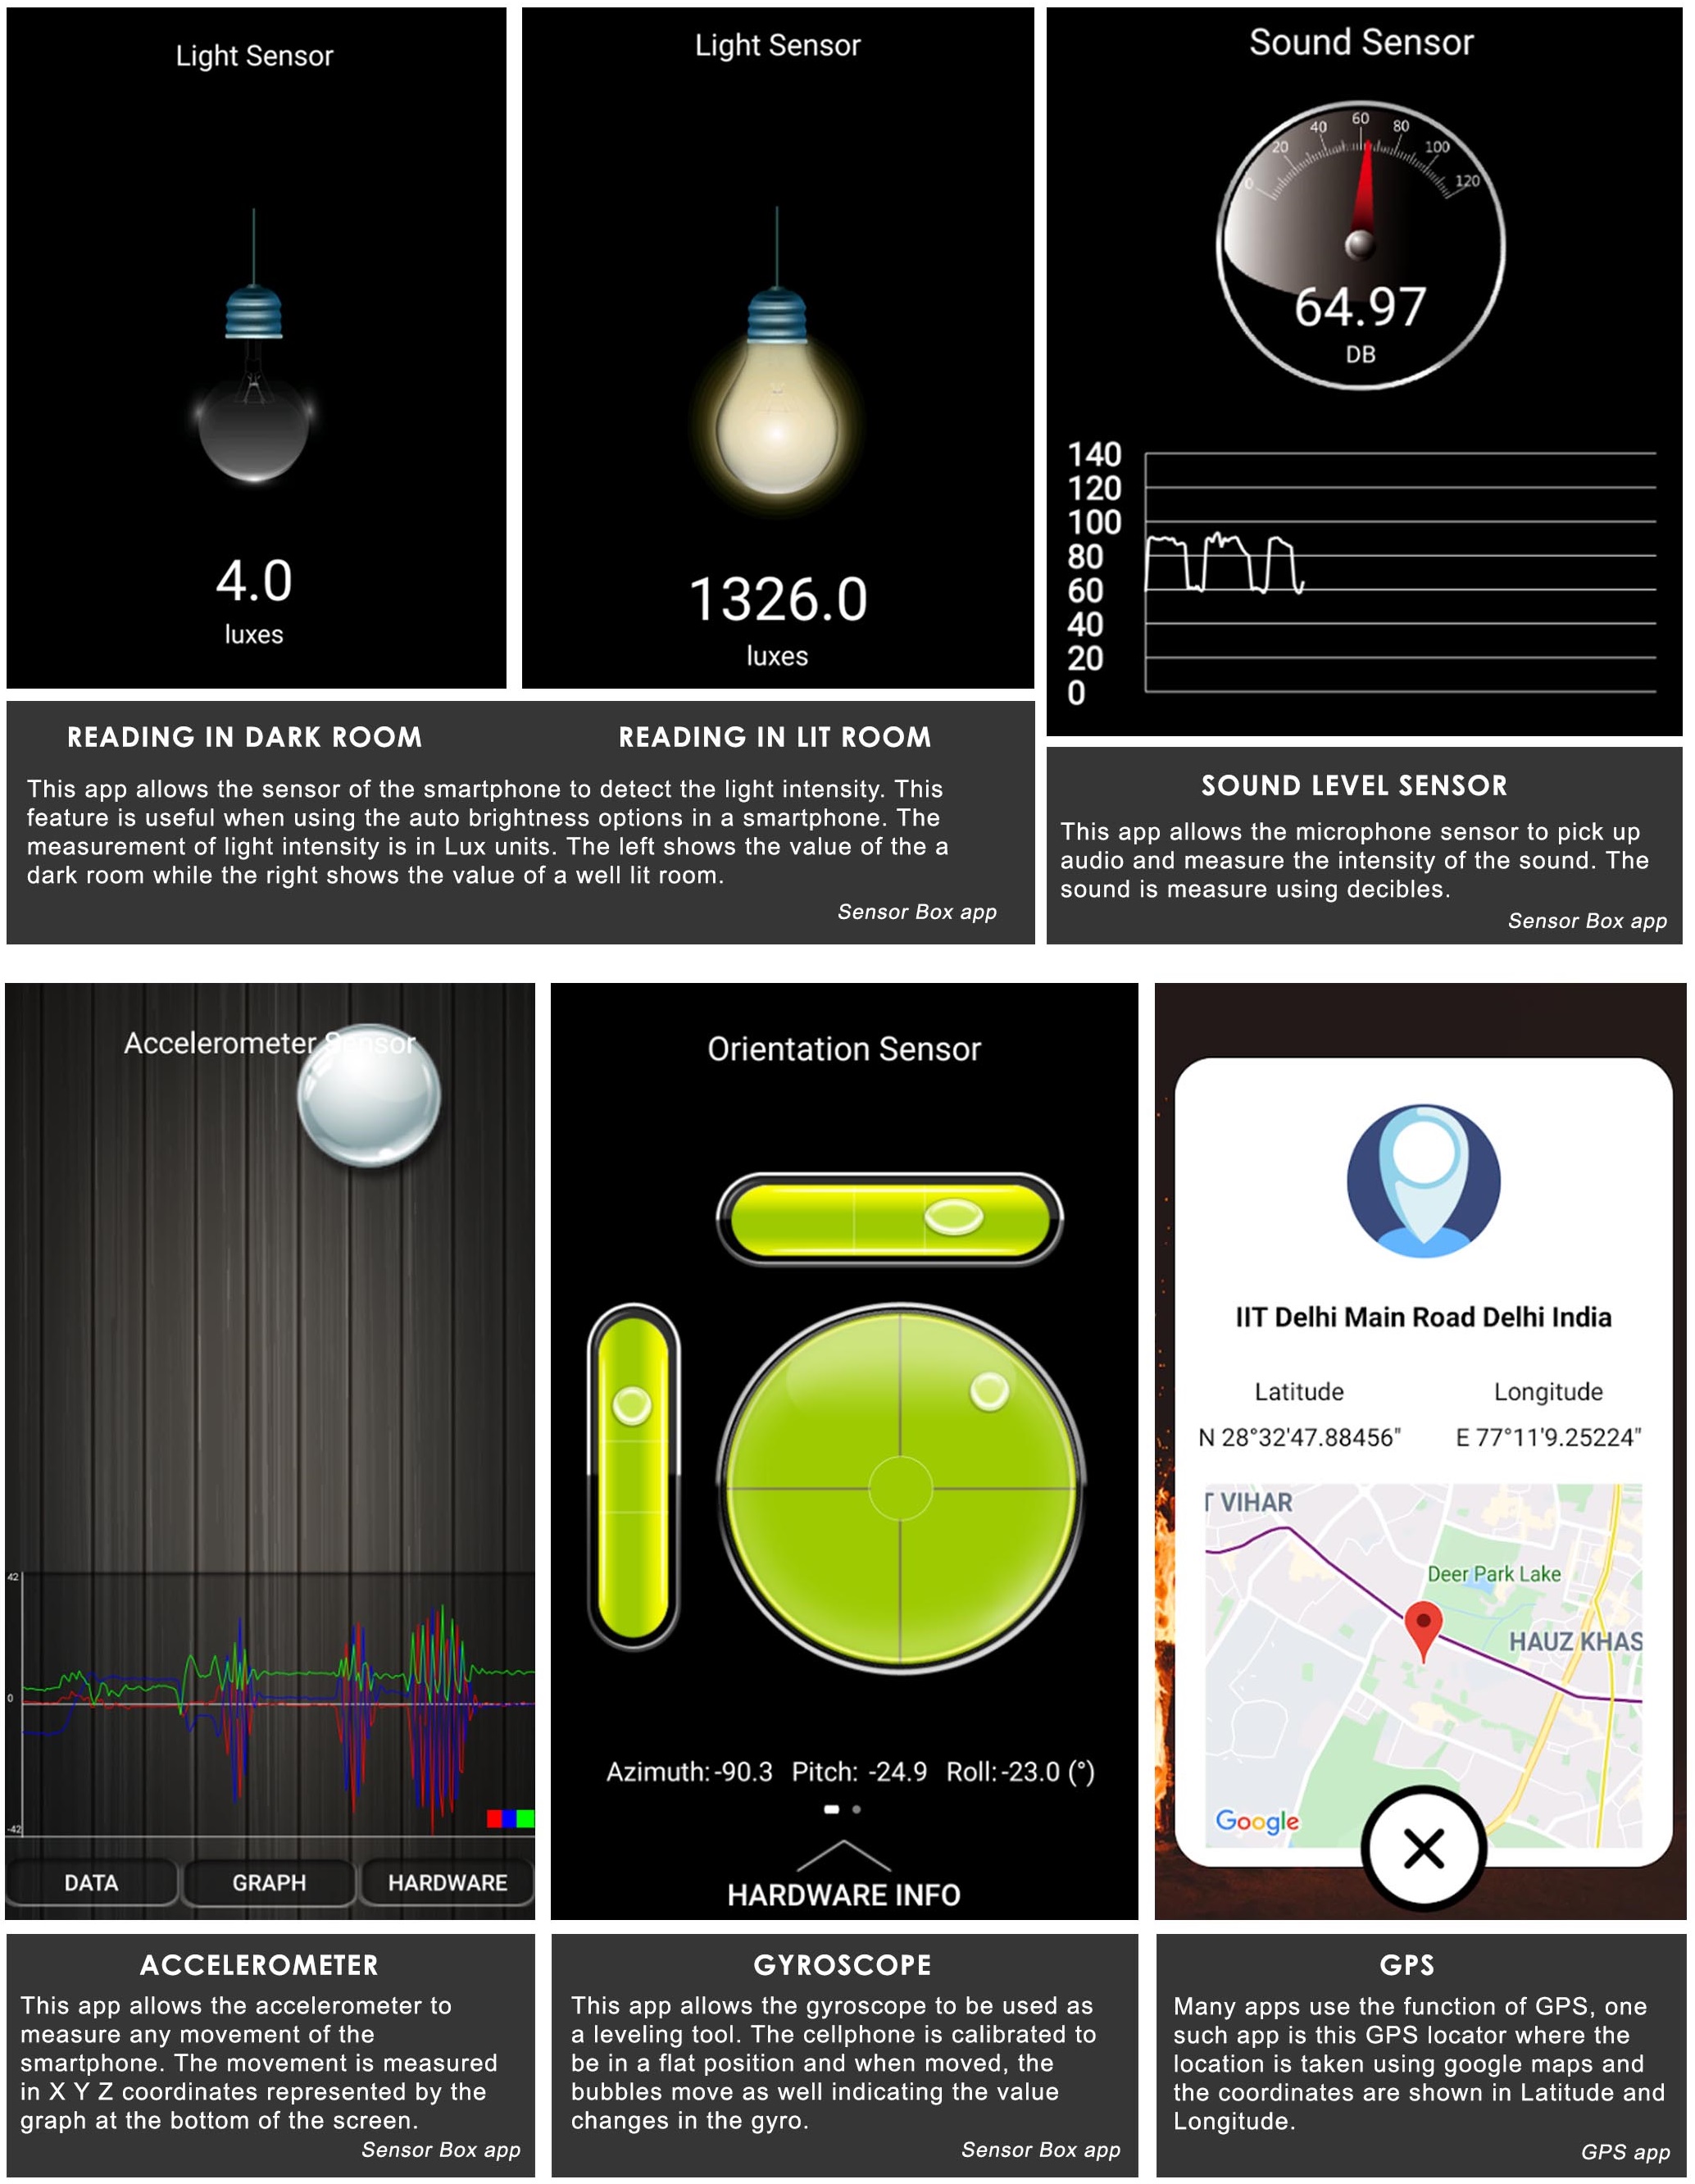
Measurement of sensors using apps :
Different apps which have the functionality of measurements taken from the sensors.
Using input sensors in ARDUINO :
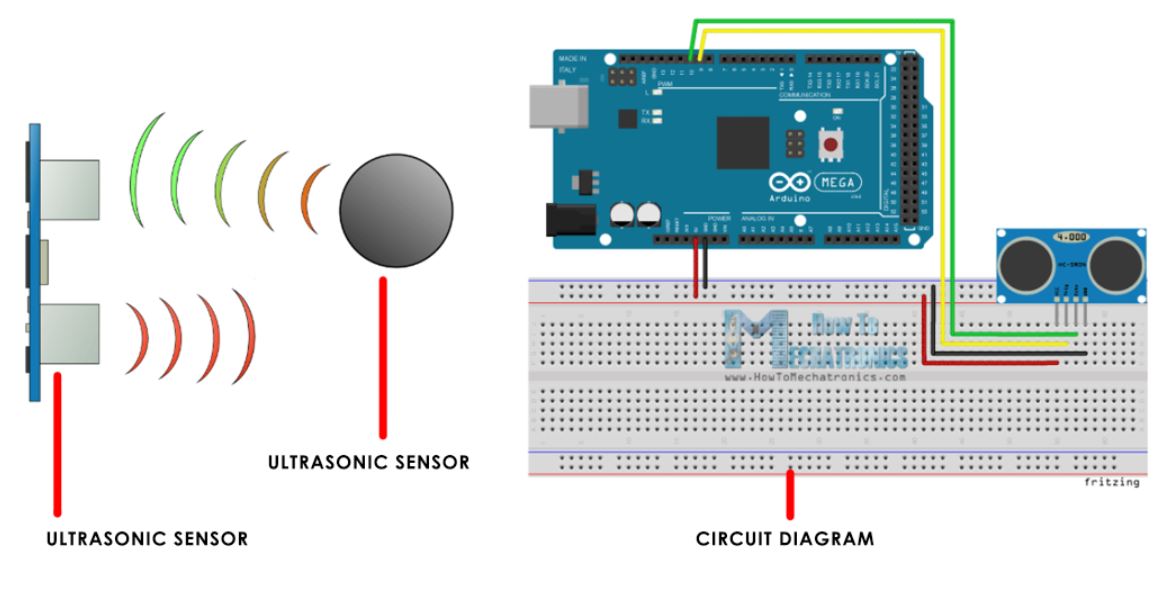
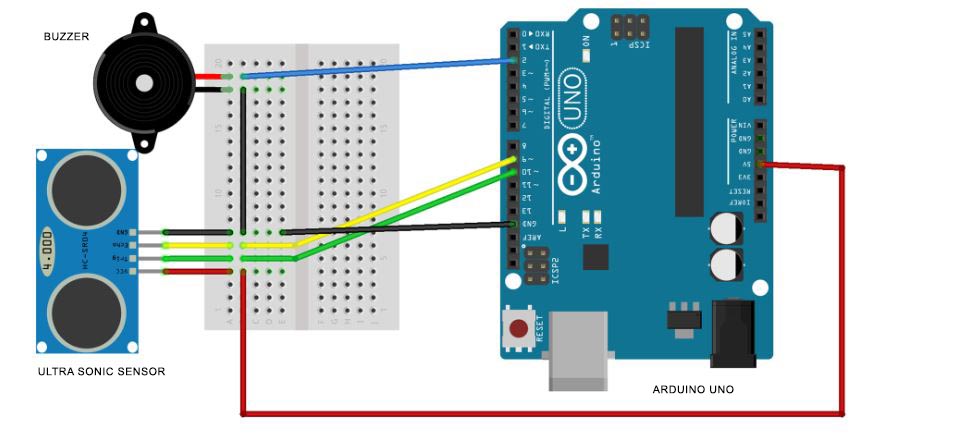
Ultrasonic Sensor :
It emits an ultrasound at 40 000 Hz which travels through the air and if there is an object or obstacle on its path It will bounce back to the module. Considering the travel time and the speed of the sound you can calculate the distance.
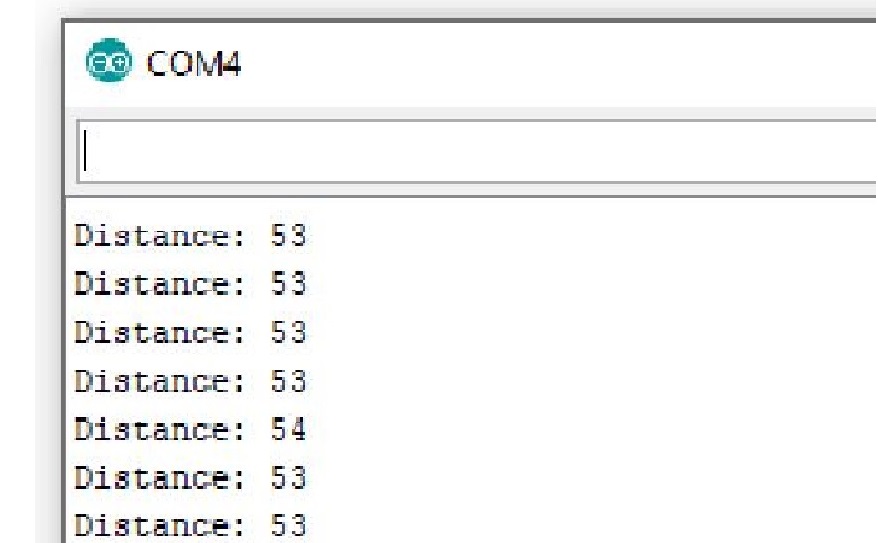
CODES and output :
The arduino codes for the ultrasonic sensor can be found on the left of the text box. This code is for measurement in INCHES. The Output can be found on the Right where the distance is shown in INCHES i.e 53 inches.
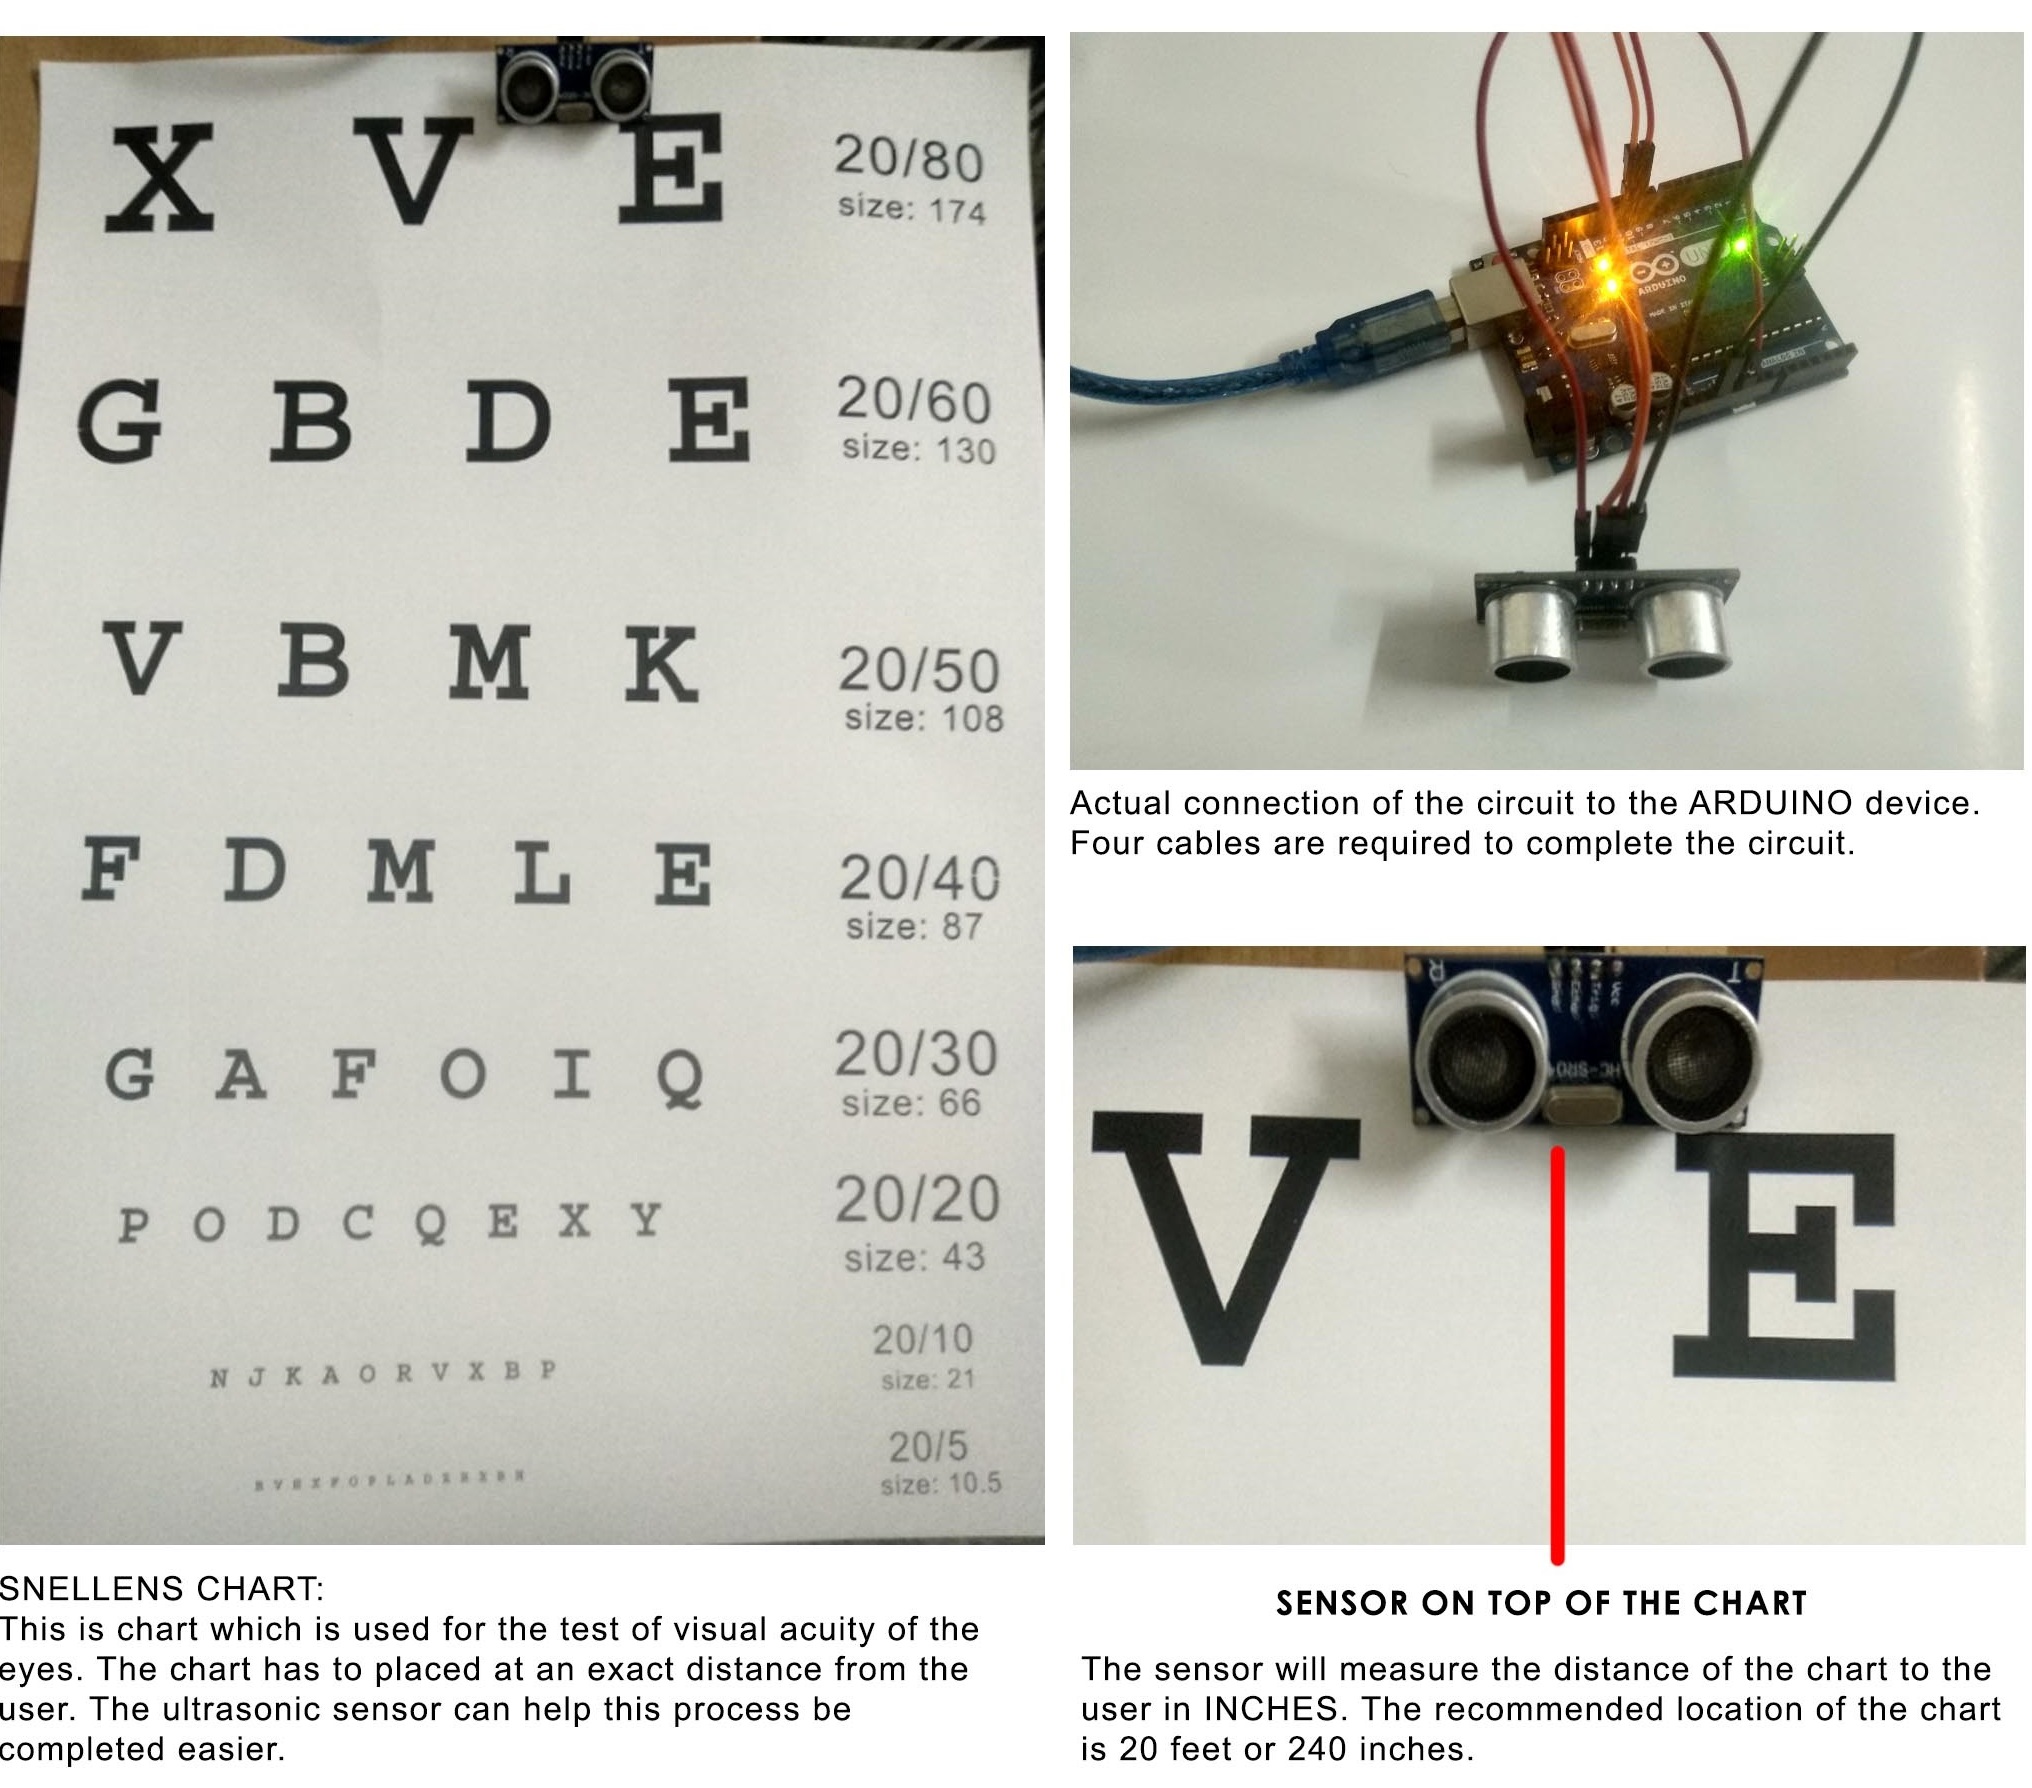
 Real world usage :
Using Ultra sonic sensor the get the distance between user and Snellens chart during a visual acuity test.
Output devices in ARDUINO :
There are multiple output devices which can be used in ARDUINO to produce different outputs such as LEDs, Sounds, LCD Displays etc.
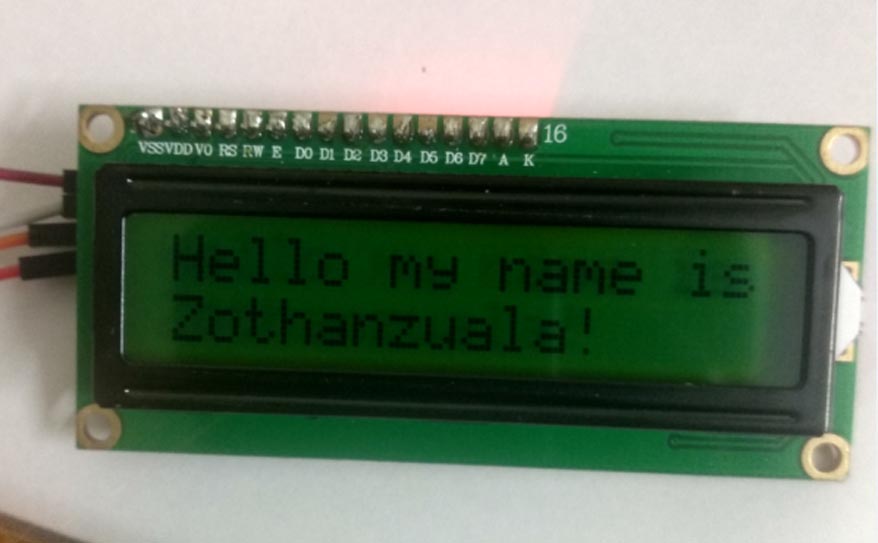
ARDUINO to Display name on LCD Screen:
Using ARDUINO it is possible to program an LCD to display anything that is included in the codes. For this example it is used to display a simple introduction message on the LCD screen.
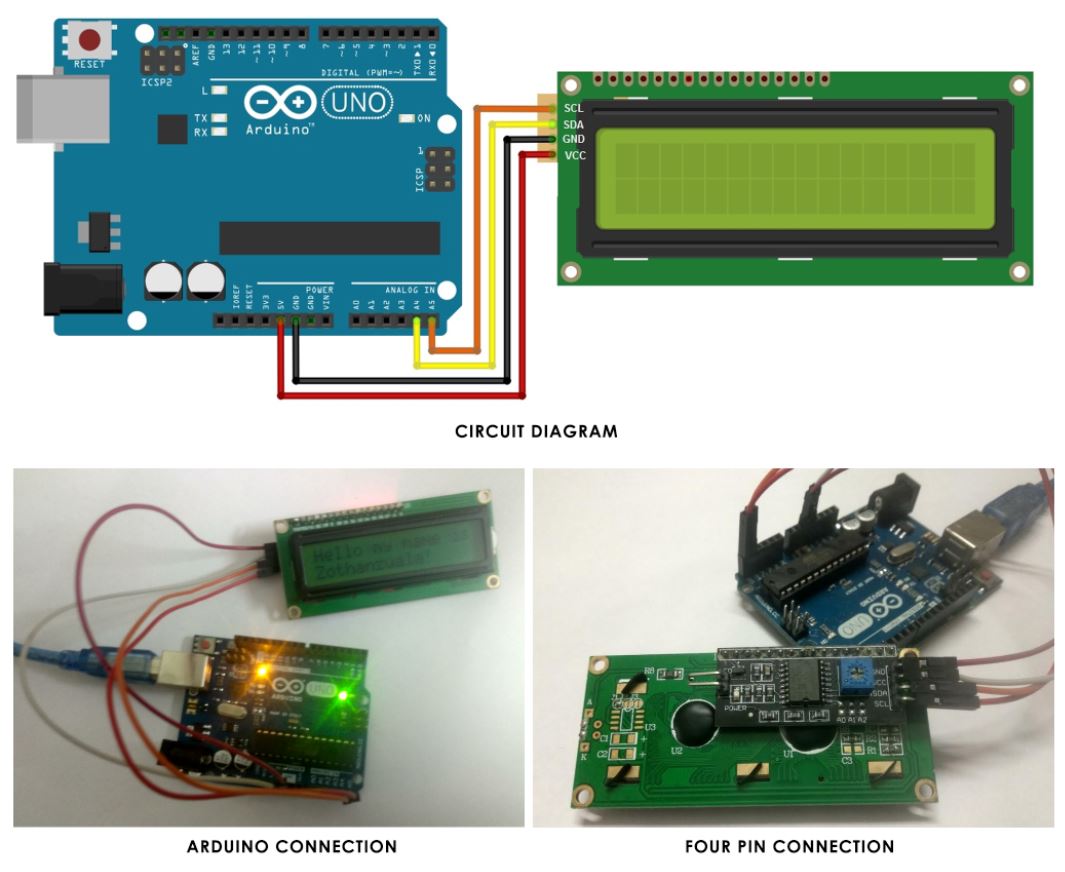
Codes and output:
On left textbox you can see the codes for the program. For this program we are using an LCD library for the analog inputs which makes the code much simpler and easier to code. On the right you can see the actual LCD display the message that is given on the codes.
Input and Output program in ARDUINO :
There are multiple input and output devices which can be used in ARDUINO to produce different results and readings. So we will be making a small project using a couple of sensors and devices to perform a task to help an user.
Device which warns the user if he/she is looking at a monitor screen too close:
There has been many research which says that one should not look at screen displays too closely as it can cause eye problems or even headaches. The optimum distance of looking at such screens is about 20 to 40 inches between the user and screen.
Sometimes the user may be unaware of that he/she is looking at the screen to closely, so this device will help warn the user when it detects he/she is reading it too closely and is shorter than the 20 inch threshold. The setup for the device can be seen below
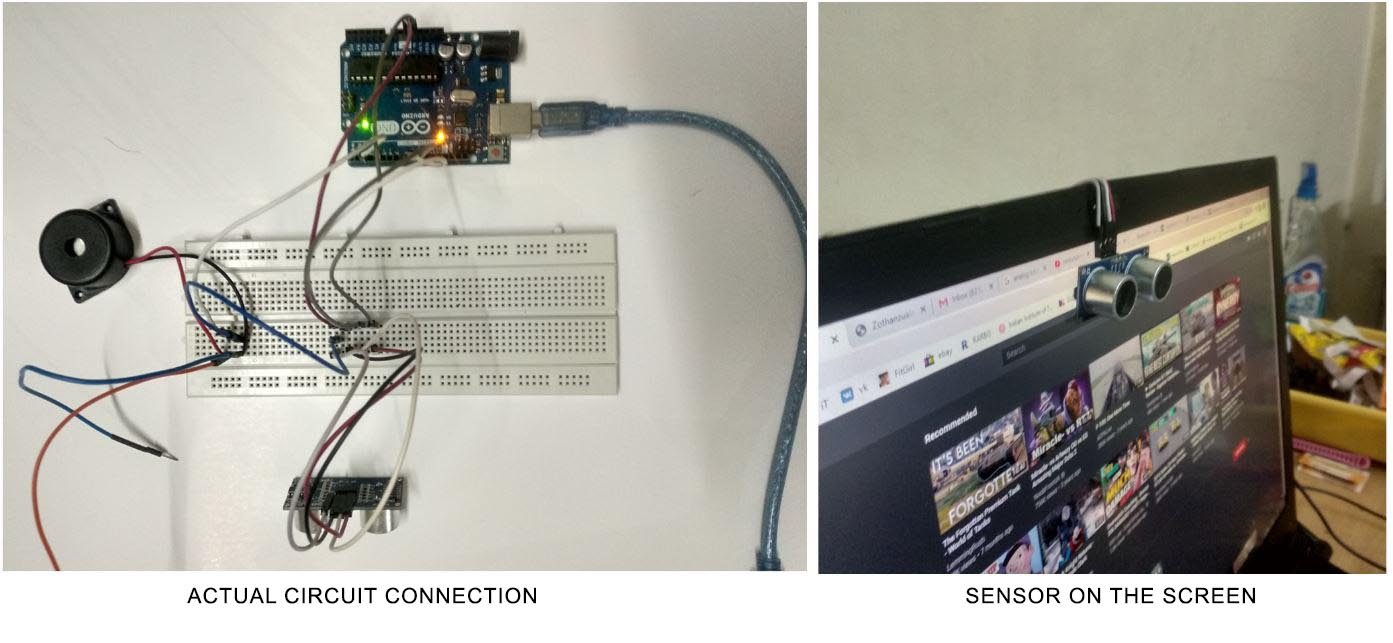
Code for the program and setup can be seen below:
( The minimum distance is set at 18inch to account for the width of the sensor)
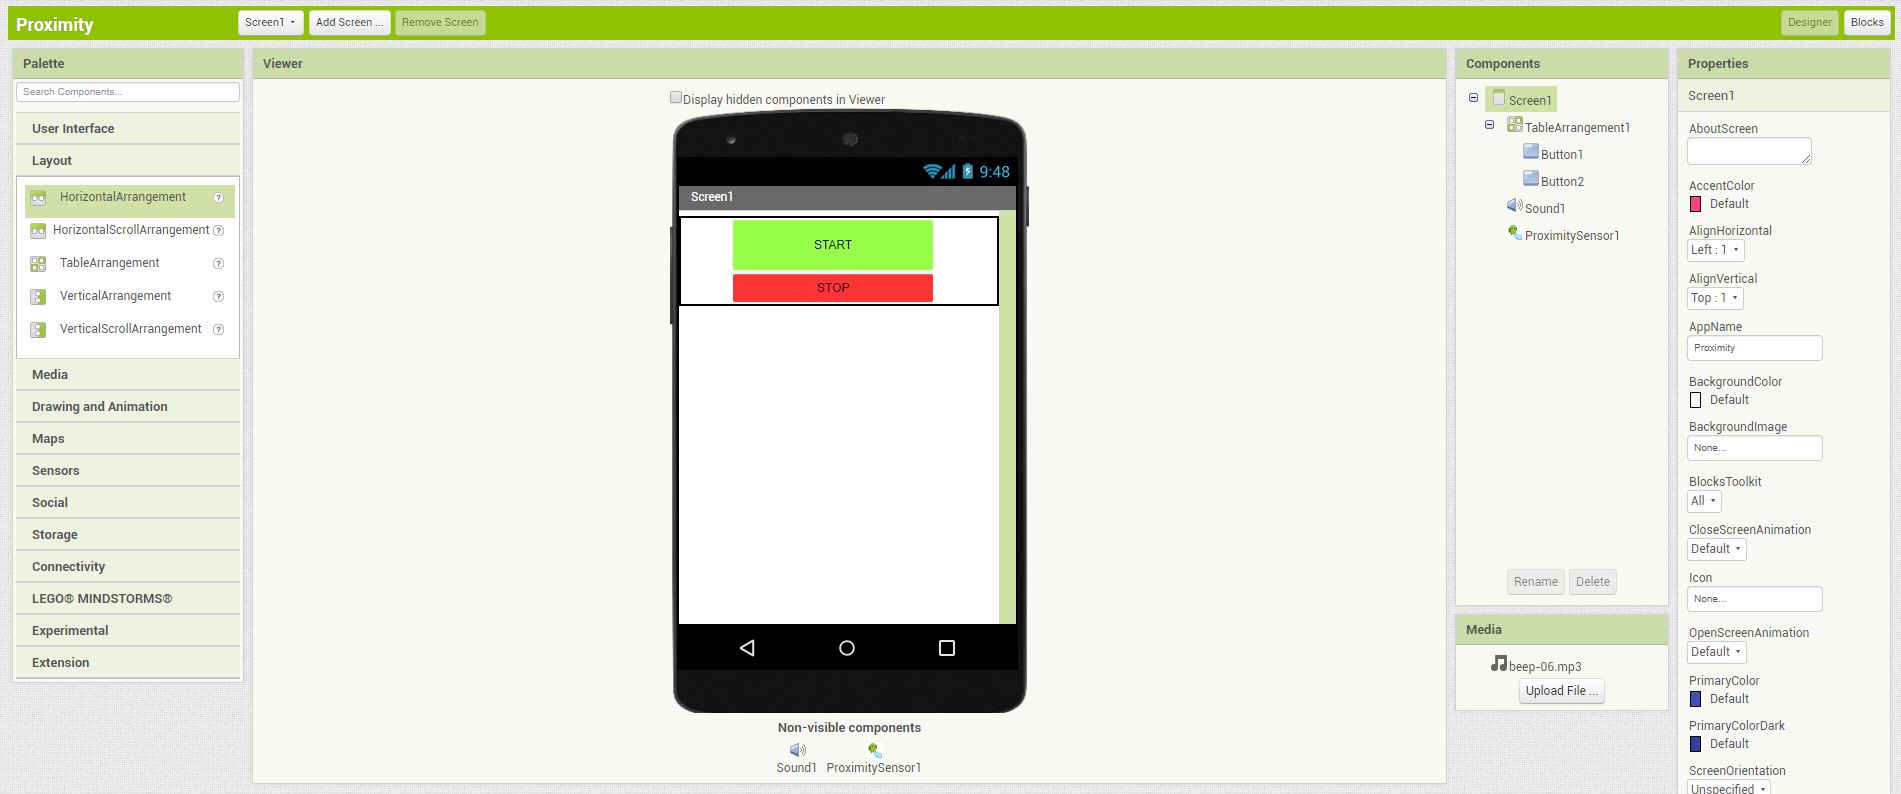
MIT APP Inventor :
MIT App Inventor is an intuitive, visual programming environment that allows everyone – even children – to build fully functional apps for smartphones and tablets. Those new to MIT App Inventor can have a simple first app up and running in less than 30 minutes. And what's more, our blocks-based tool facilitates the creation of complex, high-impact apps in significantly less time than traditional programming environments.
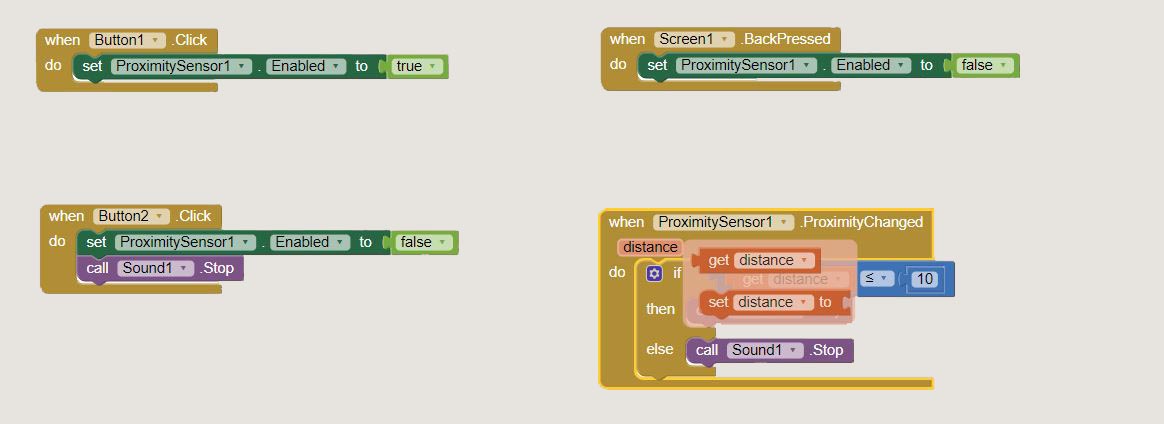
Phone sensors in MIT APP Inventor:
Below is an app made using MIT APP inventor for a proximity sensor where the phone senses objects in 10cm and gives a buzzer warning when there is an object below the threshold. You can Start and Stop the sensor using the buttons on the screen.
Video demonstrating the proximity sensor:
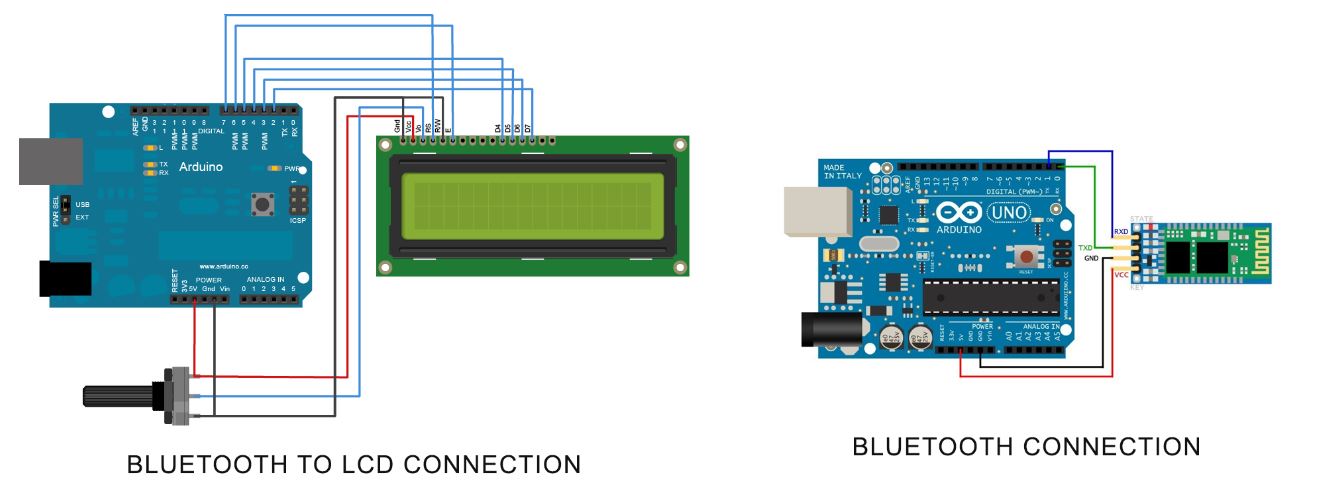
MIT App inventor, ARDUINO and Bluetooth:
A small use case for a combination of MIT APP inventor, ARDUINO and Bluetooth module to display Messages on a LCD Screen. The message is whatever the user inputs on the MIT app inventor
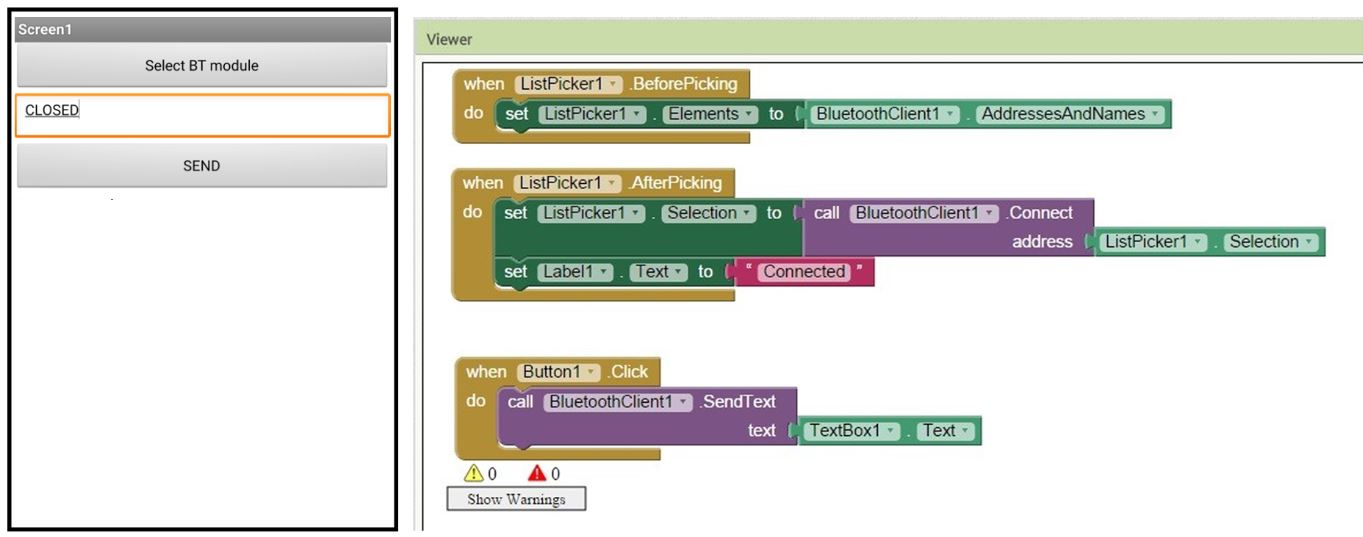
Coding for the MIT App inventor:
Arduino Codes:
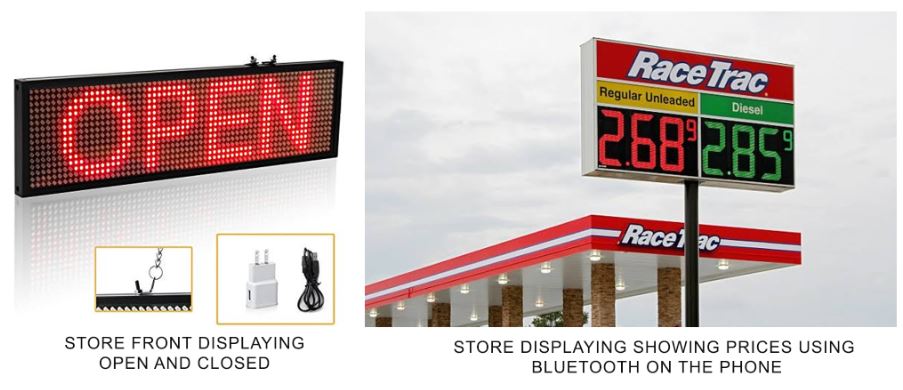
Below you can see how the program works in real time. Any message you type in the phone will be directly displayed on the LCD module.w

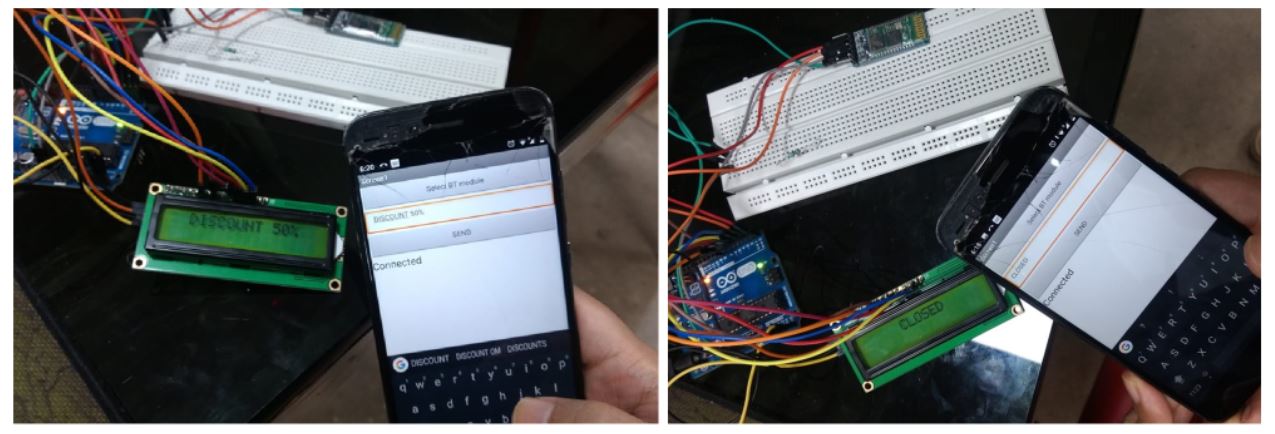
Use Case: Store displays where the owner can put in custom images directly from the phone. This will be convenient as there is no need to input complex codes or doesnt need any computer to run.
Assignments
QUICK LINKS
-

Assignment 1
Click to view -

Assignment 2
Click to view -

Assignment 3
Click to view -

Assignment 4
Click to view -

Assignment 5
Click to view -

Assignment 6
Click to view -

Assignment 7
Click to view