When we scan in 3D, we make a digital copy of an object’s physical dimensions on our computer. There’s a bunch of different ways to do this, but typically the process has 3 steps: Photos are taken from different angles around the object A sensor measures the distance from the camera to points on the object’s surface Points in common between the photos are triangulated to produce 3D geometry It’s kind of like scanning a 2D picture, except with additional 3D measurements. Each 3D point, calculated from photos and depth measurement, appears on the screen individually. All together they form a point cloud of the object. Zoom in close on a 3D scan and you’ll see the separation of points. I chose to do a 3D scan of my friend's face (Sidharth) for this exercise! Read ahead for the process followed :
Steps followed :
1. Using mobile to take pictures of object : I took photos of Sidharth's bust with my phone. I ensured complete 360 degrees for maximum coverage of the subject
2. Using 3D Zephyr : I used 3D Zephyr software for processing the images. It is a commercial photogrammetry and 3D modeling software. It allows 3D reconstruction from both photos or videos, by automatically extracting frames and selecting those most suitable for the computation.
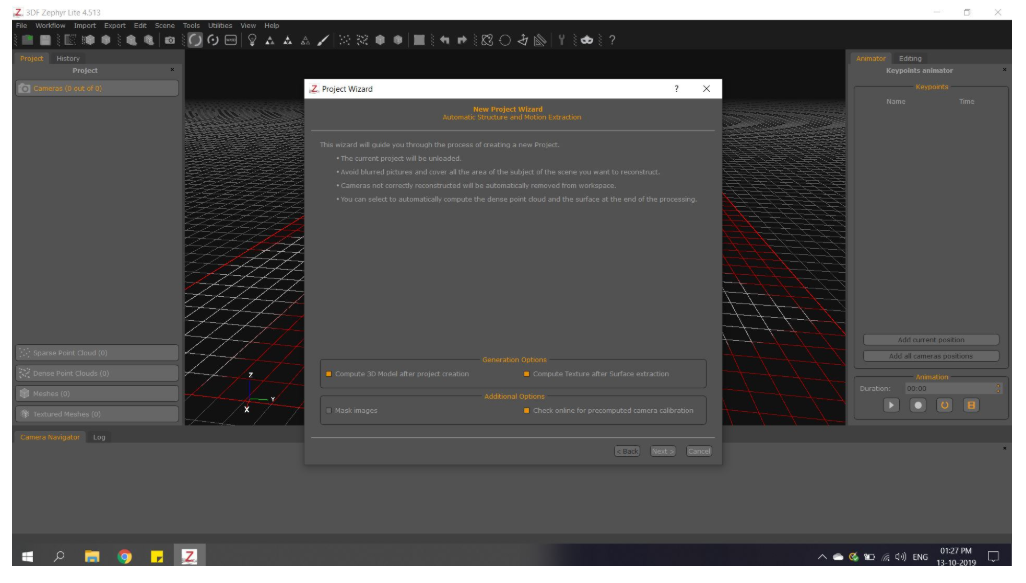
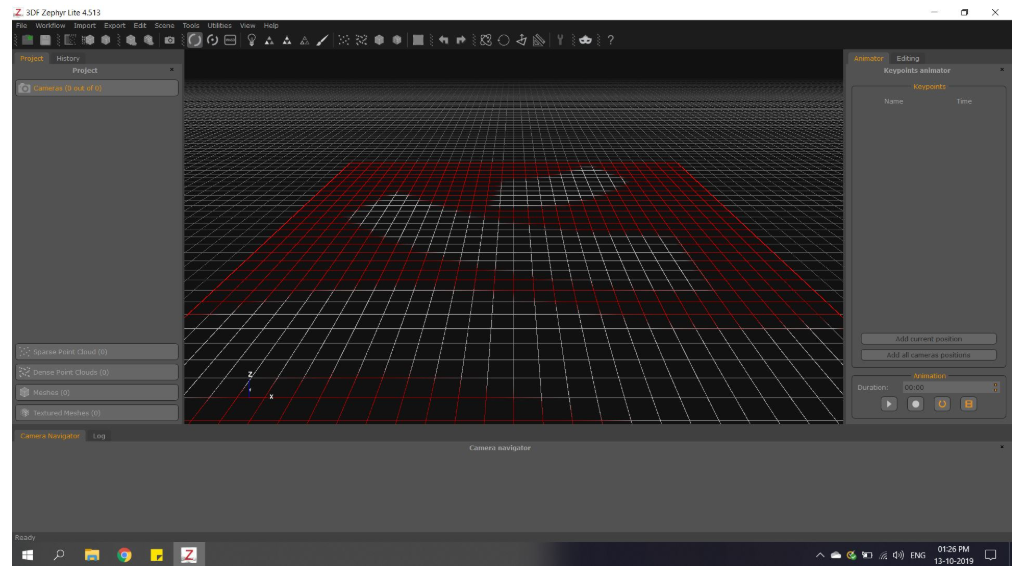
3. Creating a new project :
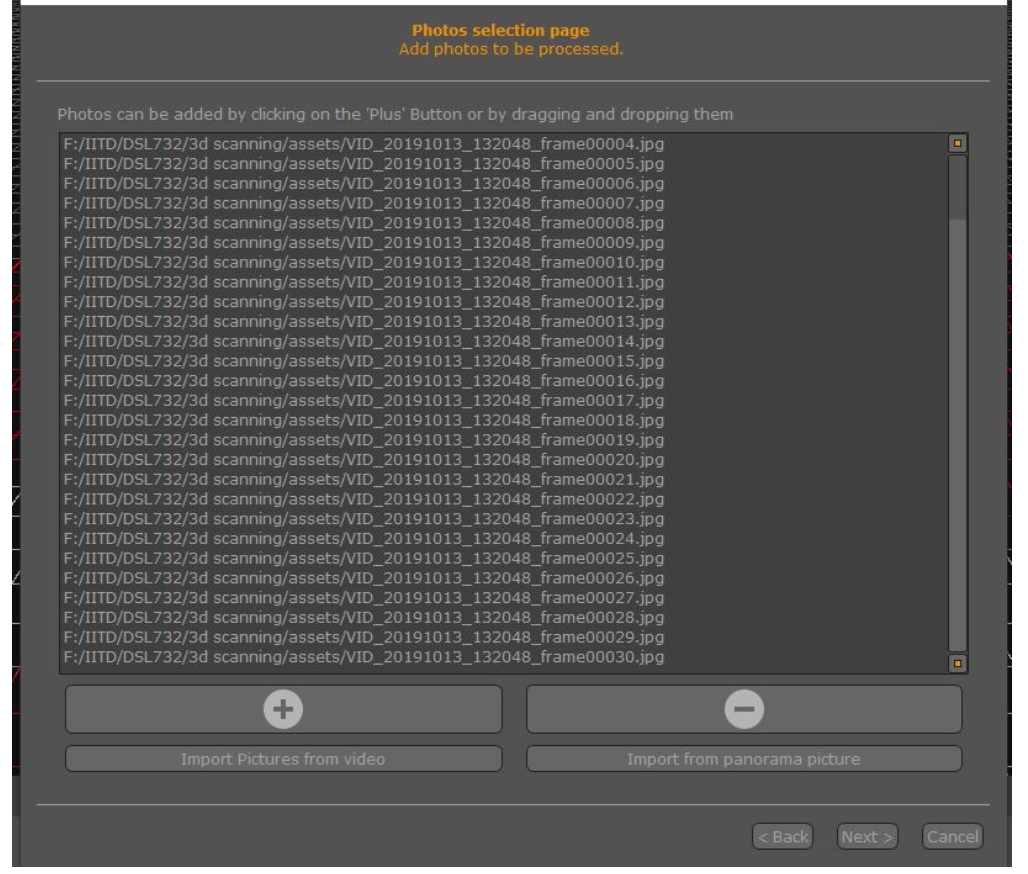
4. Imported all the photos clicked by phone :
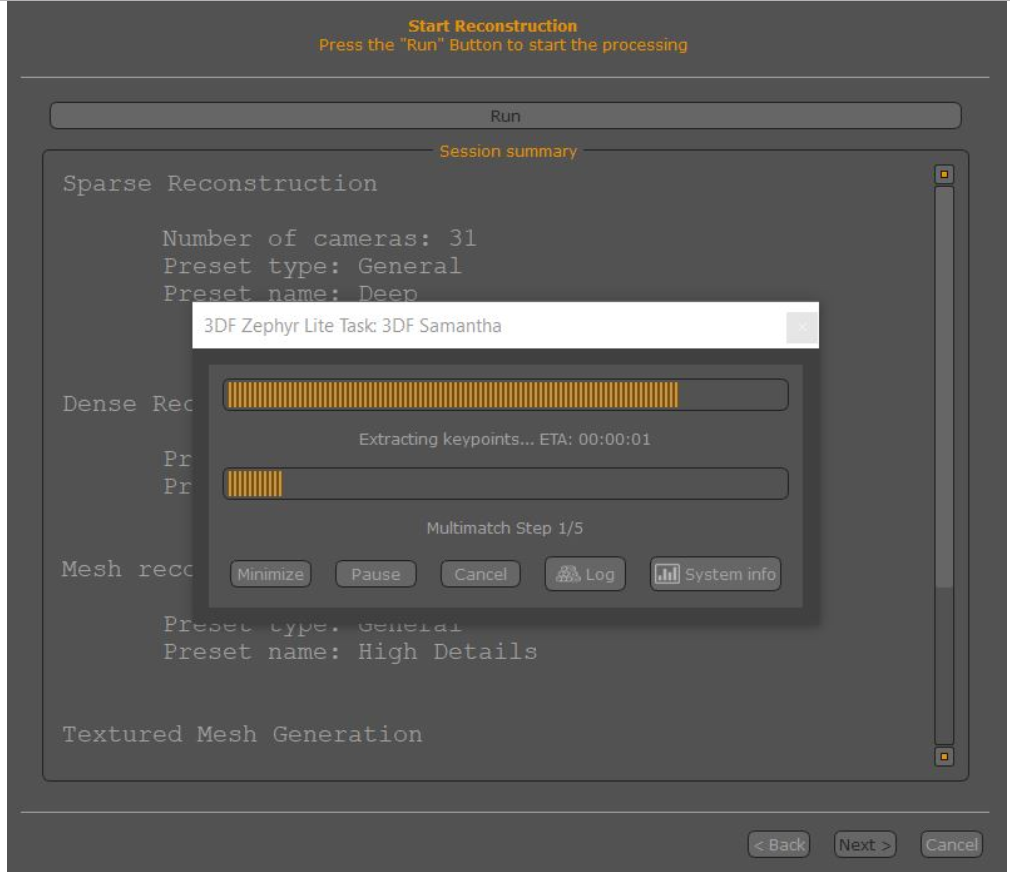
5. Starting Reconstruction for the final output :
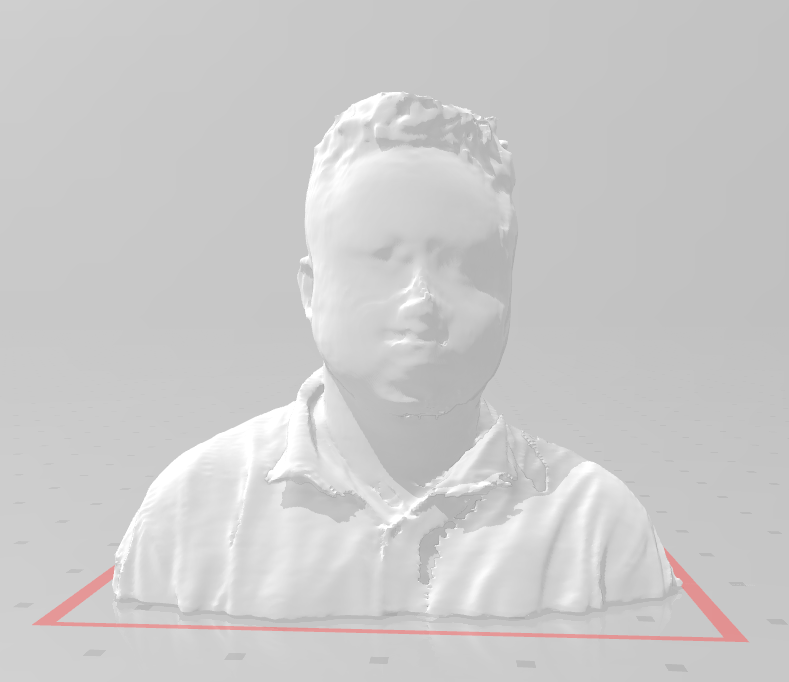
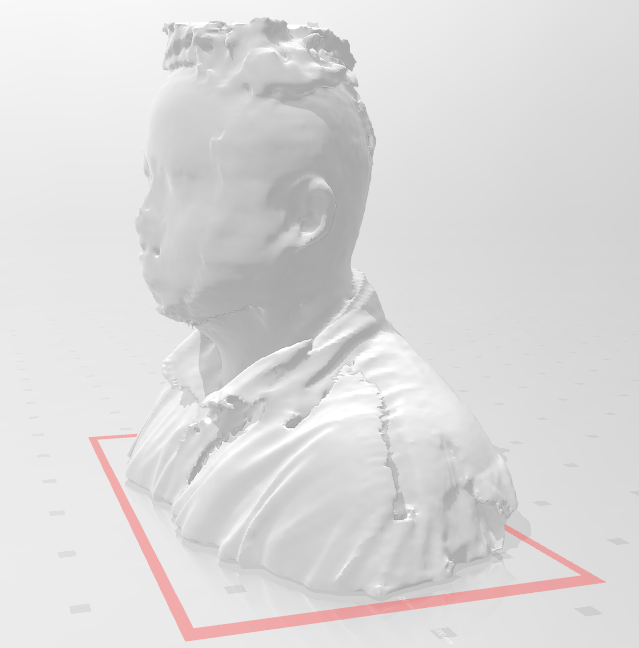
Find the .STL design file below :
Corel Draw file for bench prototypeThank You!